
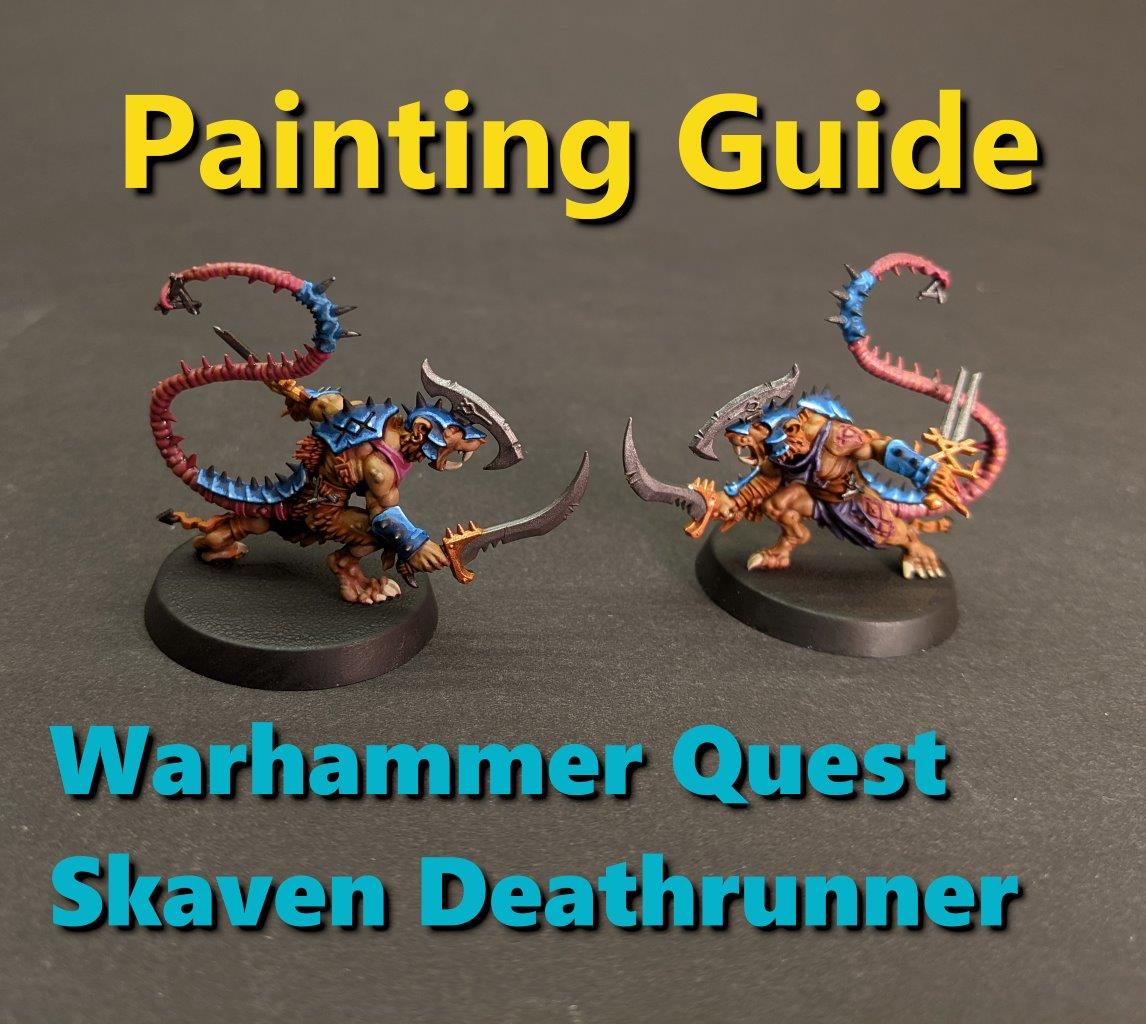
Warhammer Quest Silver Tower came with a heap of wonderful minis to paint and play with. It took me way longer to get them all done than it did for us to play through the game the first time. I’m still looking to play though it again since the miniatures are finally fully painted. I would like to show you how I painted the Deathrunner from the set as it’s one of the first times I tried to do serious blending and high contrast paint work. Lets dive in.

First step is to assemble and prime the mini. I use the same zenith highlight that I always do. The gray primer from the top and the black primer from the bottom. It’s the same amount of paint but it helps to highlight the details so much better than if I just do the whole mini in black.

The base flesh color I used is Skrag Brown. Don’t worry about getting it on the areas around the flesh since we’ll come back and repaint these later. I always try to paint inside out so that I don’t have to worry as much about keeping in the lines as much. Although in this case, that might have reduced how effective my zenith highlight is, but it wont mater with the plans I’ve got for the armor.
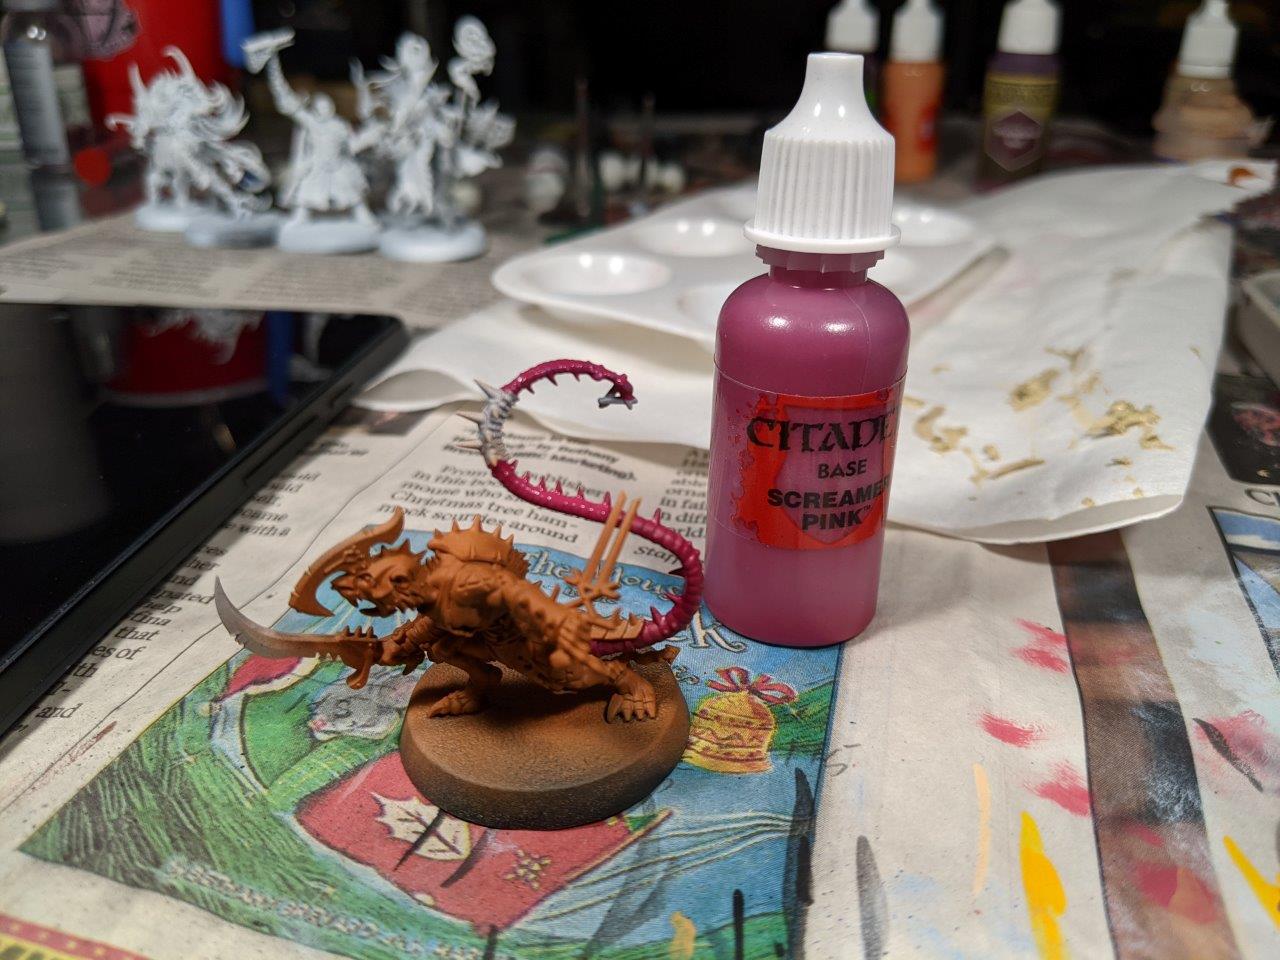
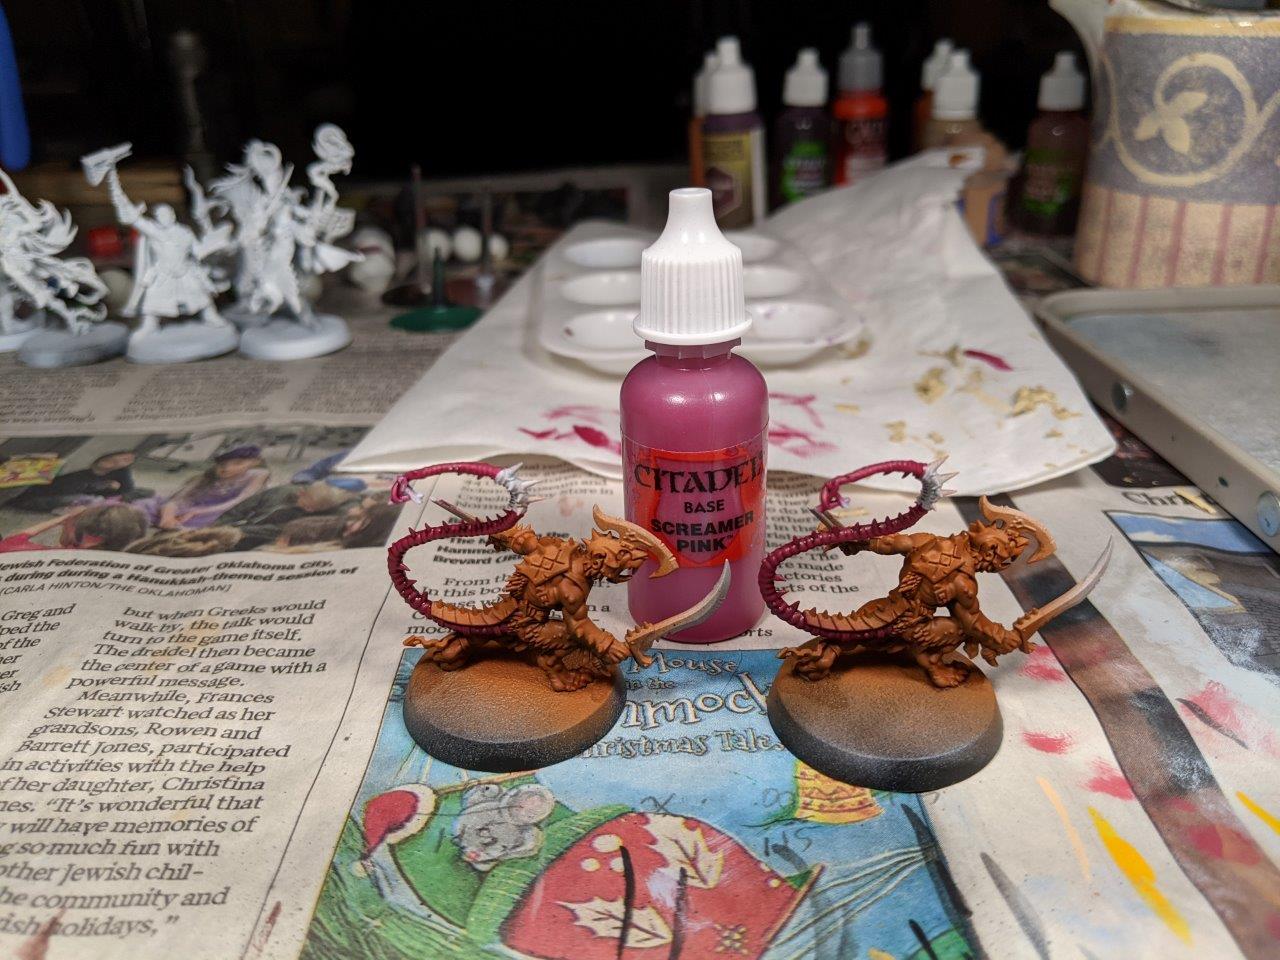
The tail is my favorite pink. Screamer Pink
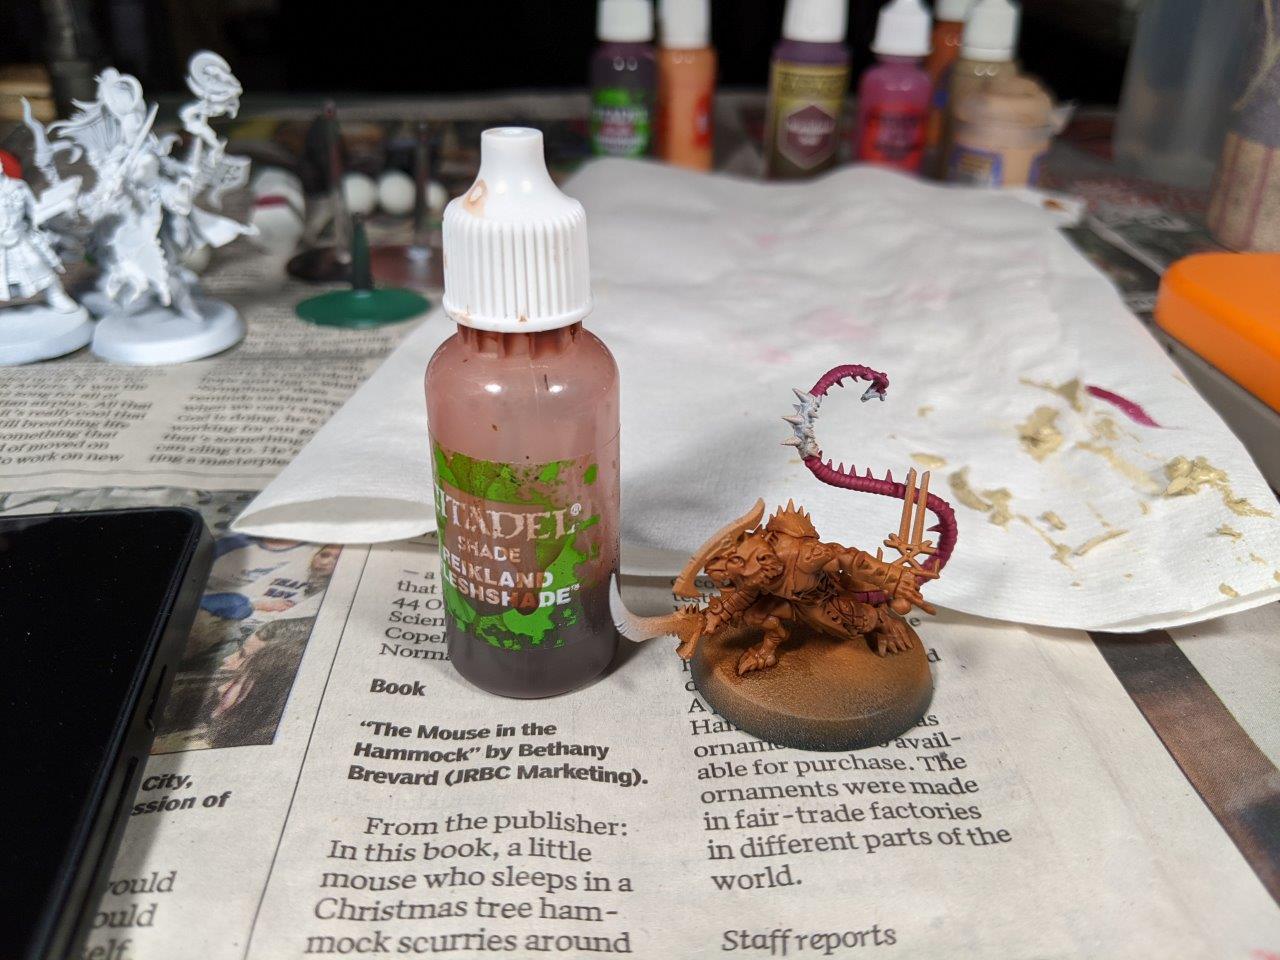
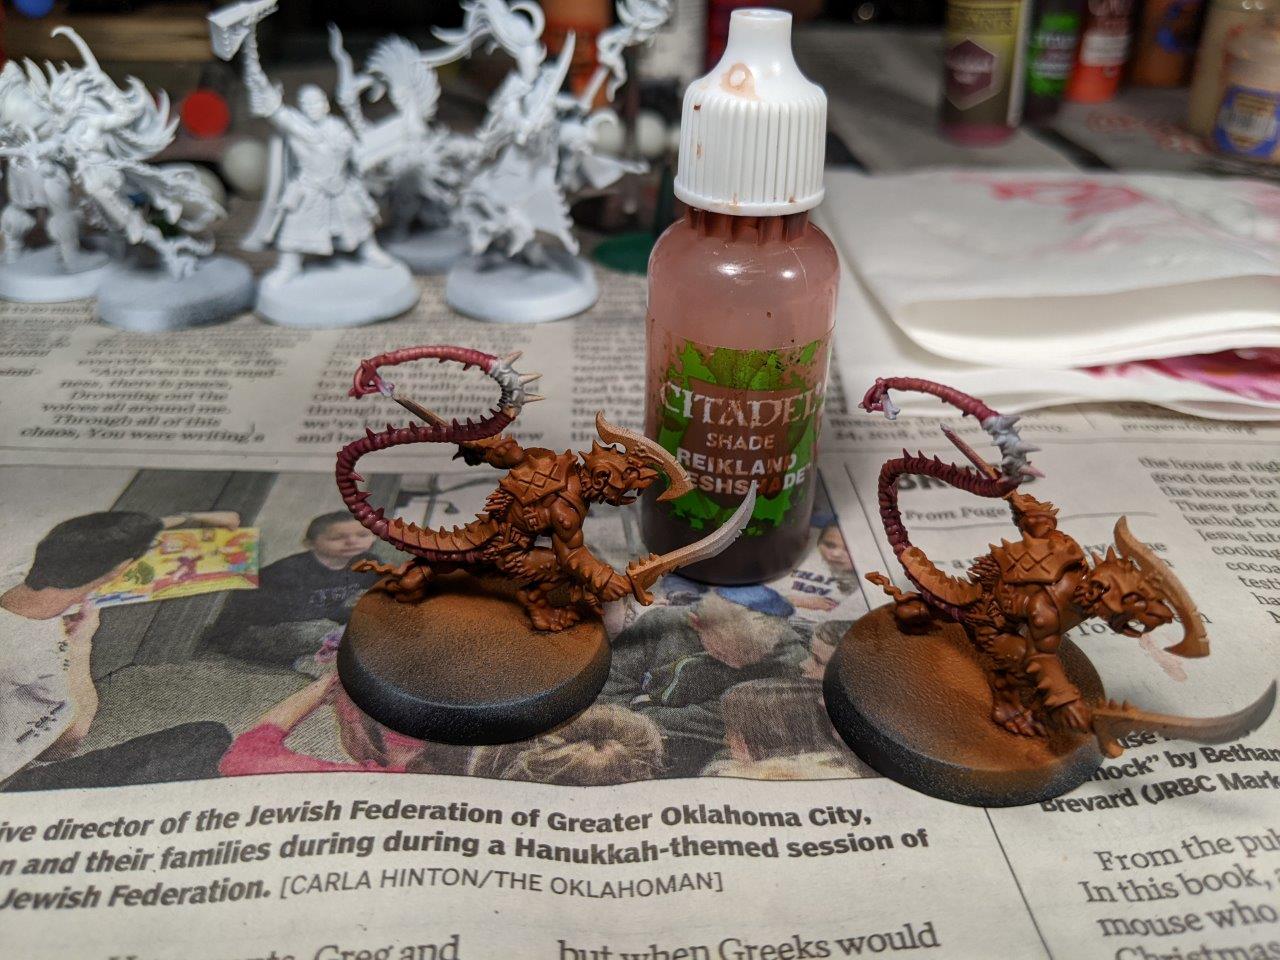
Next apply a wash of Reikland Fleshshade over the skin.
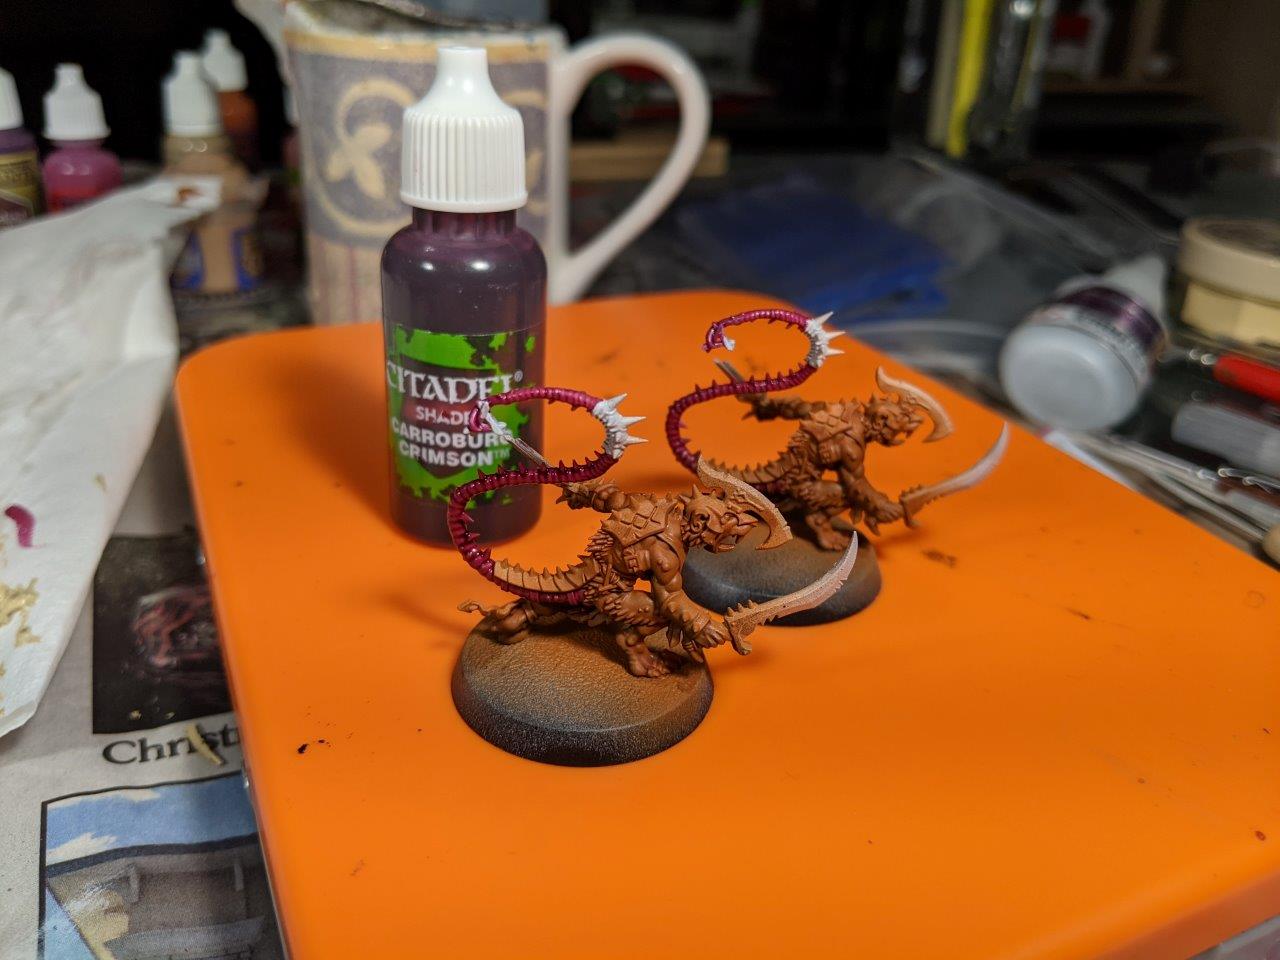
Carroburg Crimson is applied to the tail to accent those ridges.
Using Screamer Pink I picked out each ring of the tail to pull it back up and leave the crimson in the ridges.

Getting into some blending I mixed some white into the screamer pink to make it even pinker on the tail. Careful not to loose the crimson in the recesses.
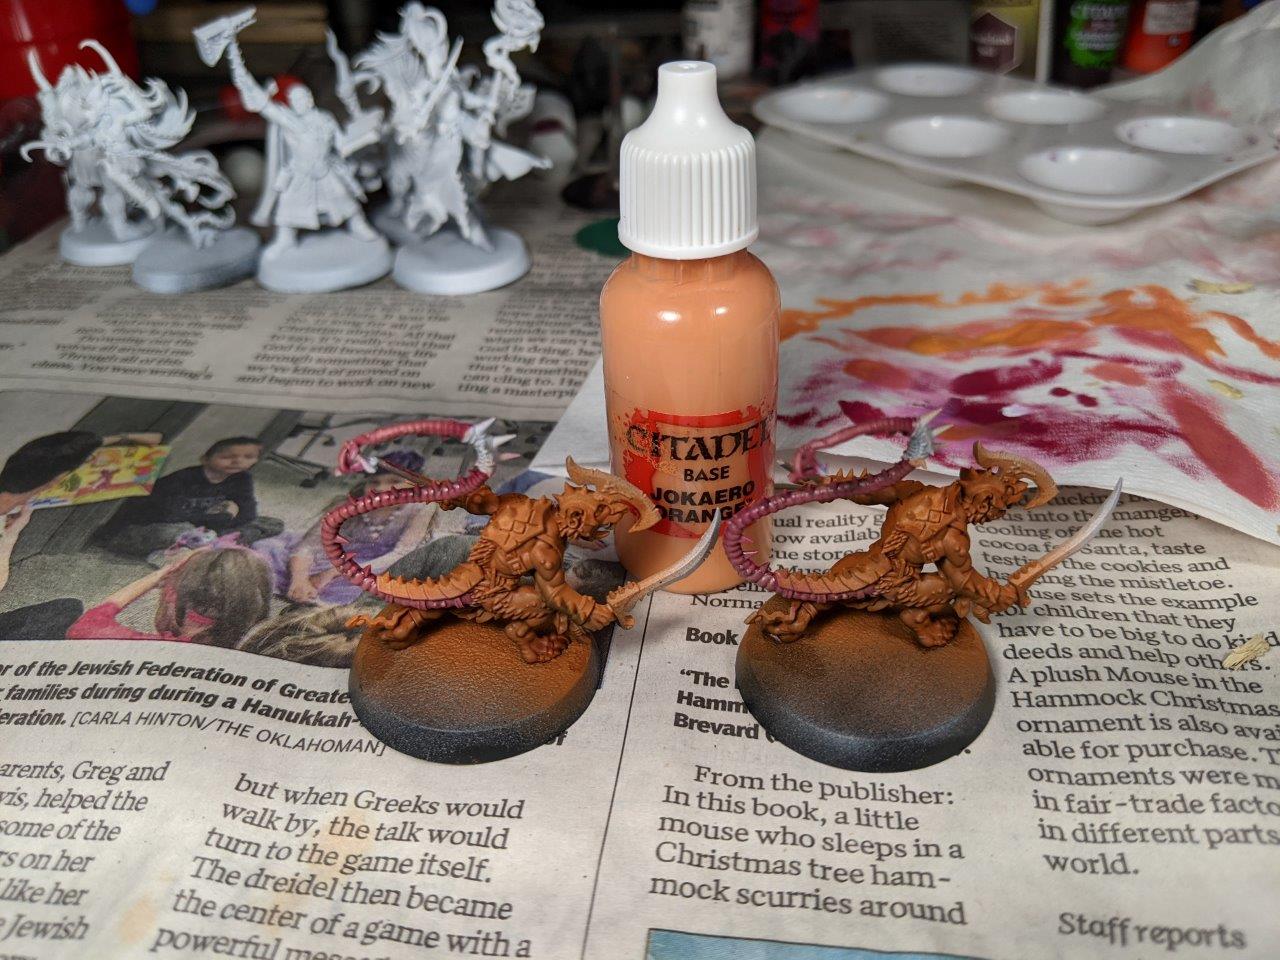
Jikaero orange was used to pick out the lighter parts of the flesh. While this is a base paint I thinned it out so that it wouldn’t be opaque over the flesh tone.
To help blend the orange into the flesh I went over it again with Reikland. This really makes the deeper parts have depth.

I tried the same trick to bring the color back up with Zandri Dust, but it was a bit thicker than I was expecting.
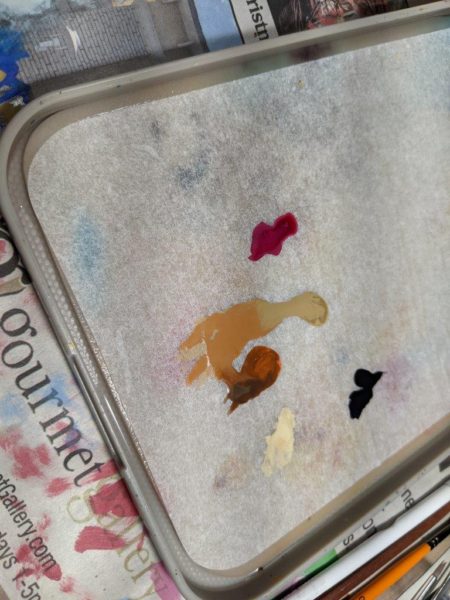
This is when I started to blend paints on my pallet to try and get the exact tone that I wanted for the flesh.

Next up I started doing their tabards. I decided not to make them exactly the same at this point so one became Naggaroth Night and the other got Wasteland Soil.
At this point you can also see that I picked out the skaven scarring on their arms and legs with screamer pink.
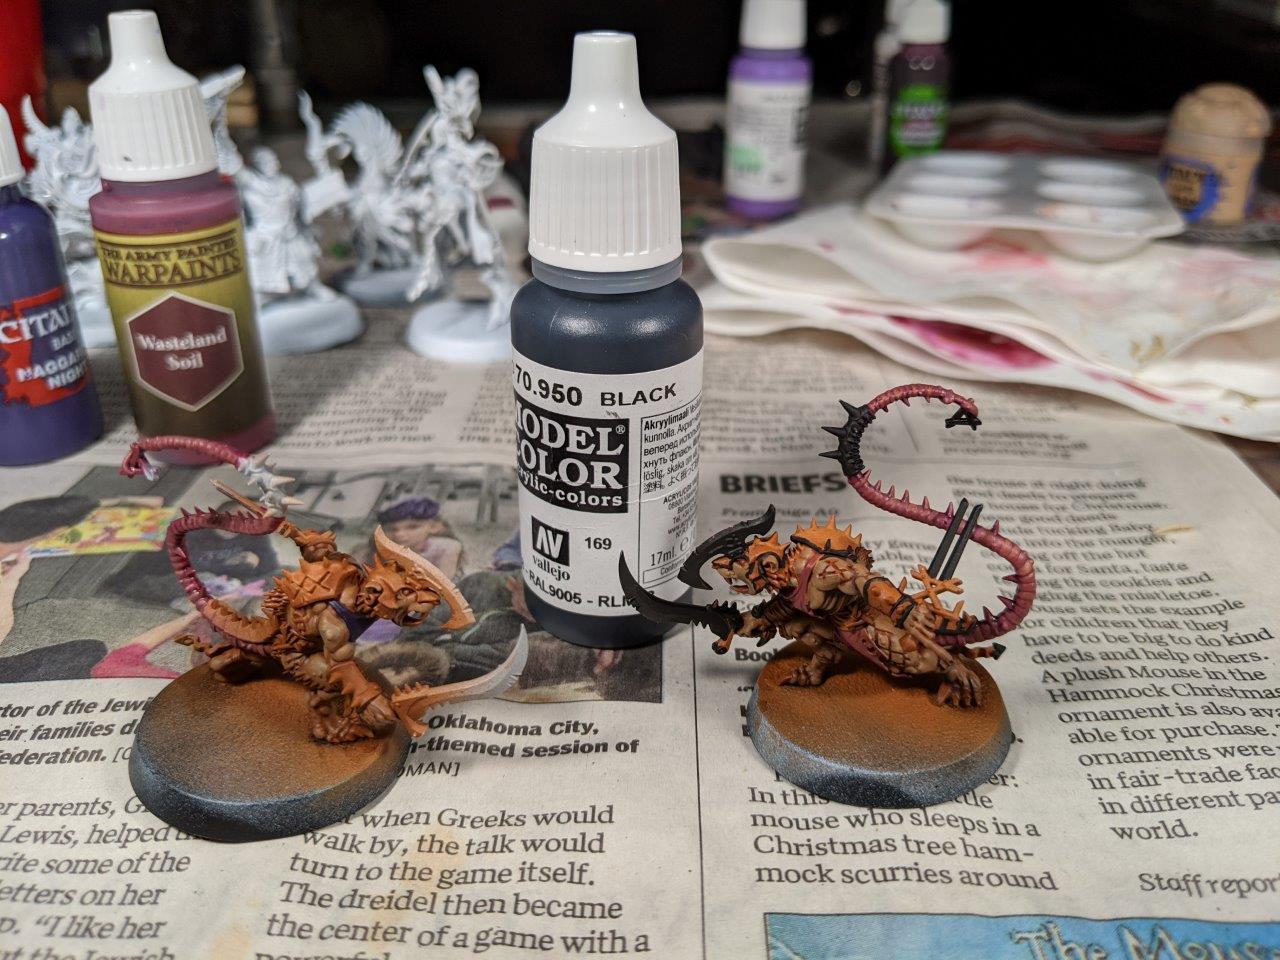
Block in the armor with Black. I love the model color black more than any other.

Pick out the metallic parts with Boltgun metal. It’s alright to leave some black at the base of the metal parts it will add extra depth so you can avoid getting silver where you don’t want it.
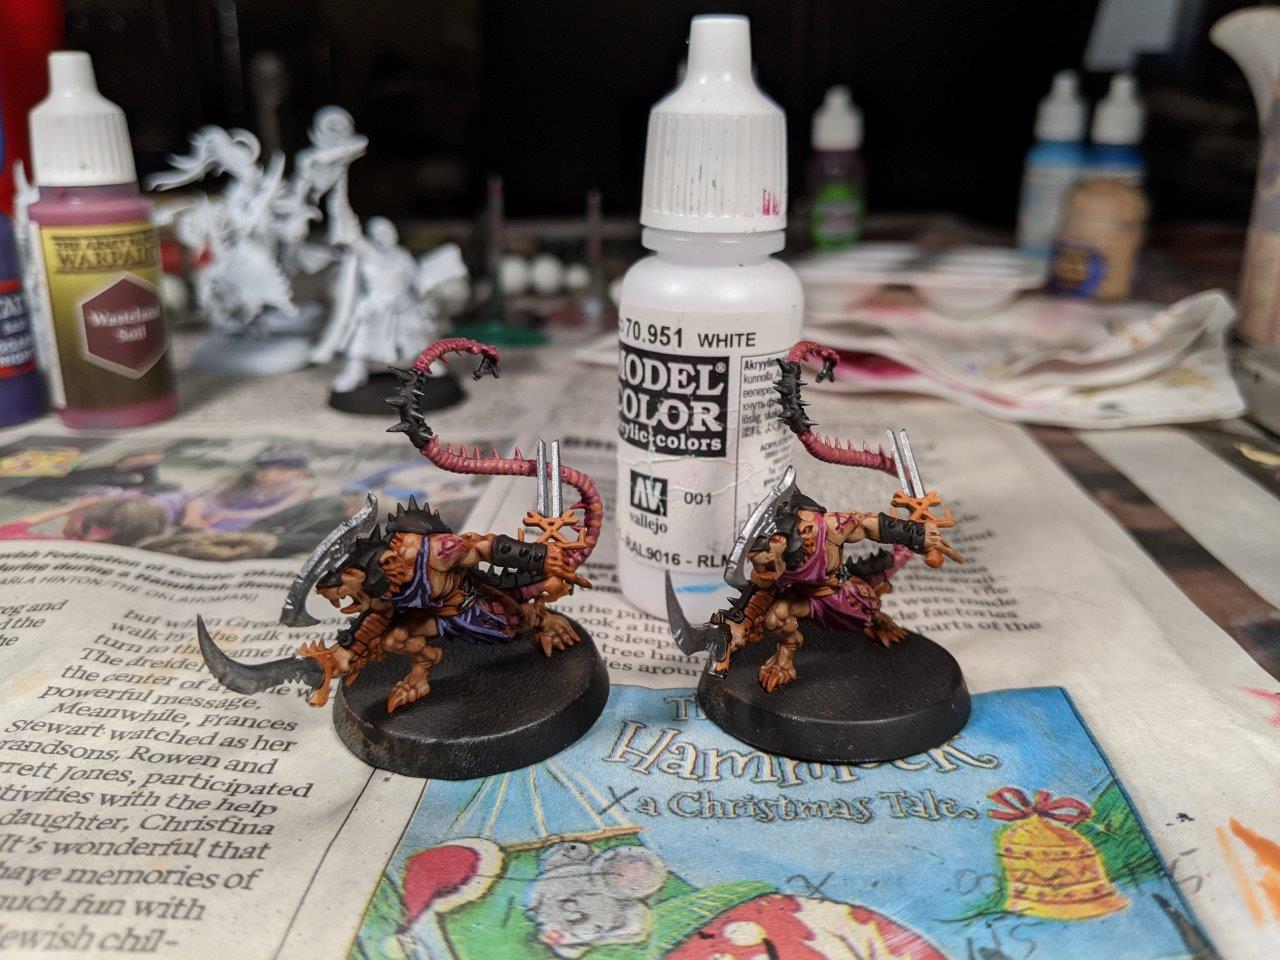
I added some white to the Naggaroth Night and the Wasteland Soil to add a highlight color to the fabrics.

Uh oh. Picture log you failed me. Don’t worry I have used 3 colors here in multiple blending passes. Model Color Dark Blue
Model Color Deep Sky Blue
Model Color White
You can seen them blended on the wet pallet. Now the secret sauce here is to watch this video on wet blending.
FASTEST Way to Blend! | Wet Blending explained in 5 minutes – YouTube
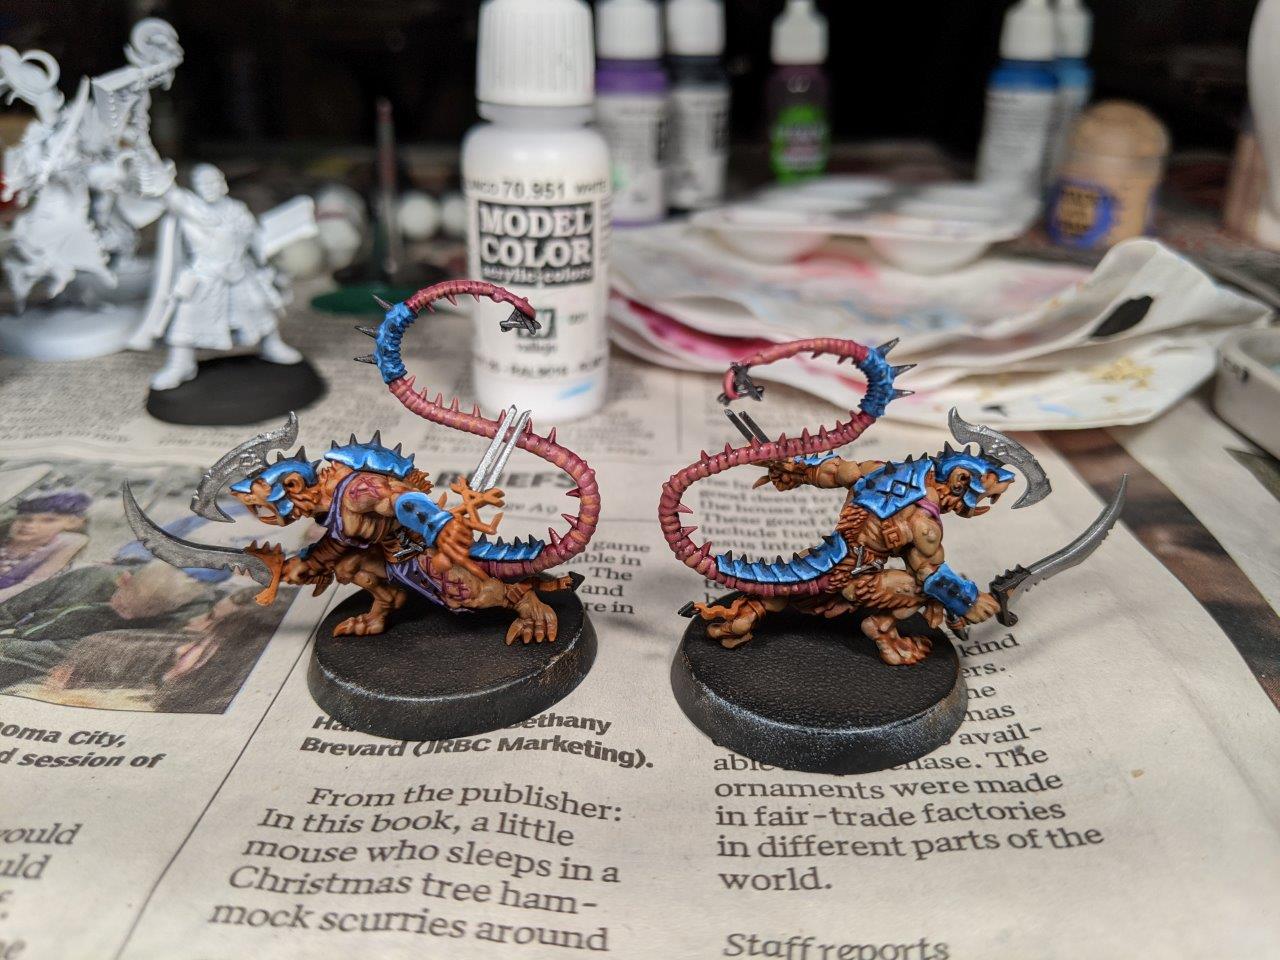
When you’re done you can get some great colors like this! I’ll also throw in a hint that using some Lamia medium to thin your paints for blending is very helpful for making you paint maintain a paint like consistency. if you thin to much with water it starts to paint like water and will pool instead of laying on the surface.

Pick out some details with Screaming Bell.
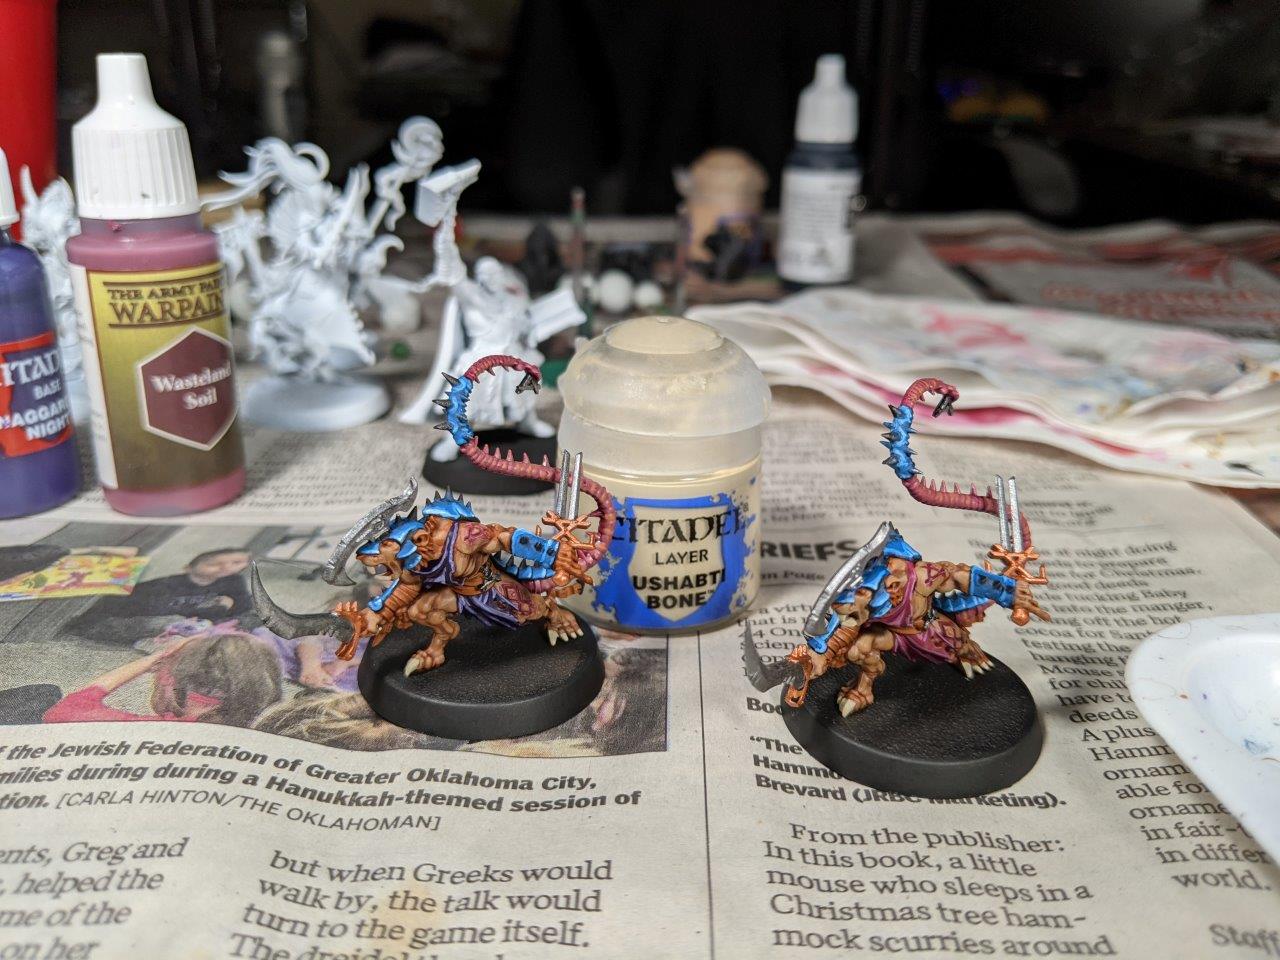
Ushabti Bone was used for the claws and the teeth.
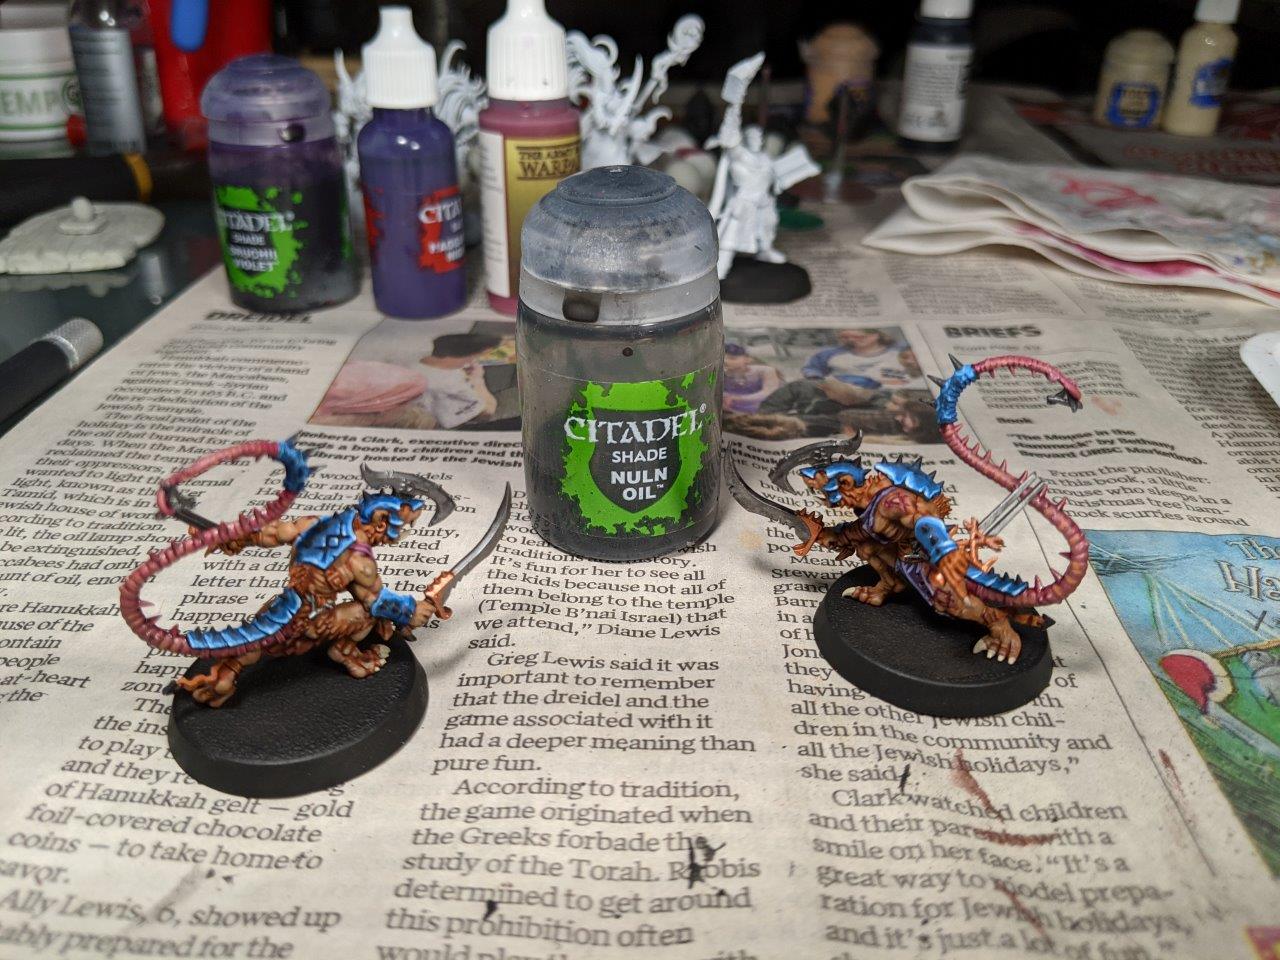
Shade over the silver with Nuln Oil

This is the recipe for a perfect sneaky-sneak rat in Silver Tower. I’m not sure what else I’ll use them for in Sigmar, but I’m sure there’s a roll in skaven for another stabby rat.