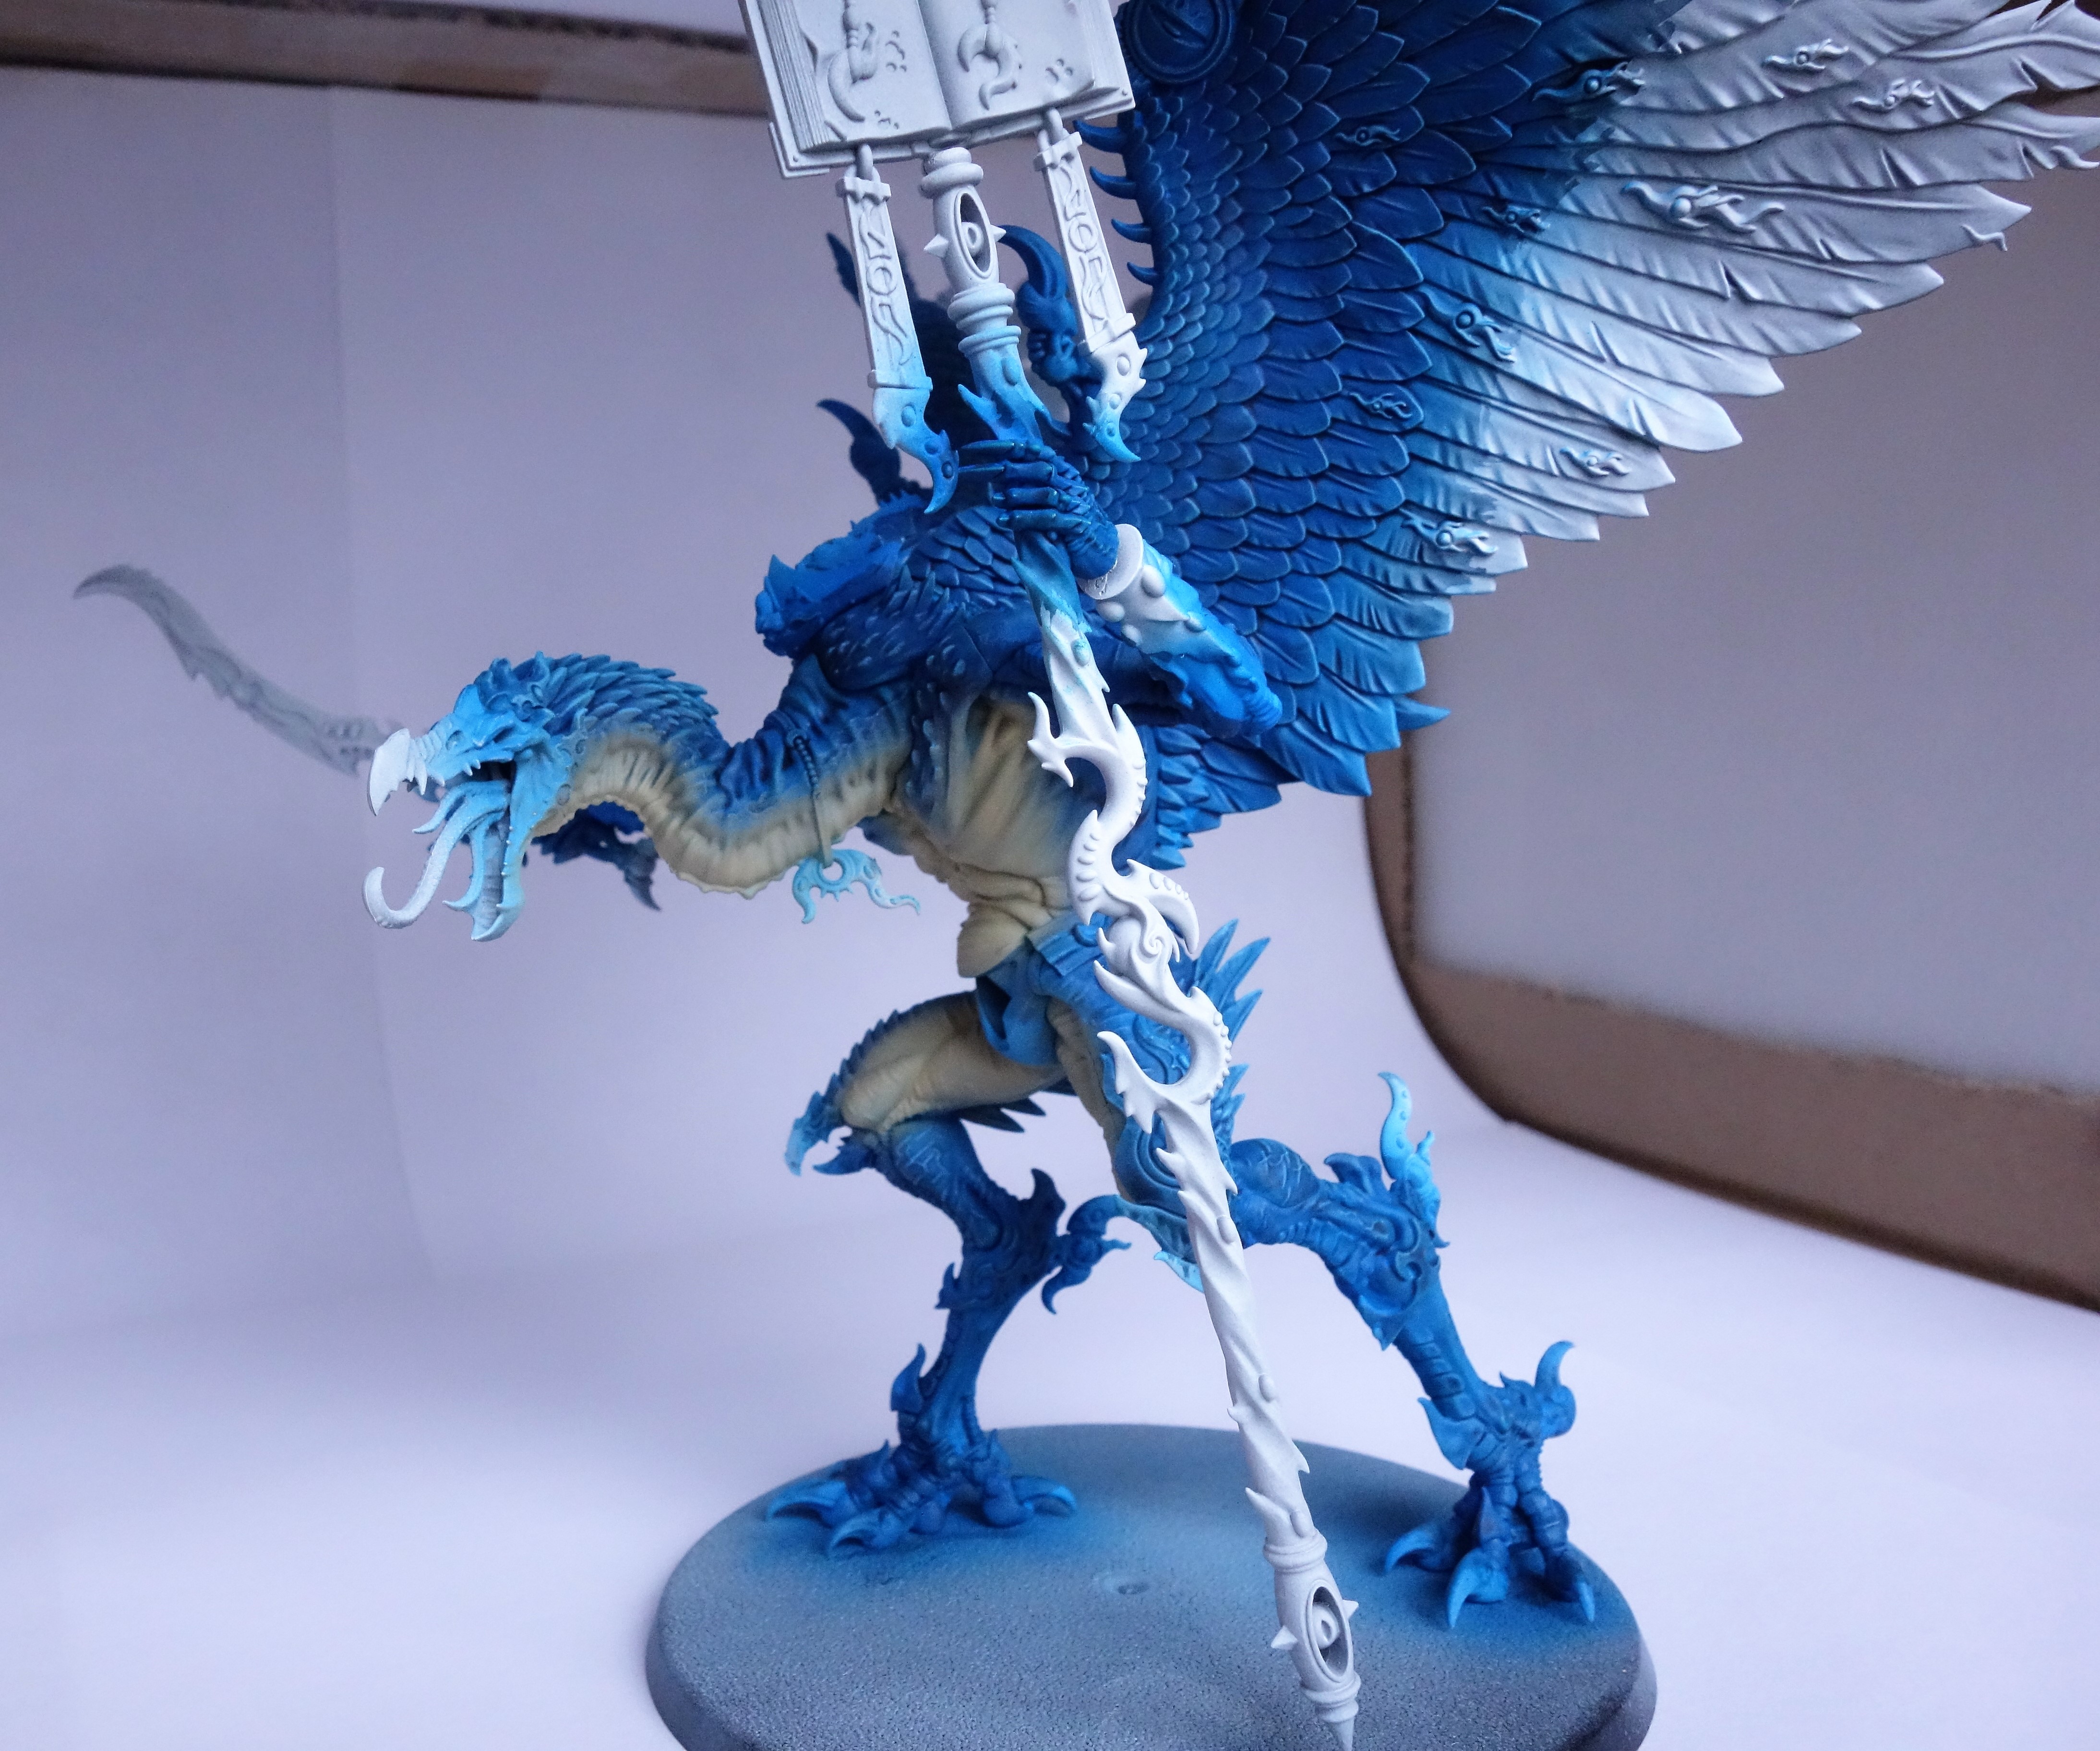
I’d say finished first but I haven’t gotten him finished yet so this will have to do for now. 

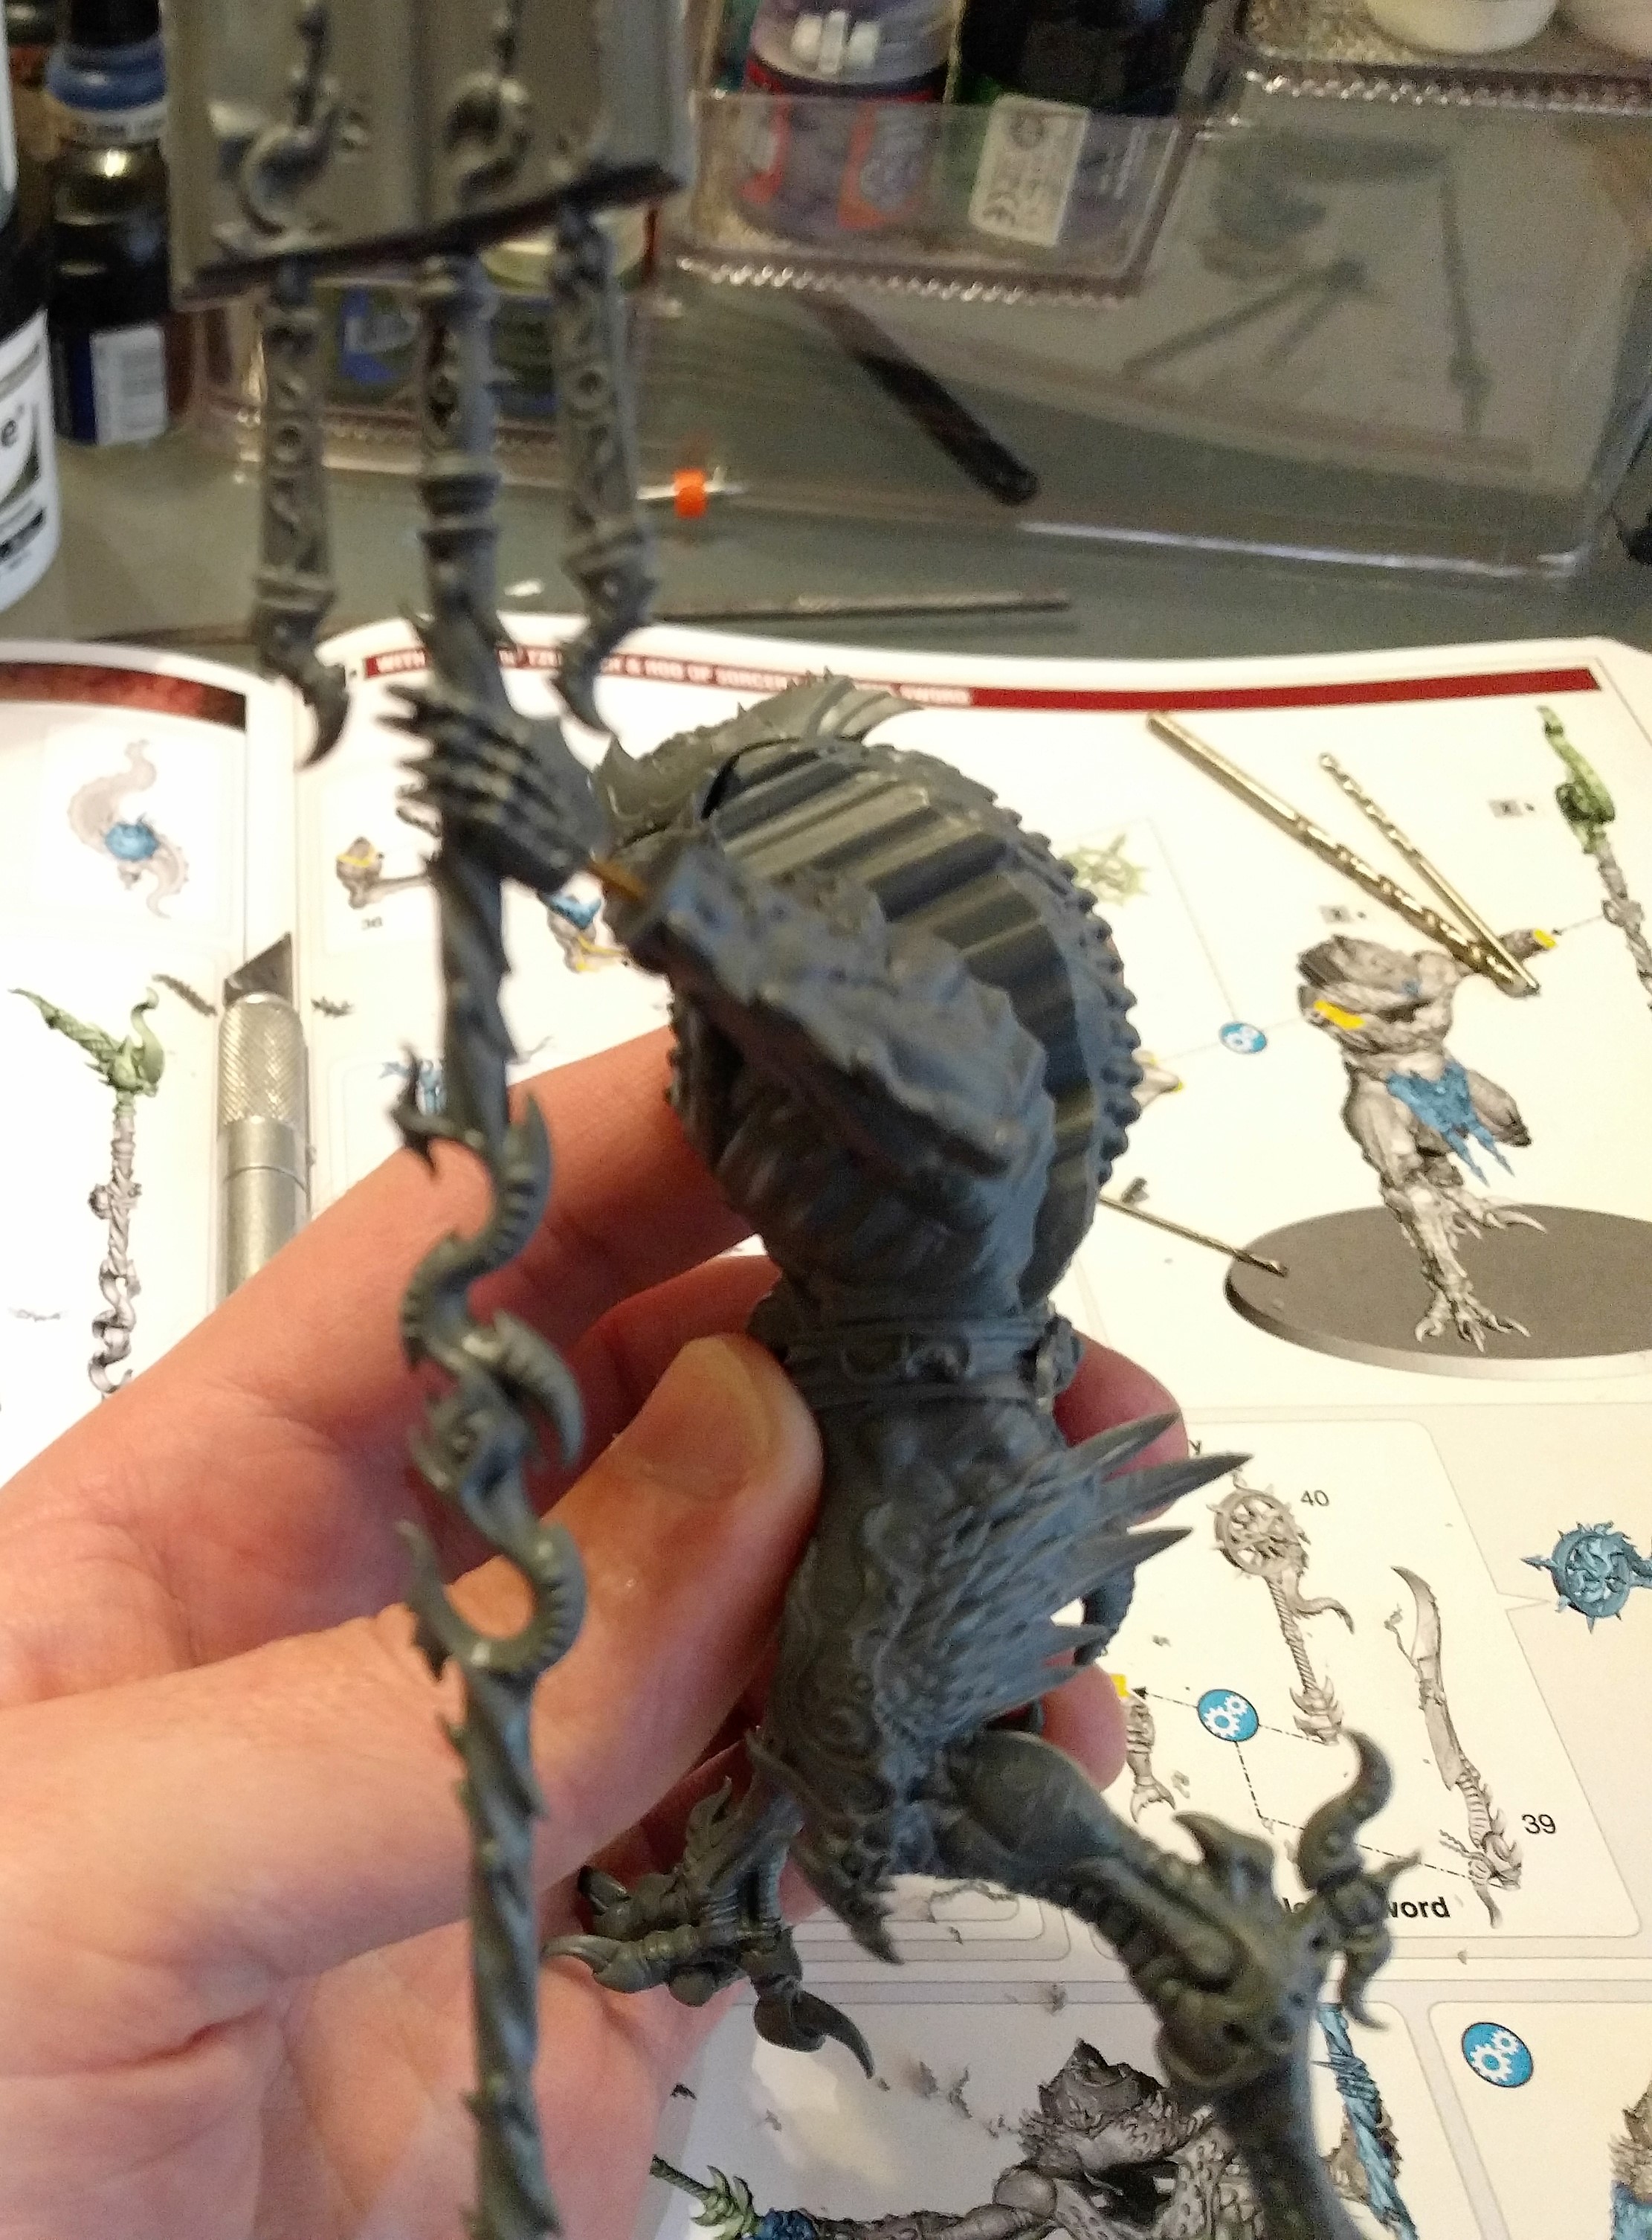
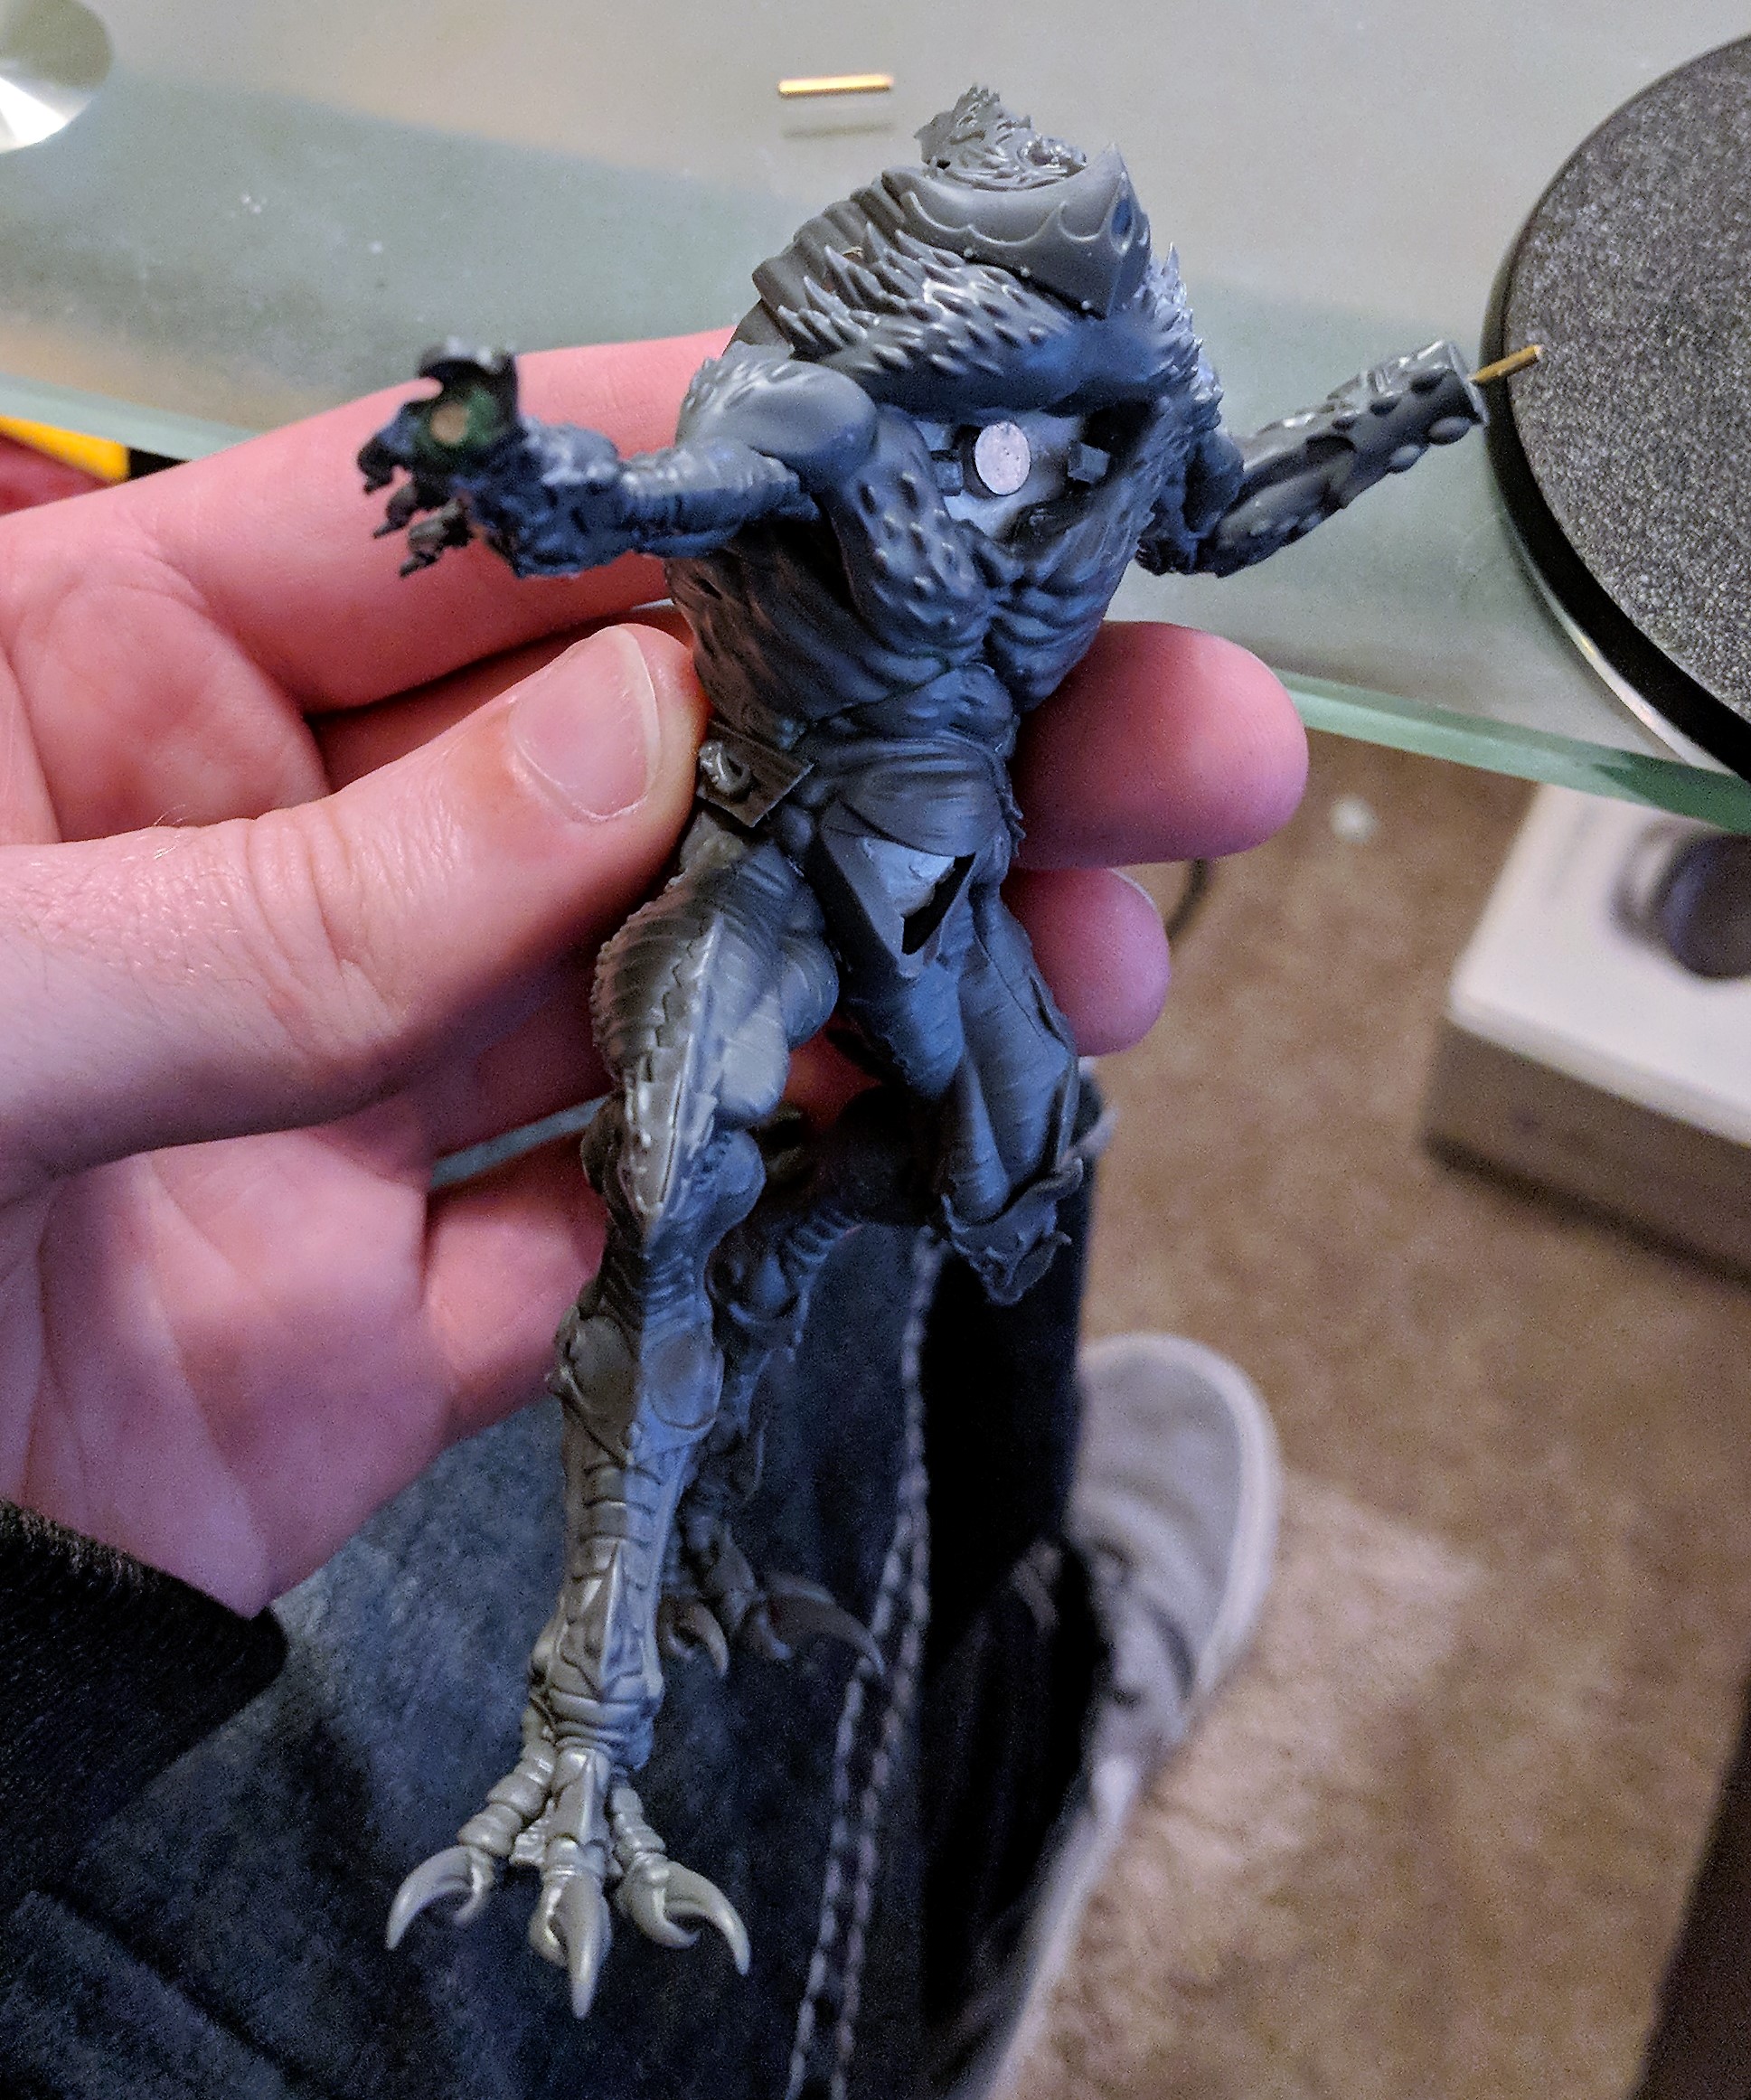
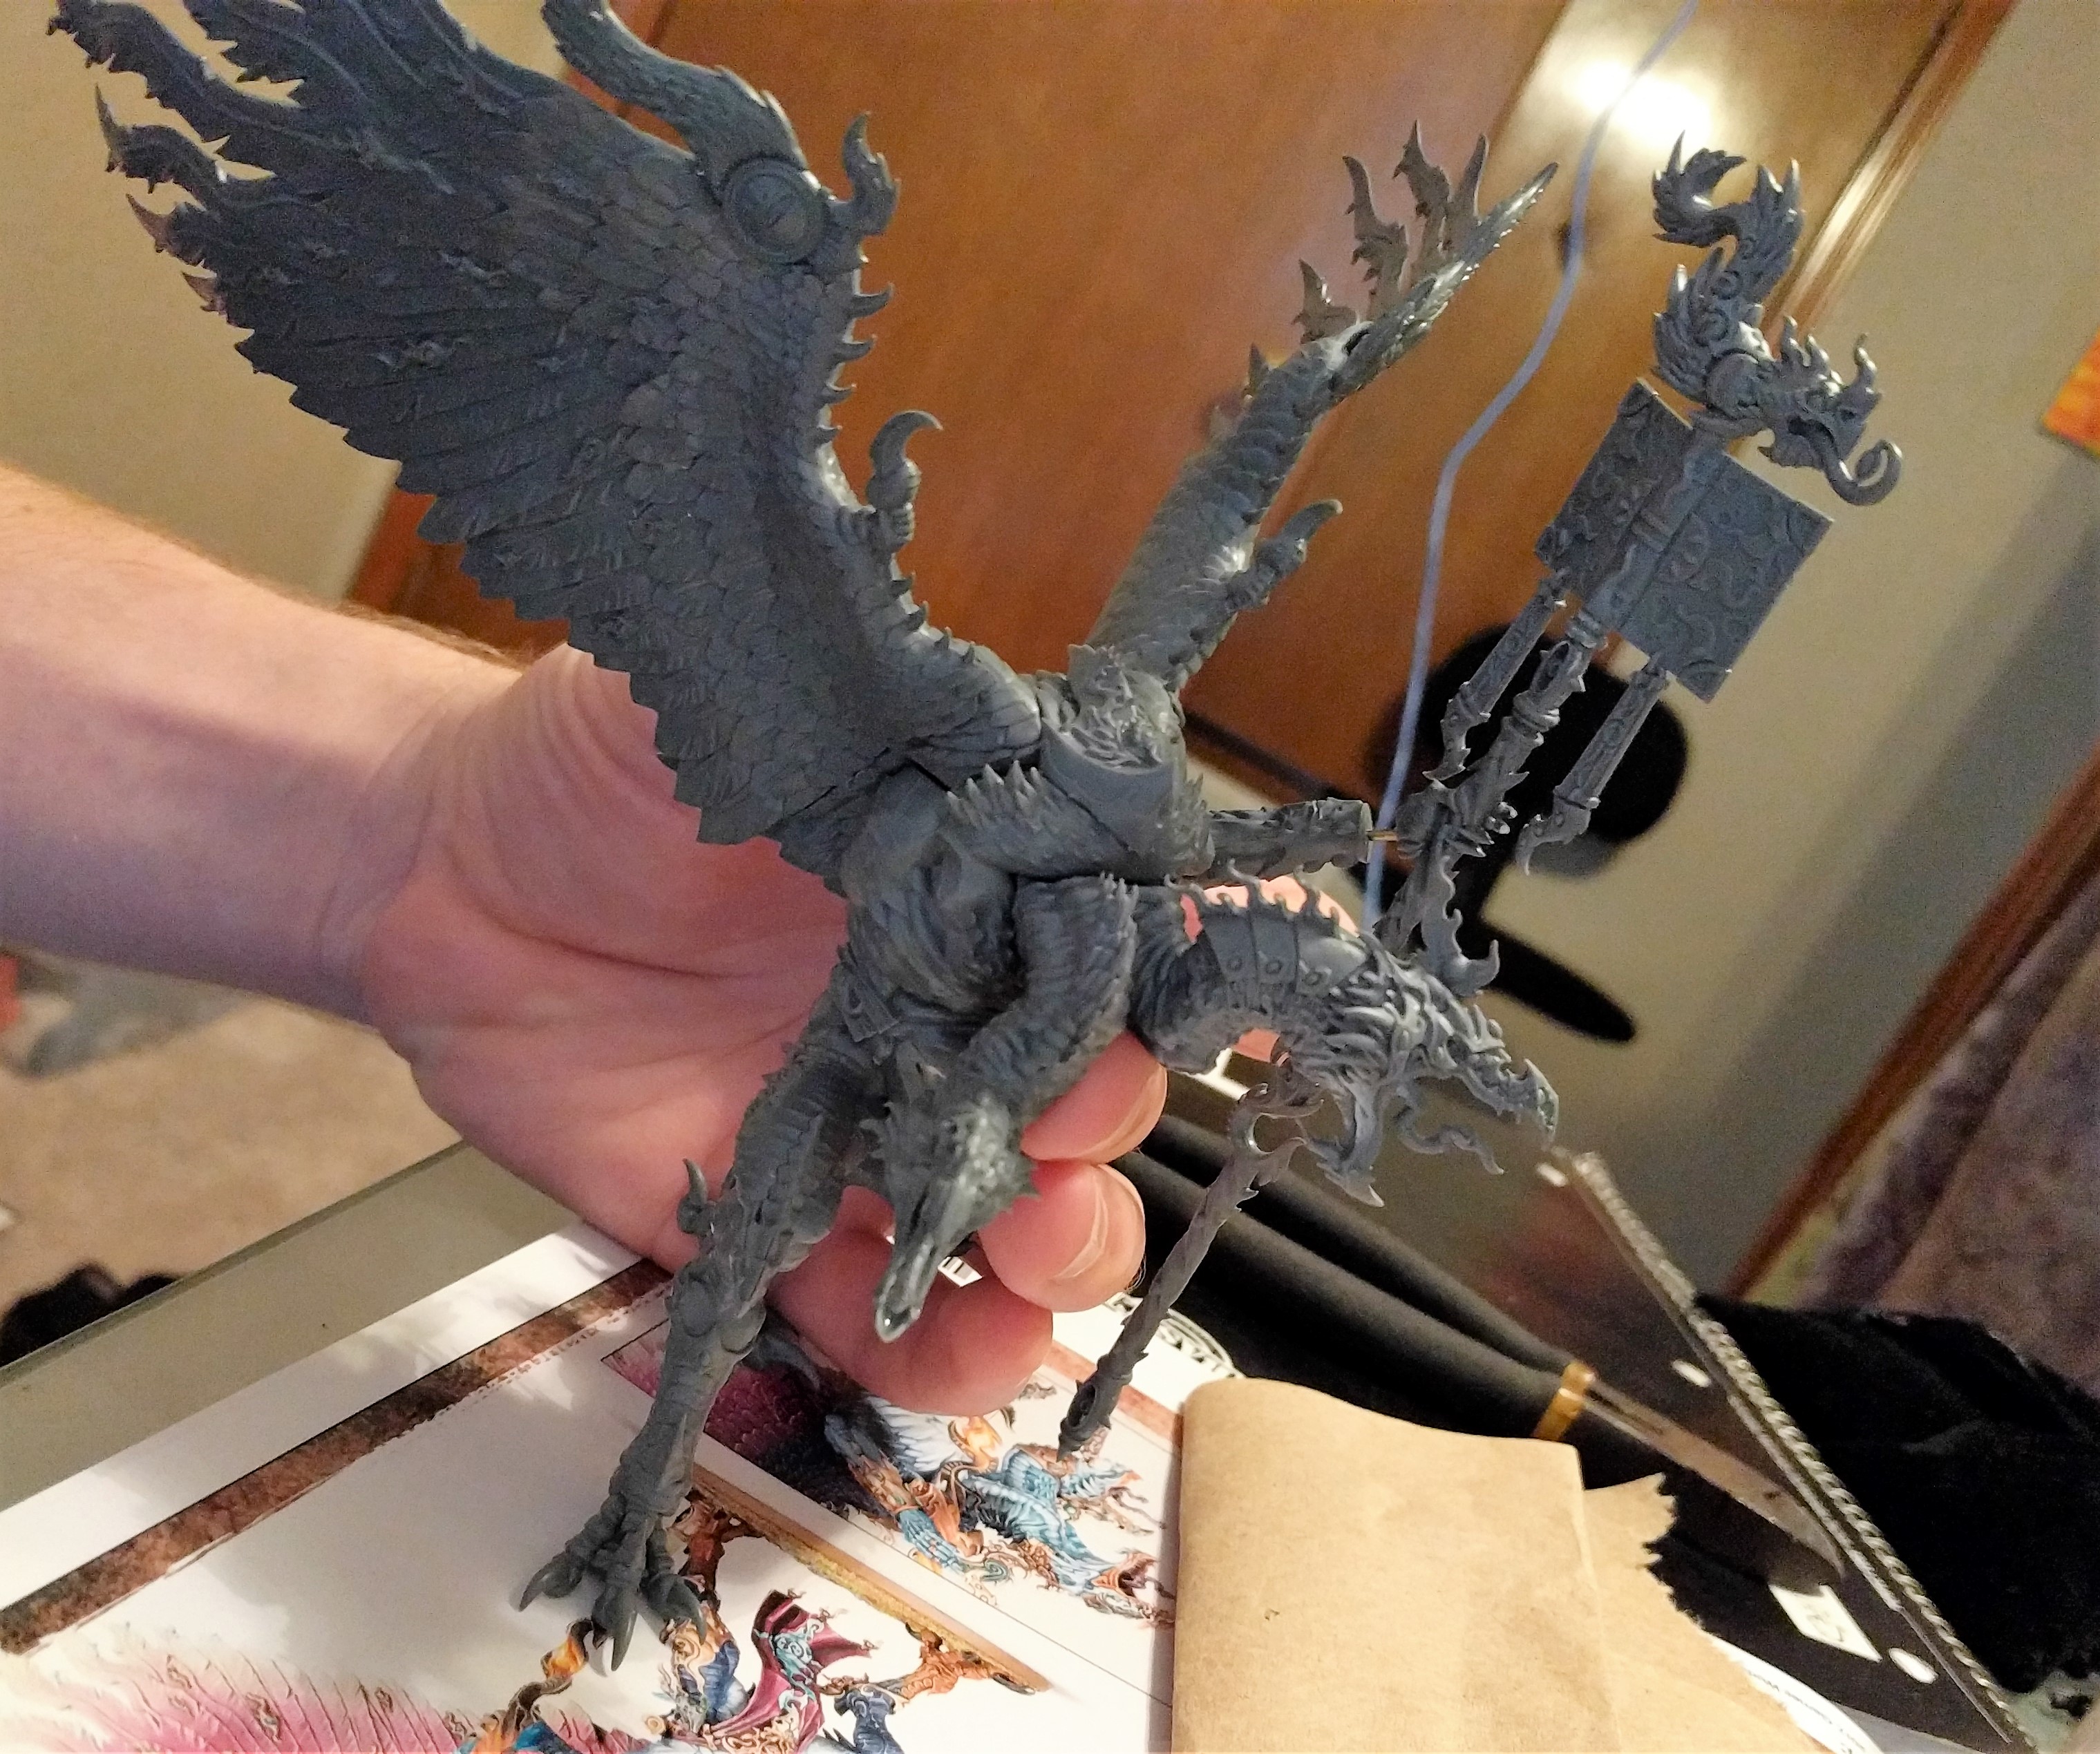
I have spent the last several months working up the courage to build and paint the new lord of change model from games workshop. I didn’t want to put him all together with glue even though he seems like a fairly sturdy model for transport. (I feel bad for those night haunt players.) 

To magnetize the lord of change I would suggest you look through all of this and be confident with having done a few other magnet jobs first. This was no easy project.

First we need something to attach magnets to. I used this stuff from amazon. There’s way more than you will need in these pots so you’ll be able to make lots of cool stuff with the left over.
I filled the torso, being careful not to get any of the epoxy on the outside because it will dry hard as a rock.
Next I filled in the legs just to give them some more mass.
Sorry I skipped a step. After the second leg was on I filled in the area in the crotch and the rest of the space in the torso looking to make sure there was room for the front of the torso.
I filled in each head and neck as I went along giving them time to cure before worrying about adding magnet, but make sure the double head fits together before you let it cure. 
Can’t tell they are any different from normal.
Potato picture, but you can see the pin I used for the hand holding the staff. I couldn’t get a magnet in there that I would be happy with holding a piece that big.
I wanted to fit 2 of these 5 mm magnets in the wings but there wasn’t quite enough room so I went with one 5mm and one 3mm on each side.
Using the epoxy sculpt here would have been a nightmare so instead I opted for some green stuff to work around the wing magnets.
I drilled in the 3mm magnets in the wings and press fit them in place with some super glue.
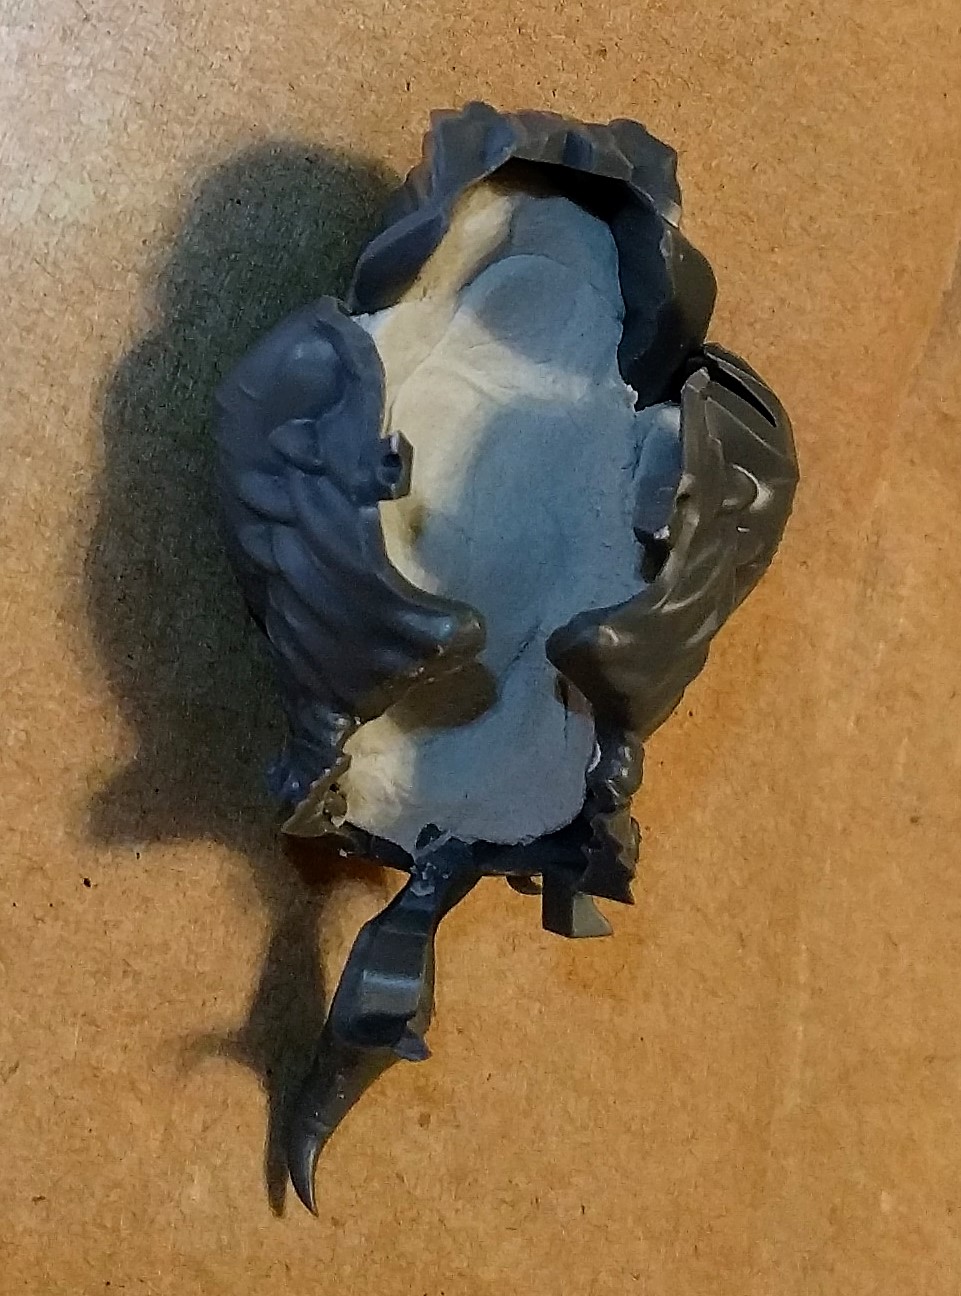
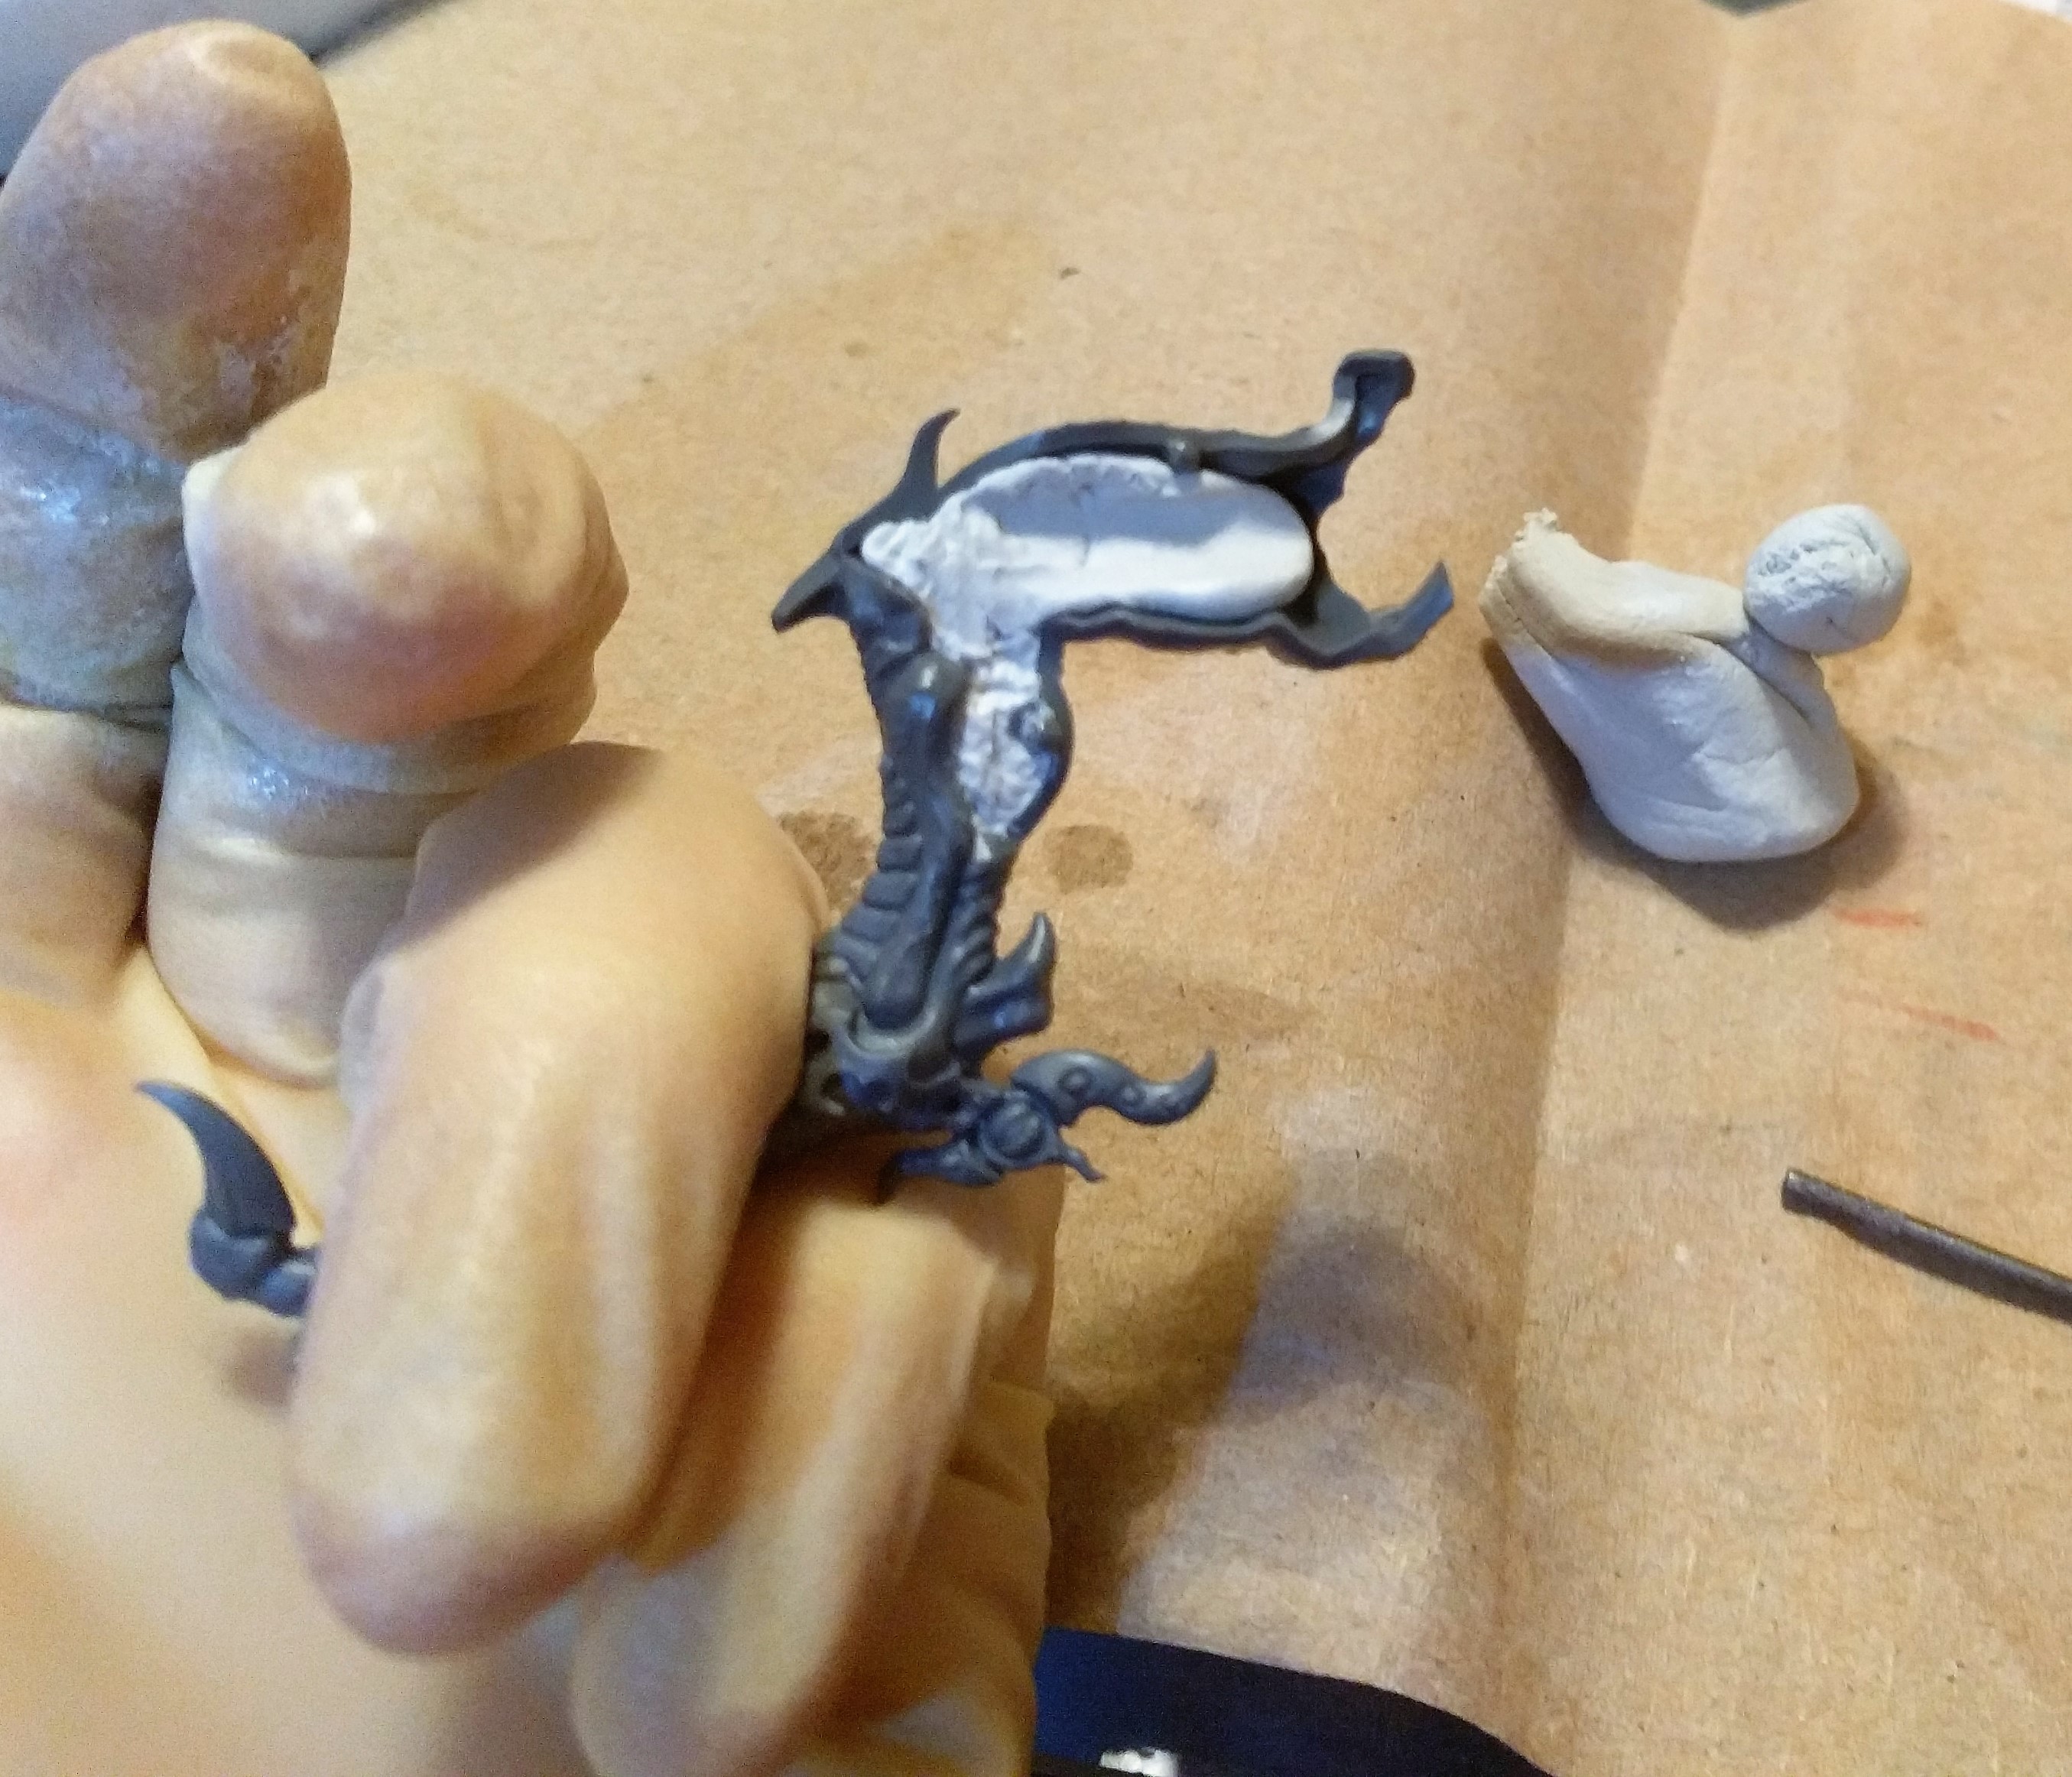
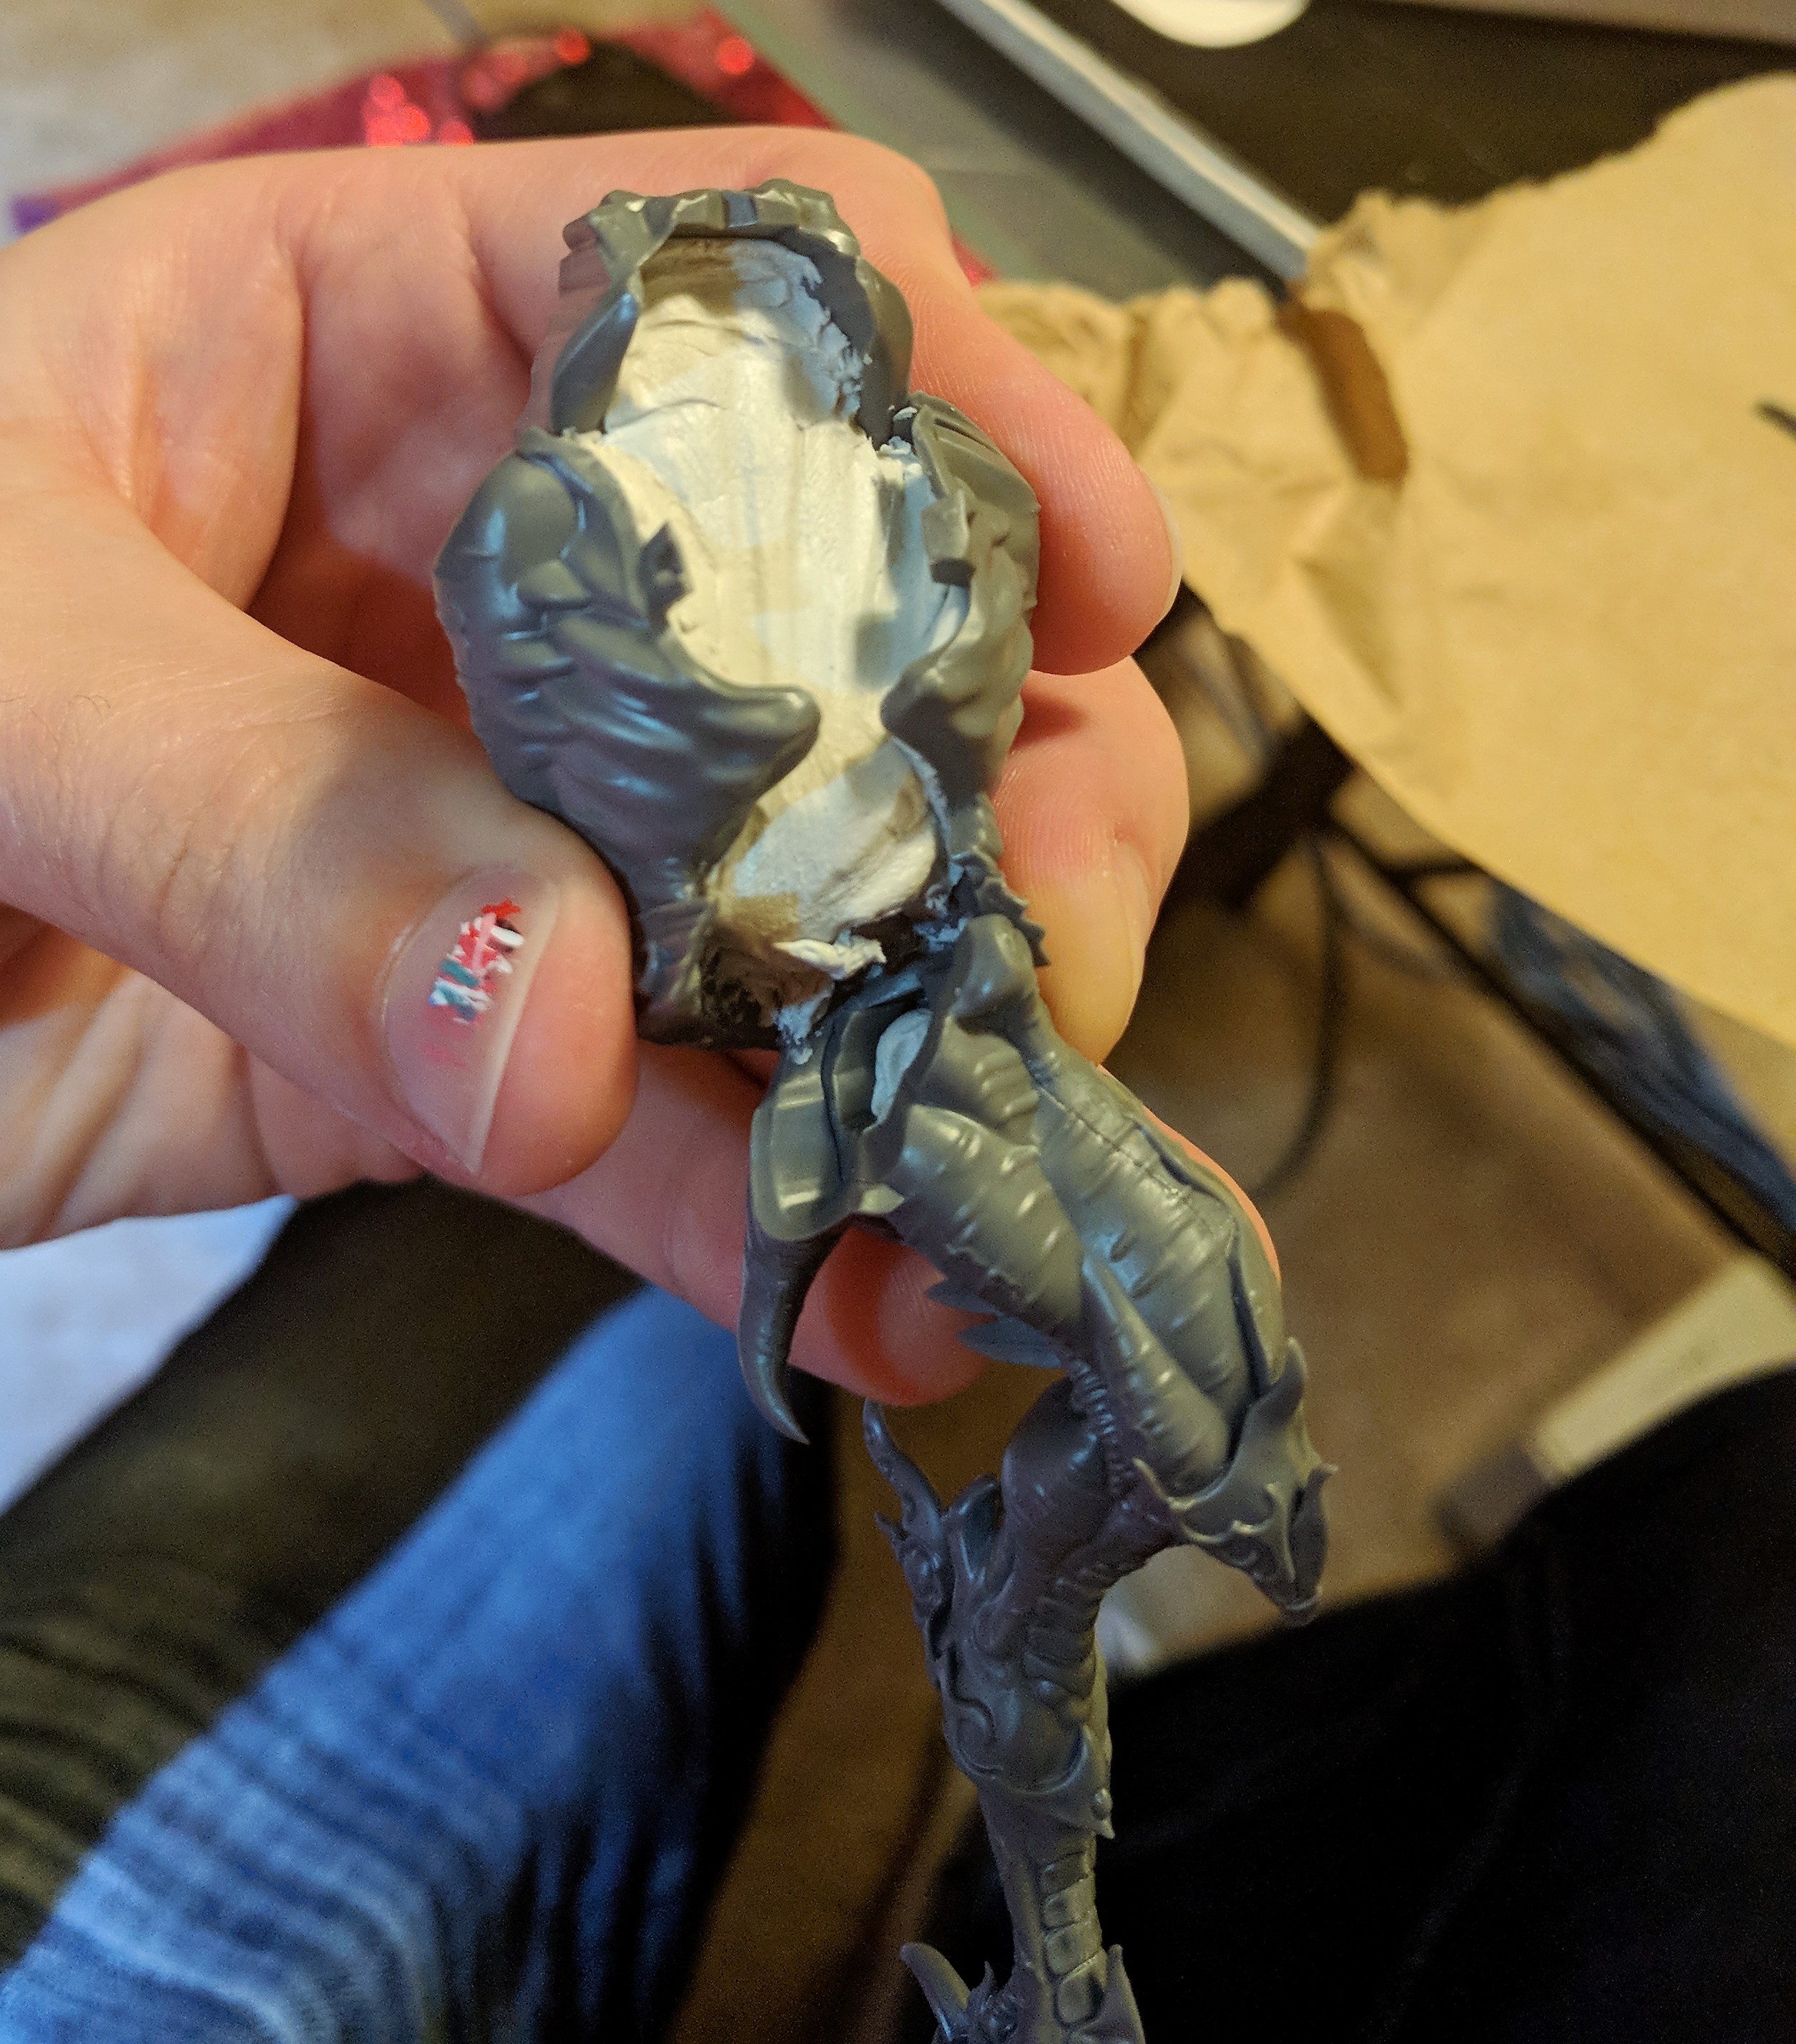
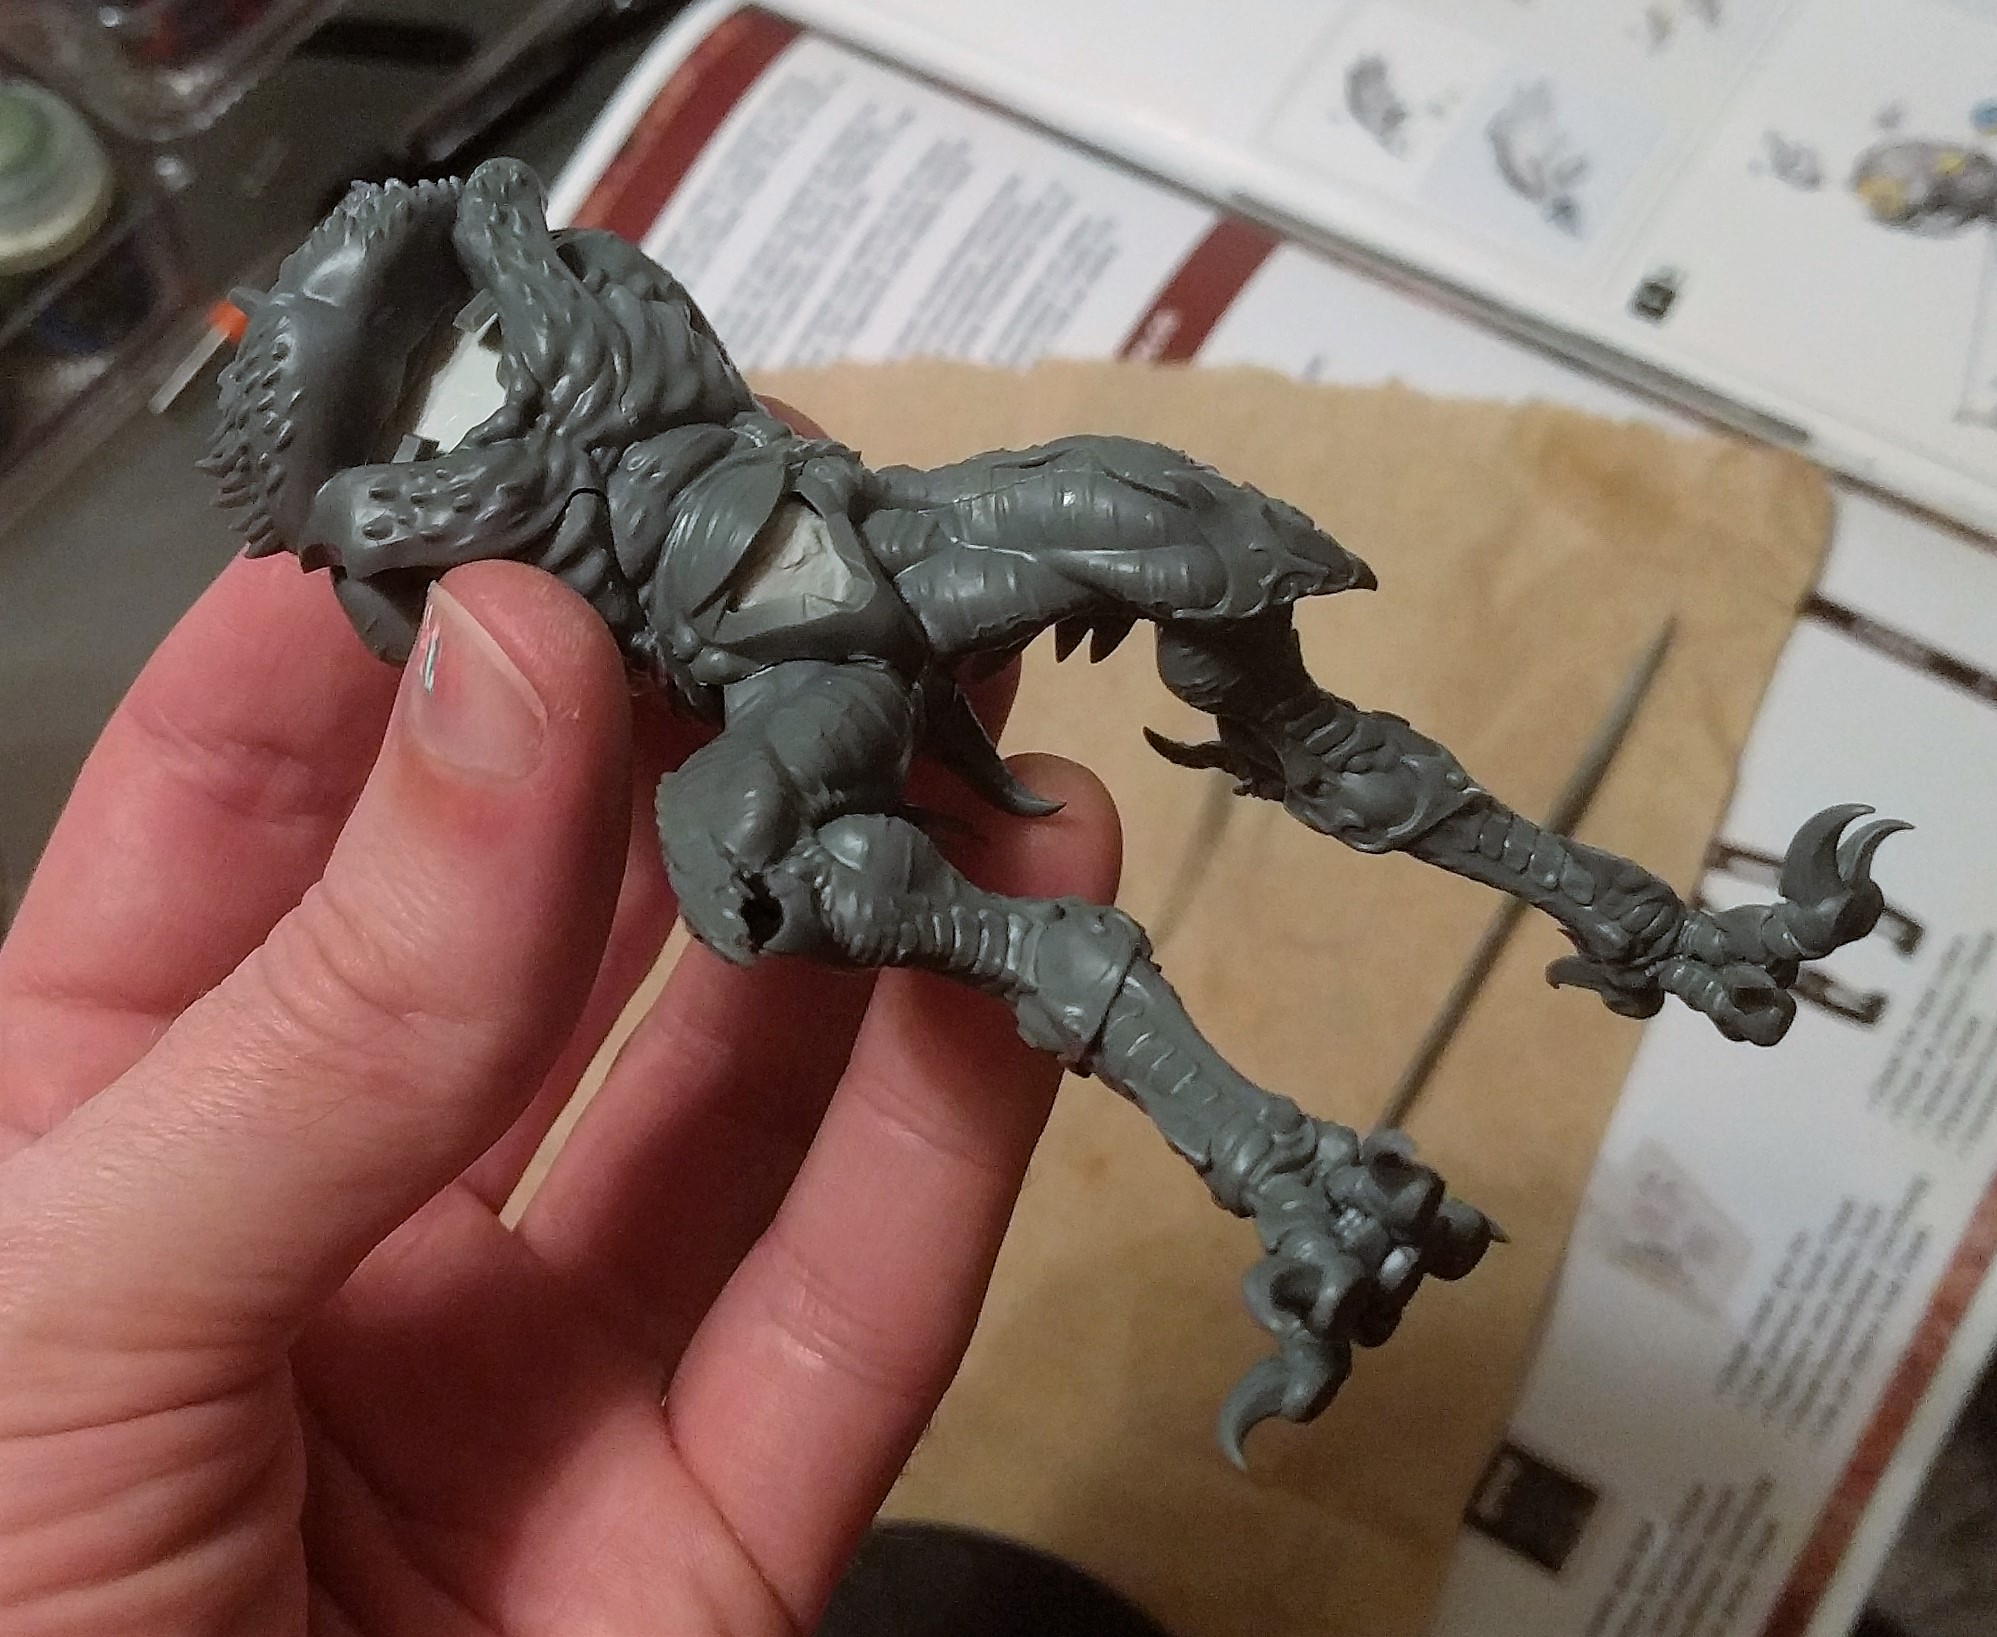
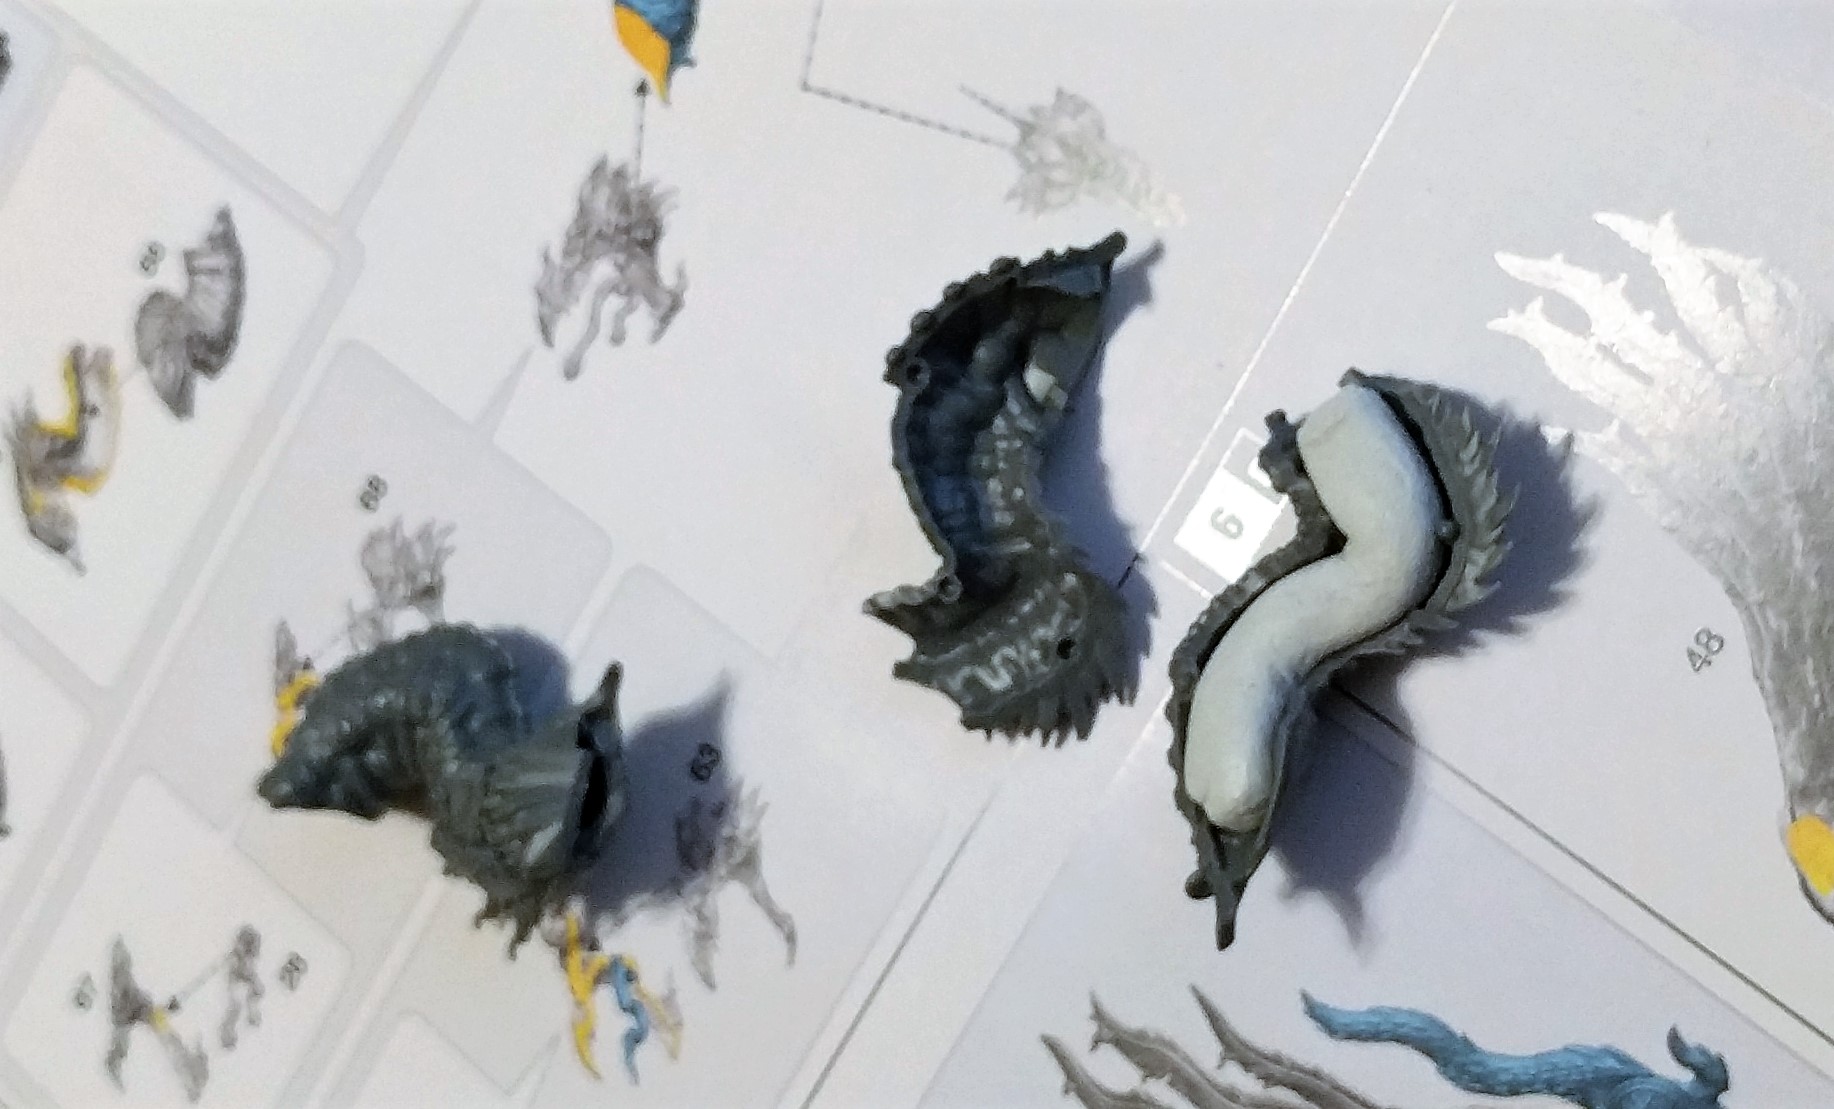
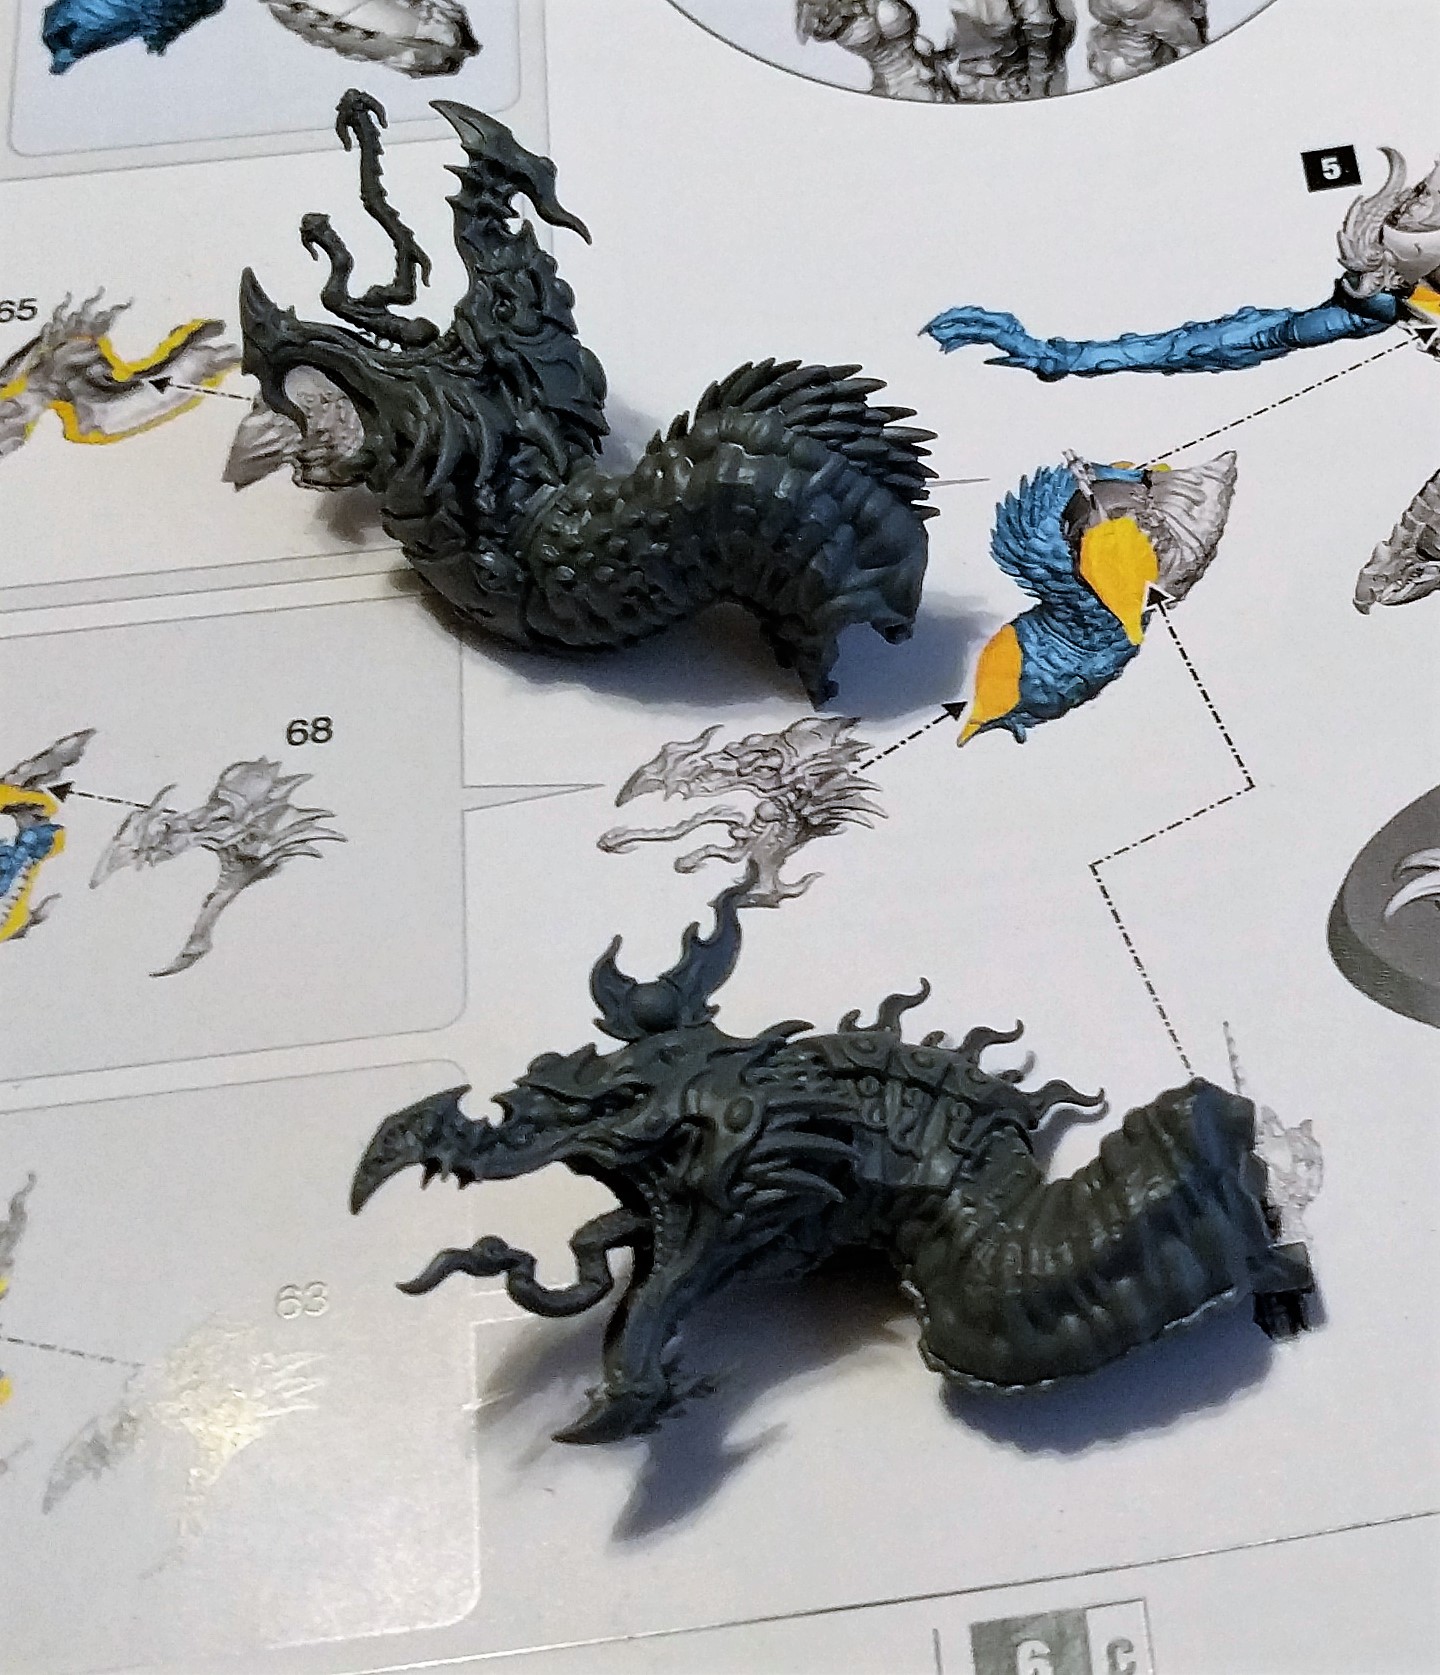
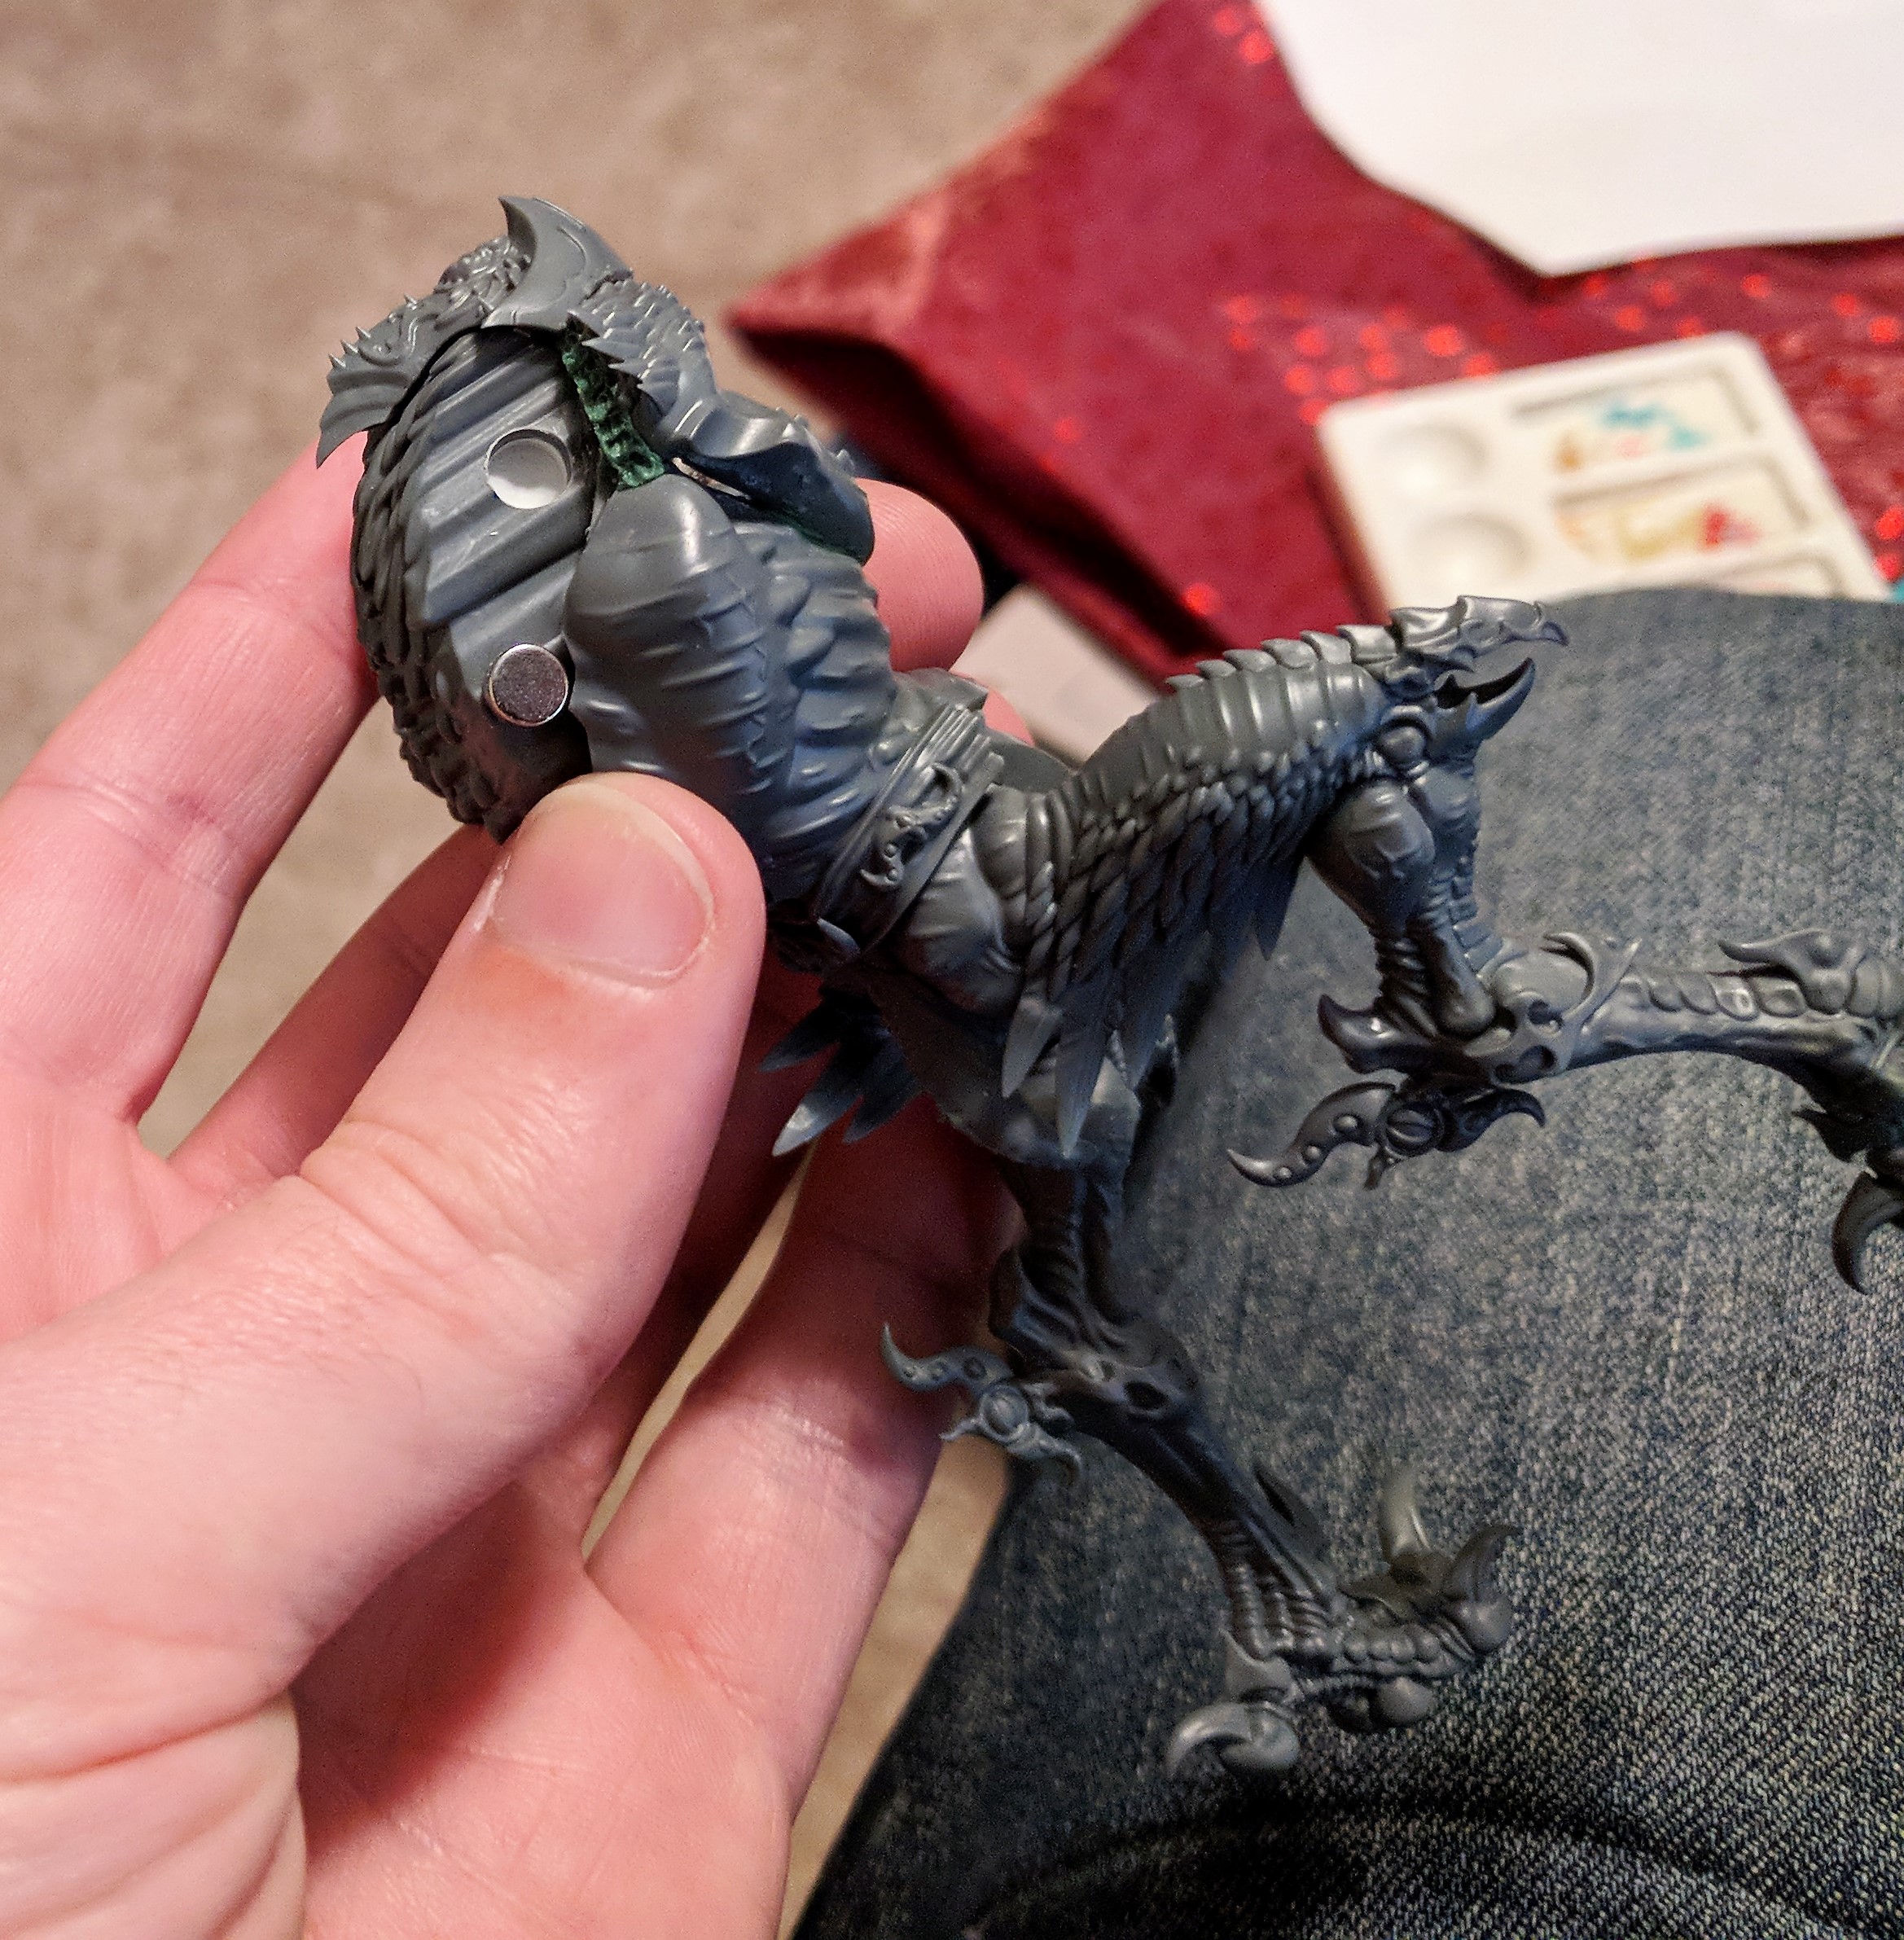
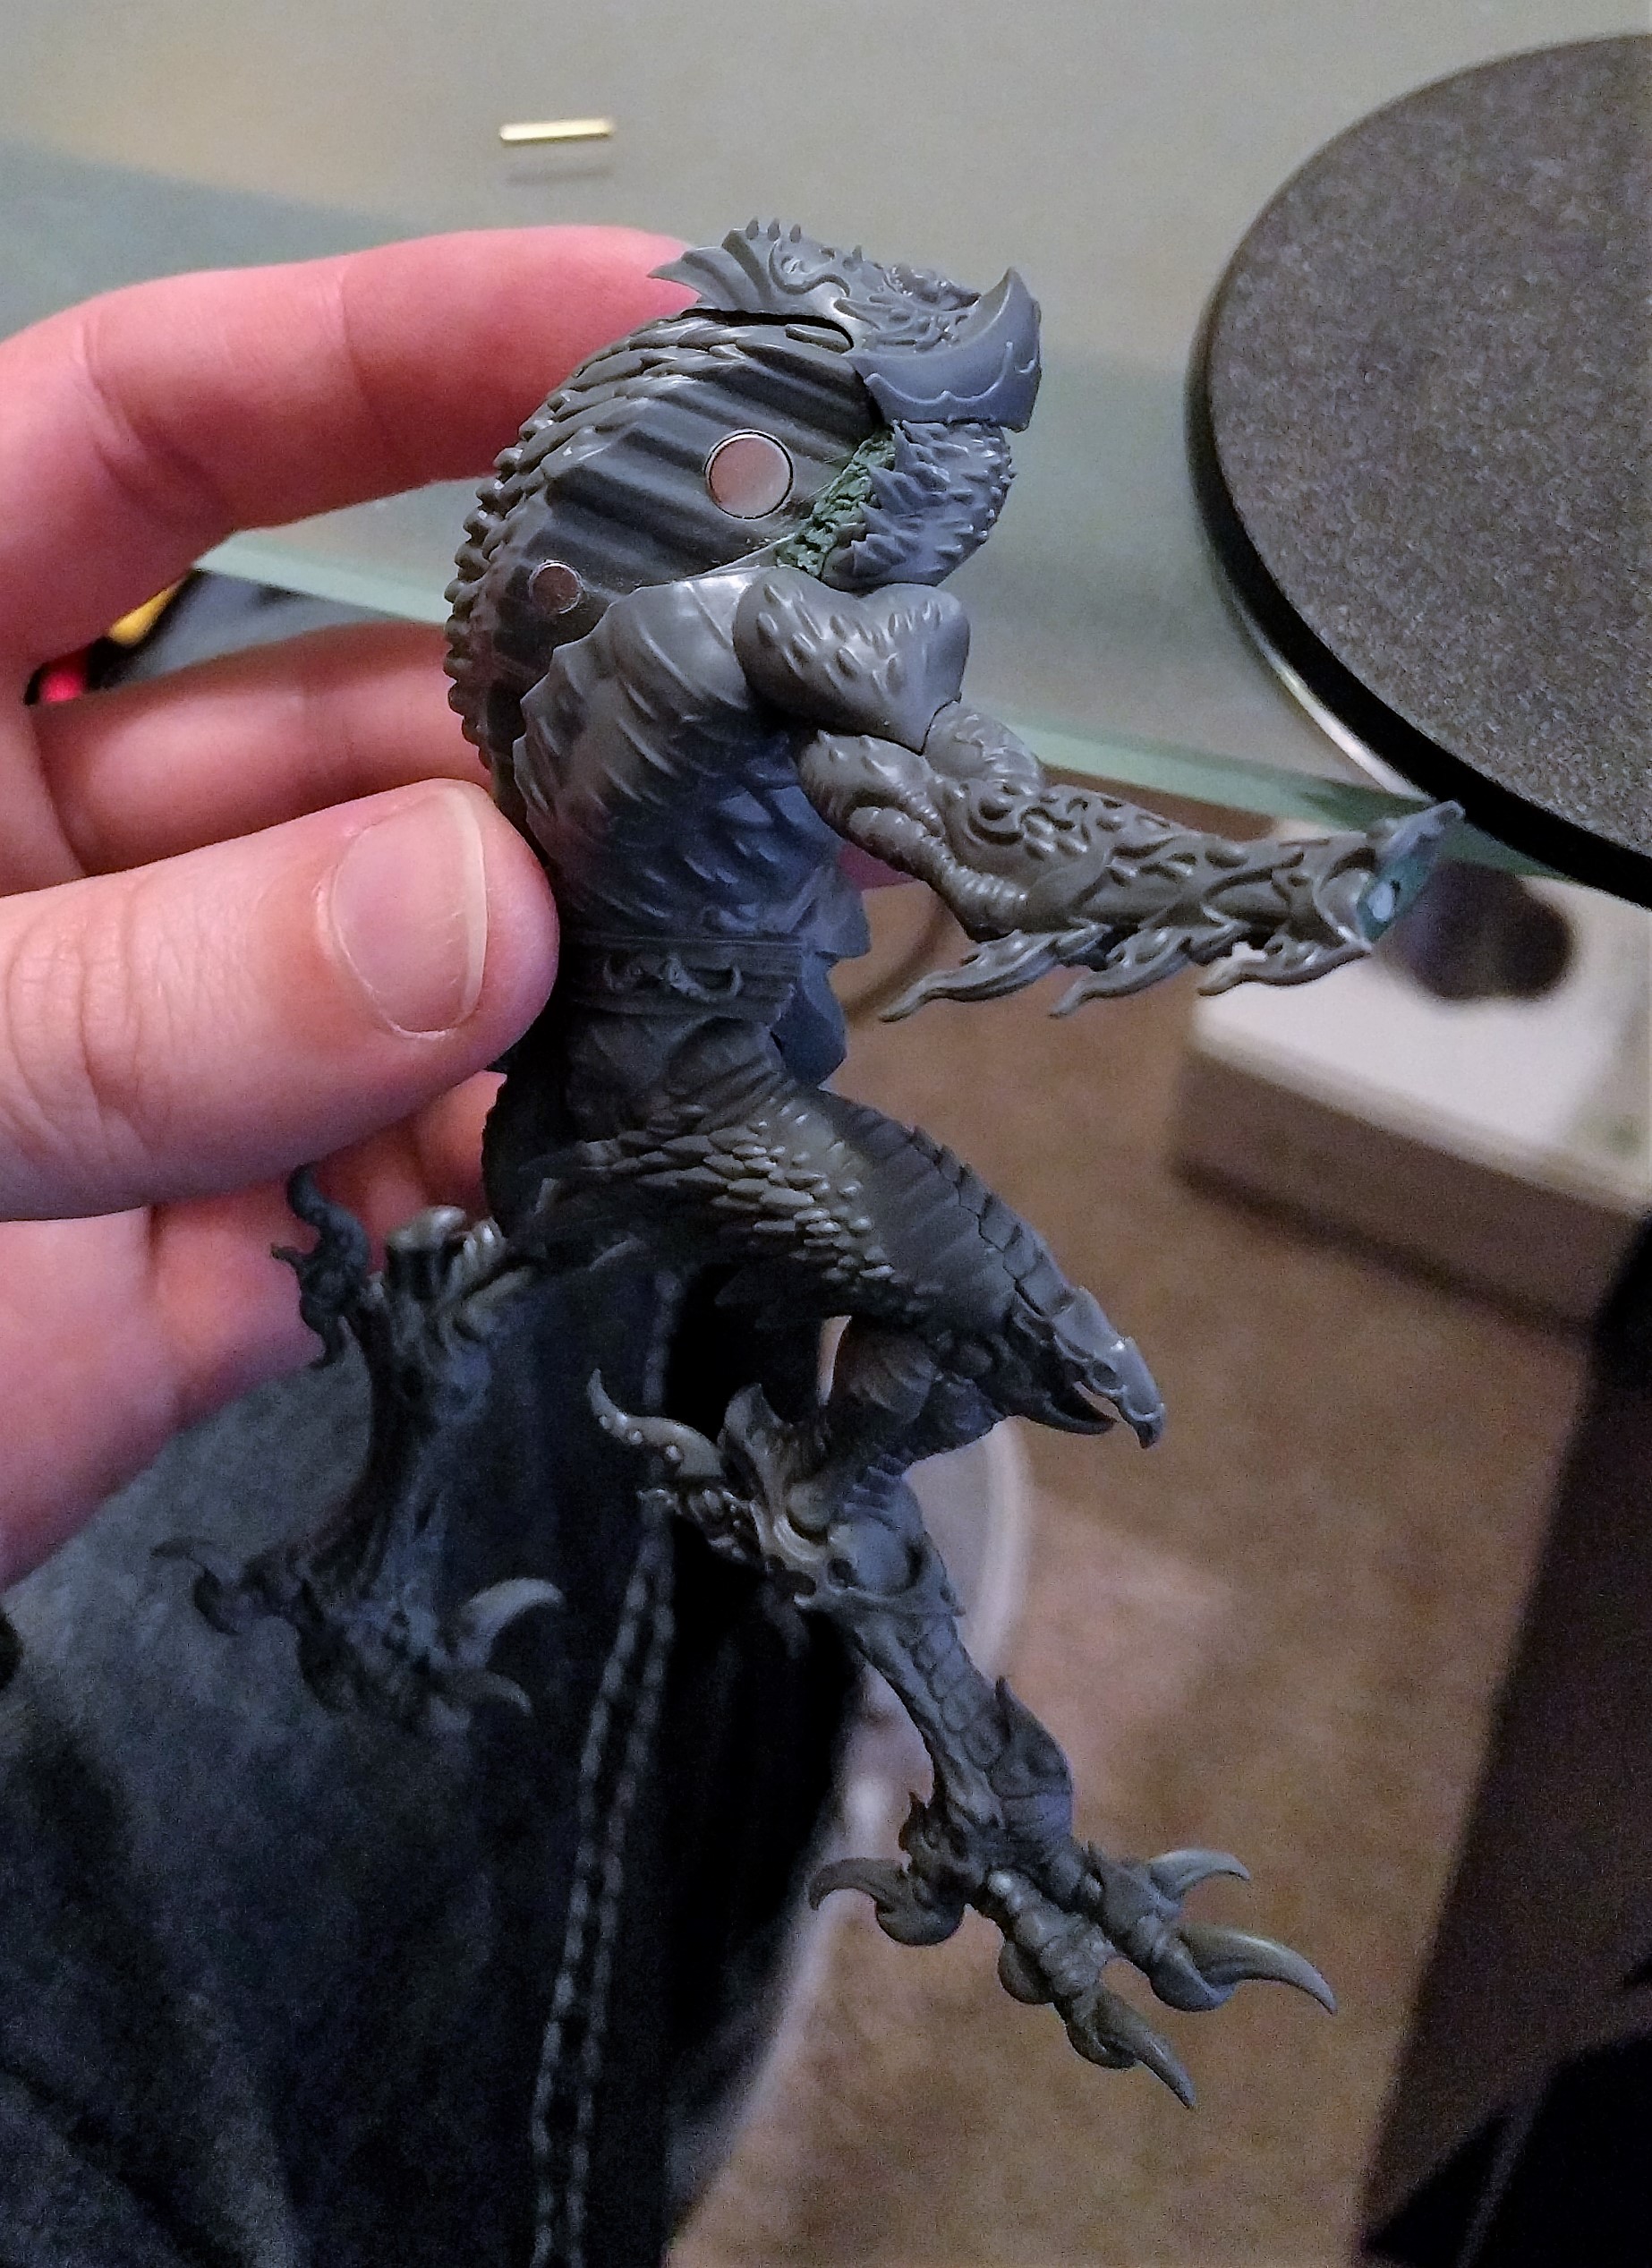
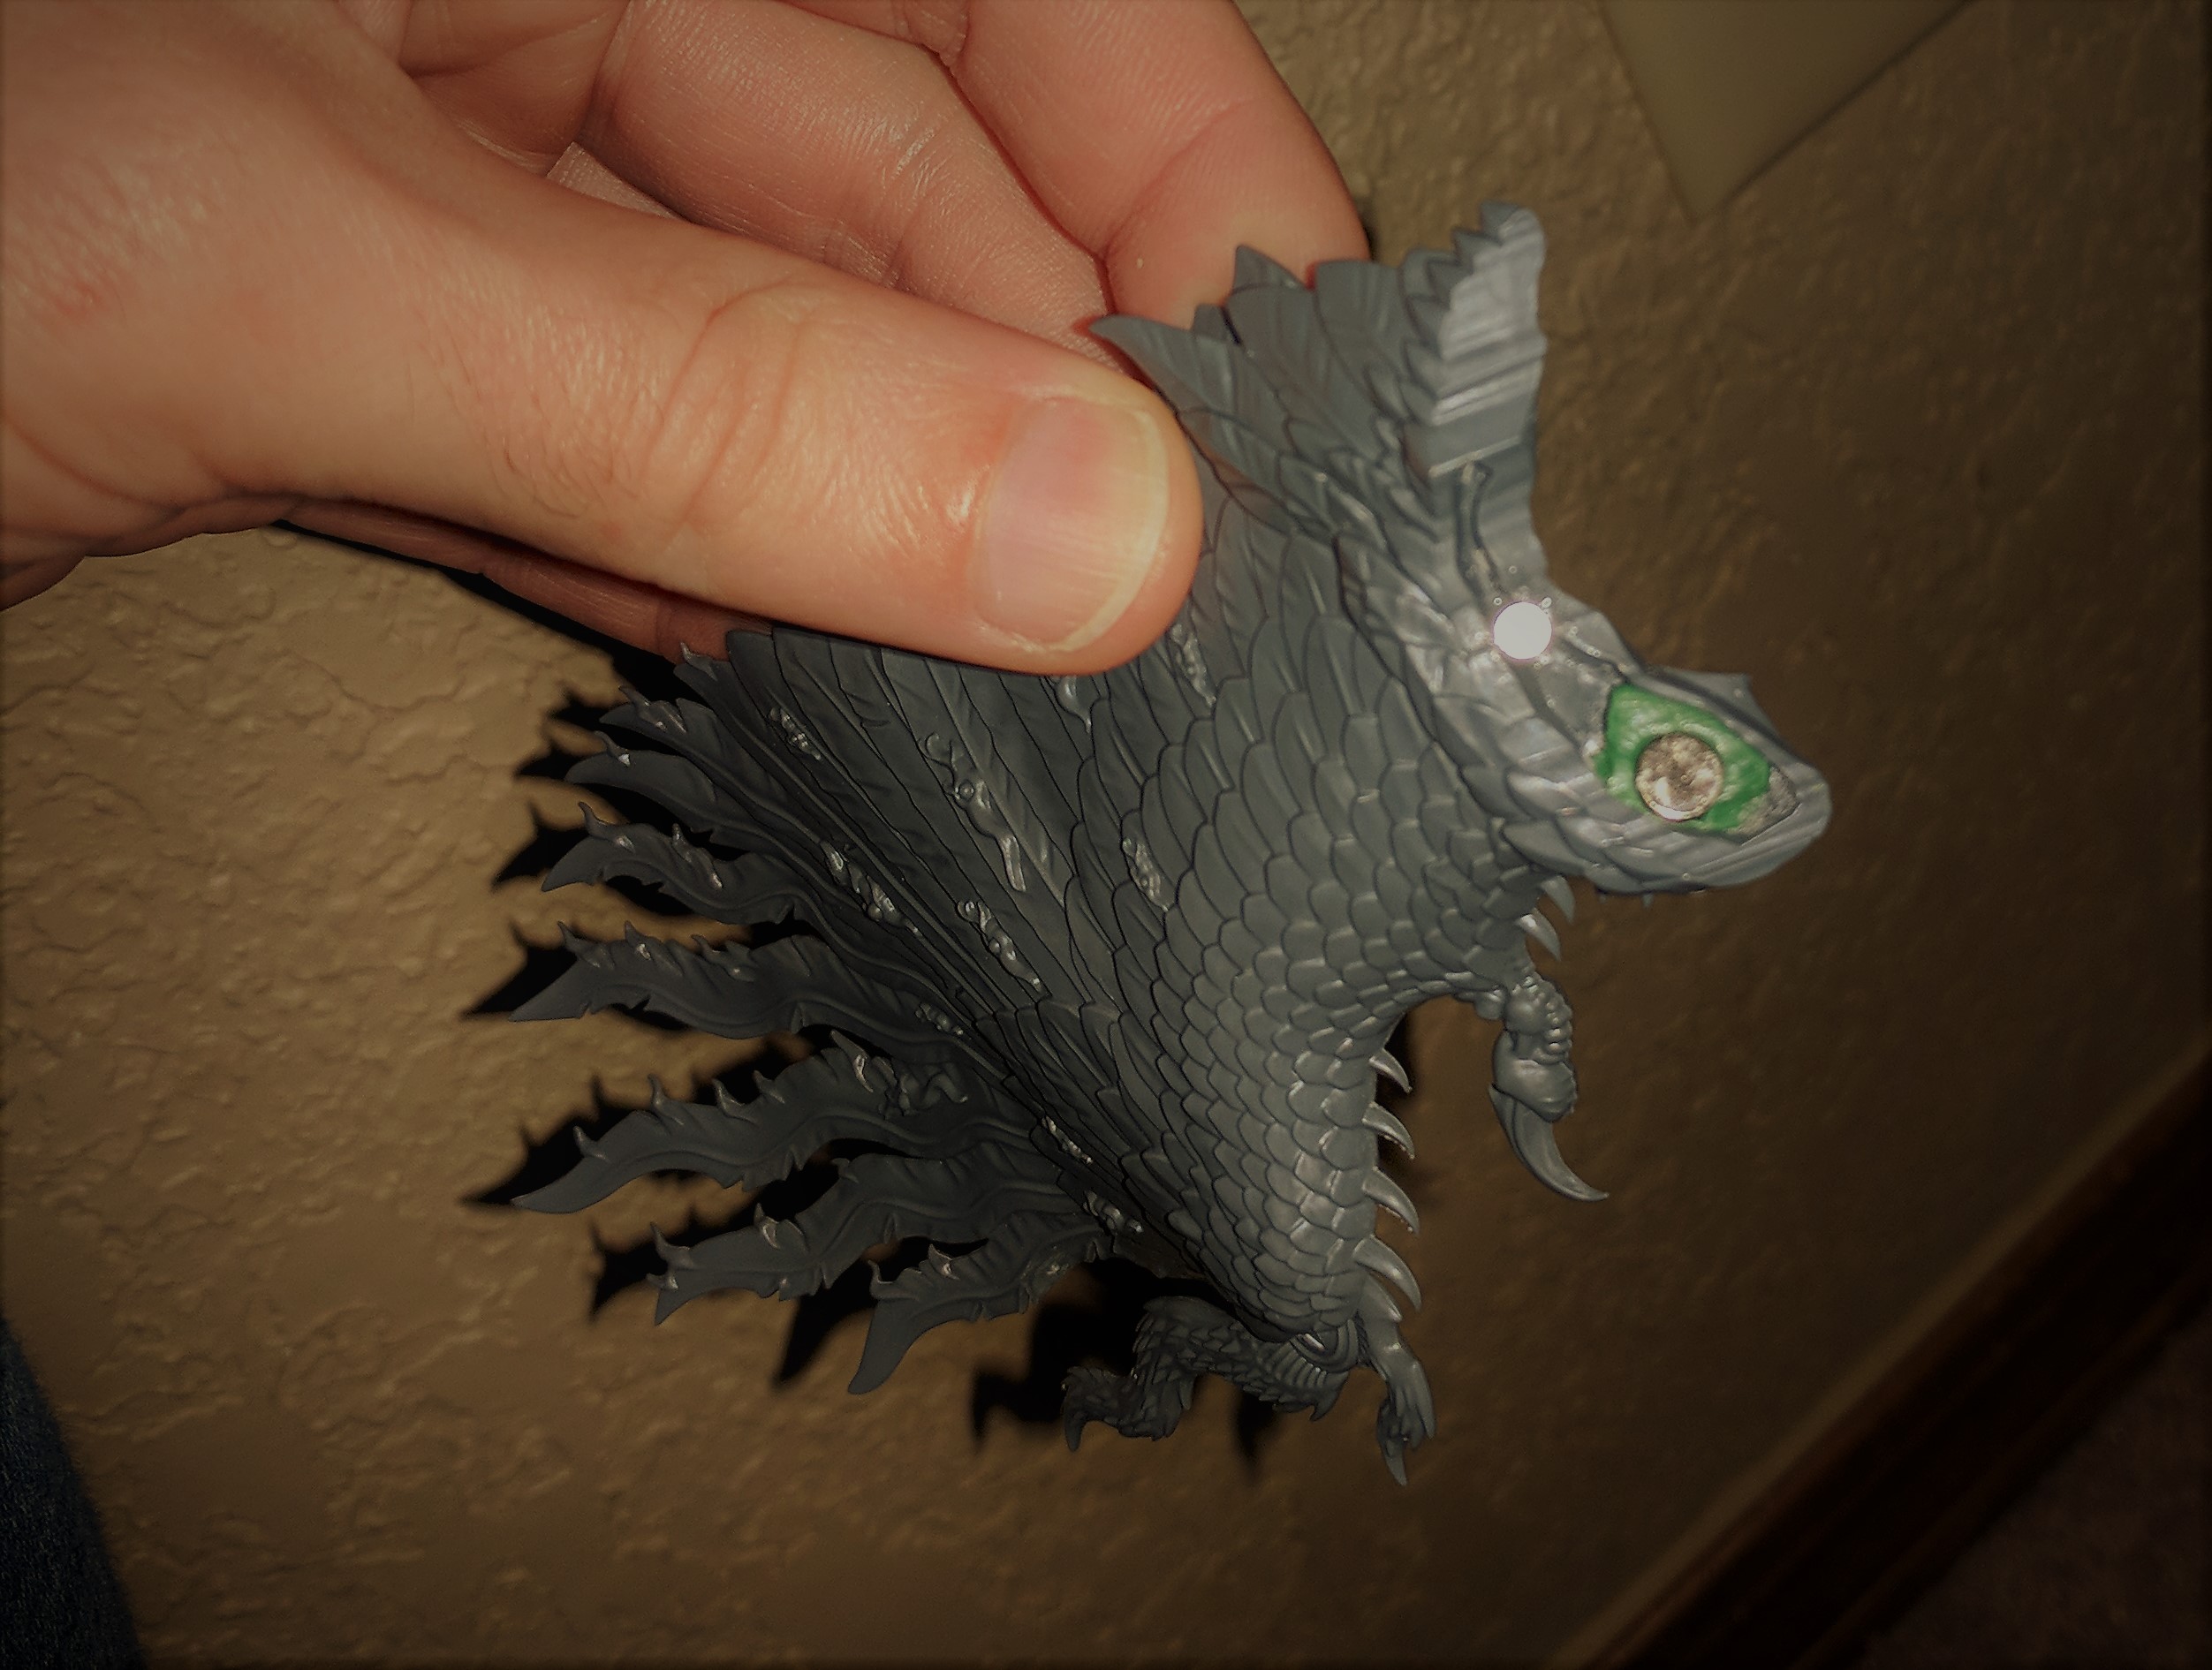
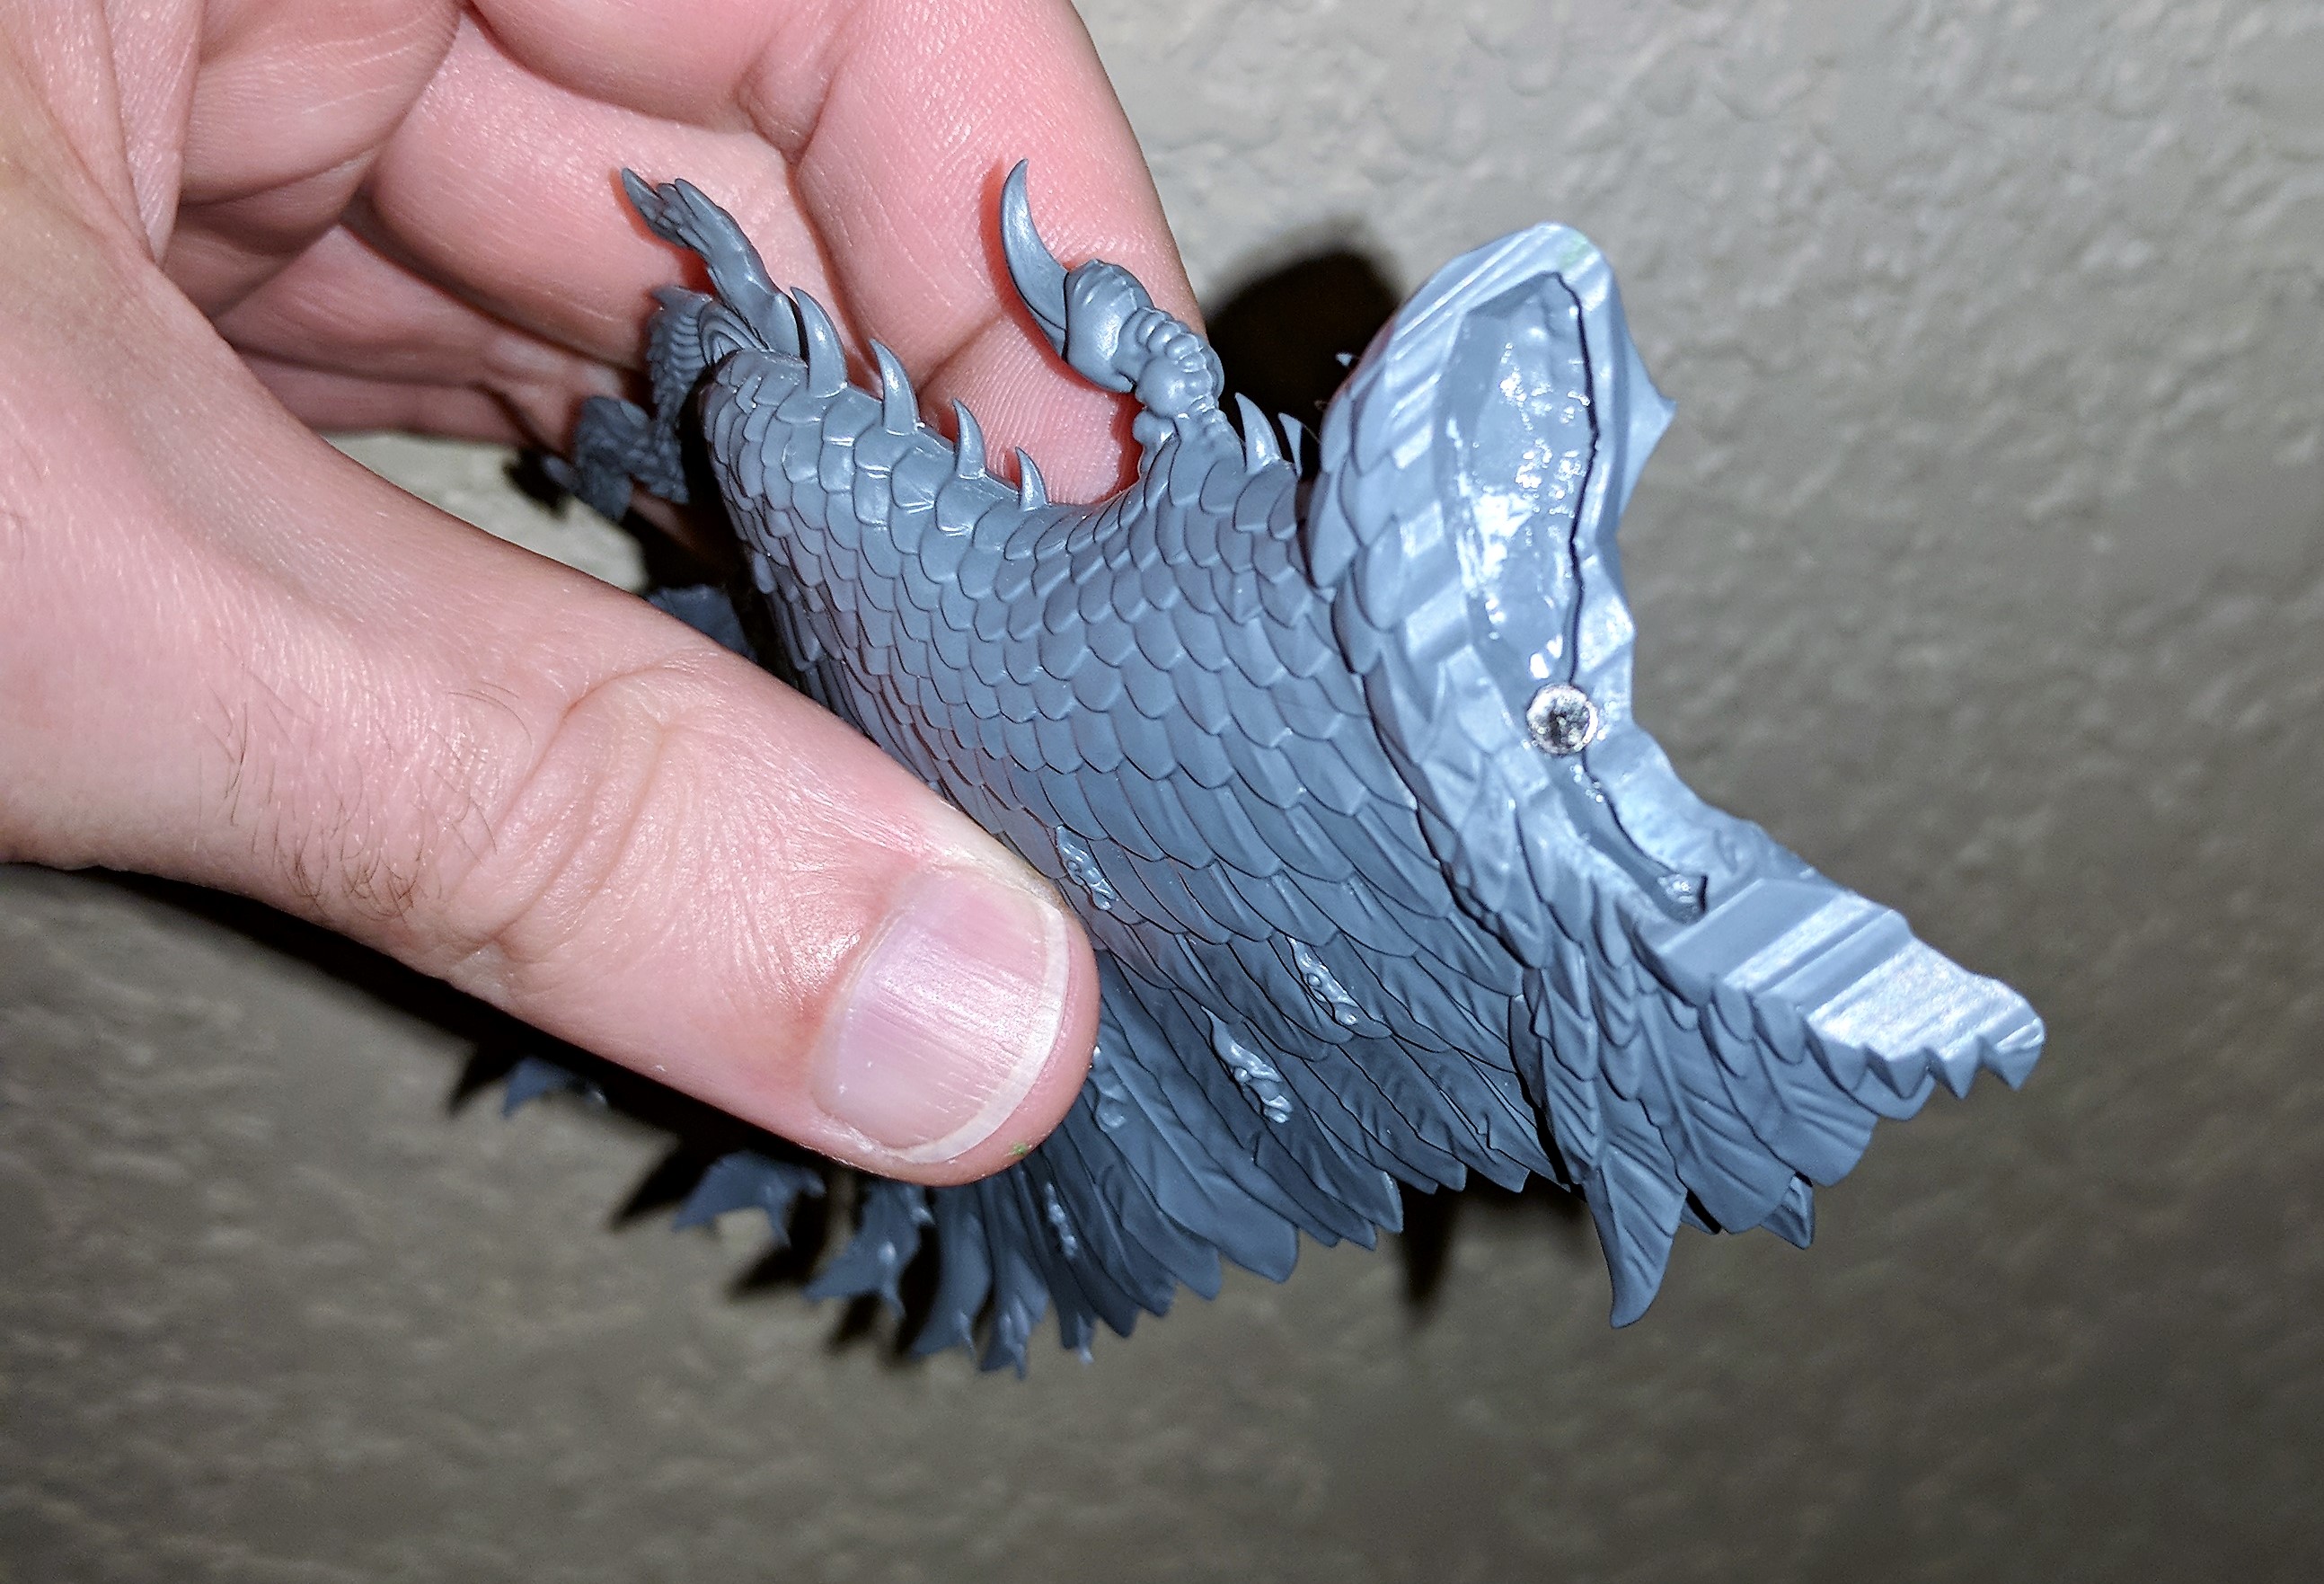
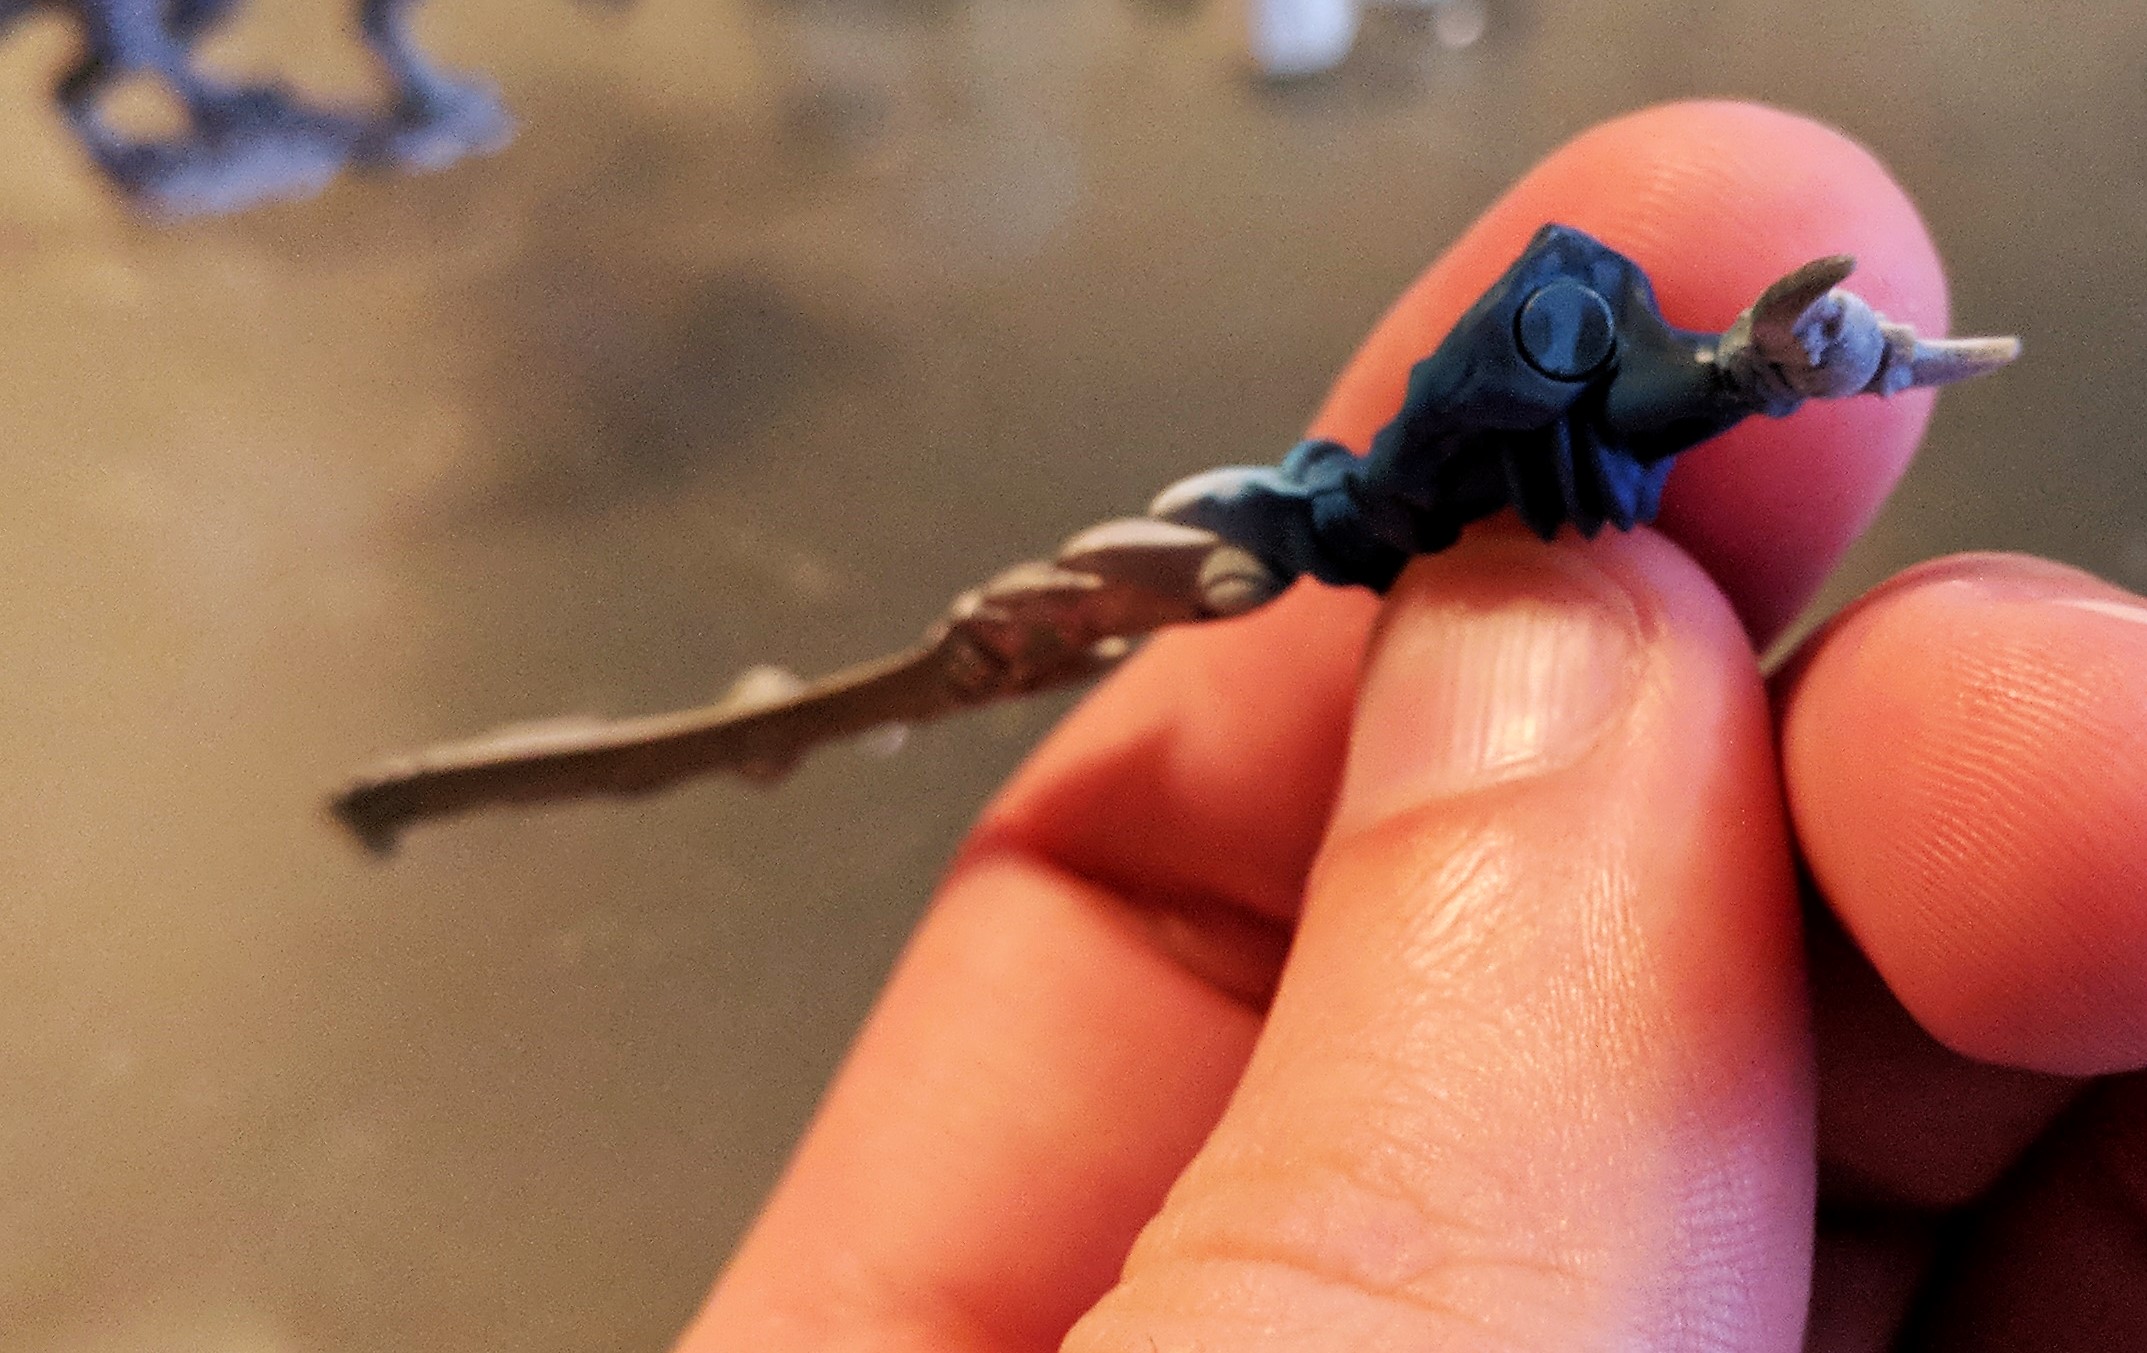
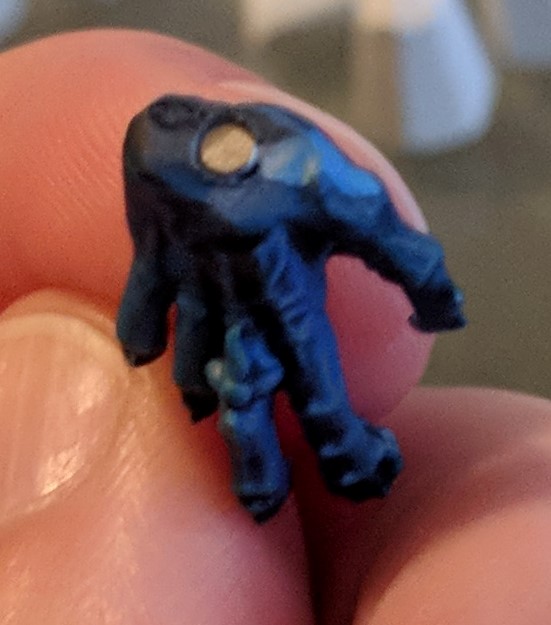
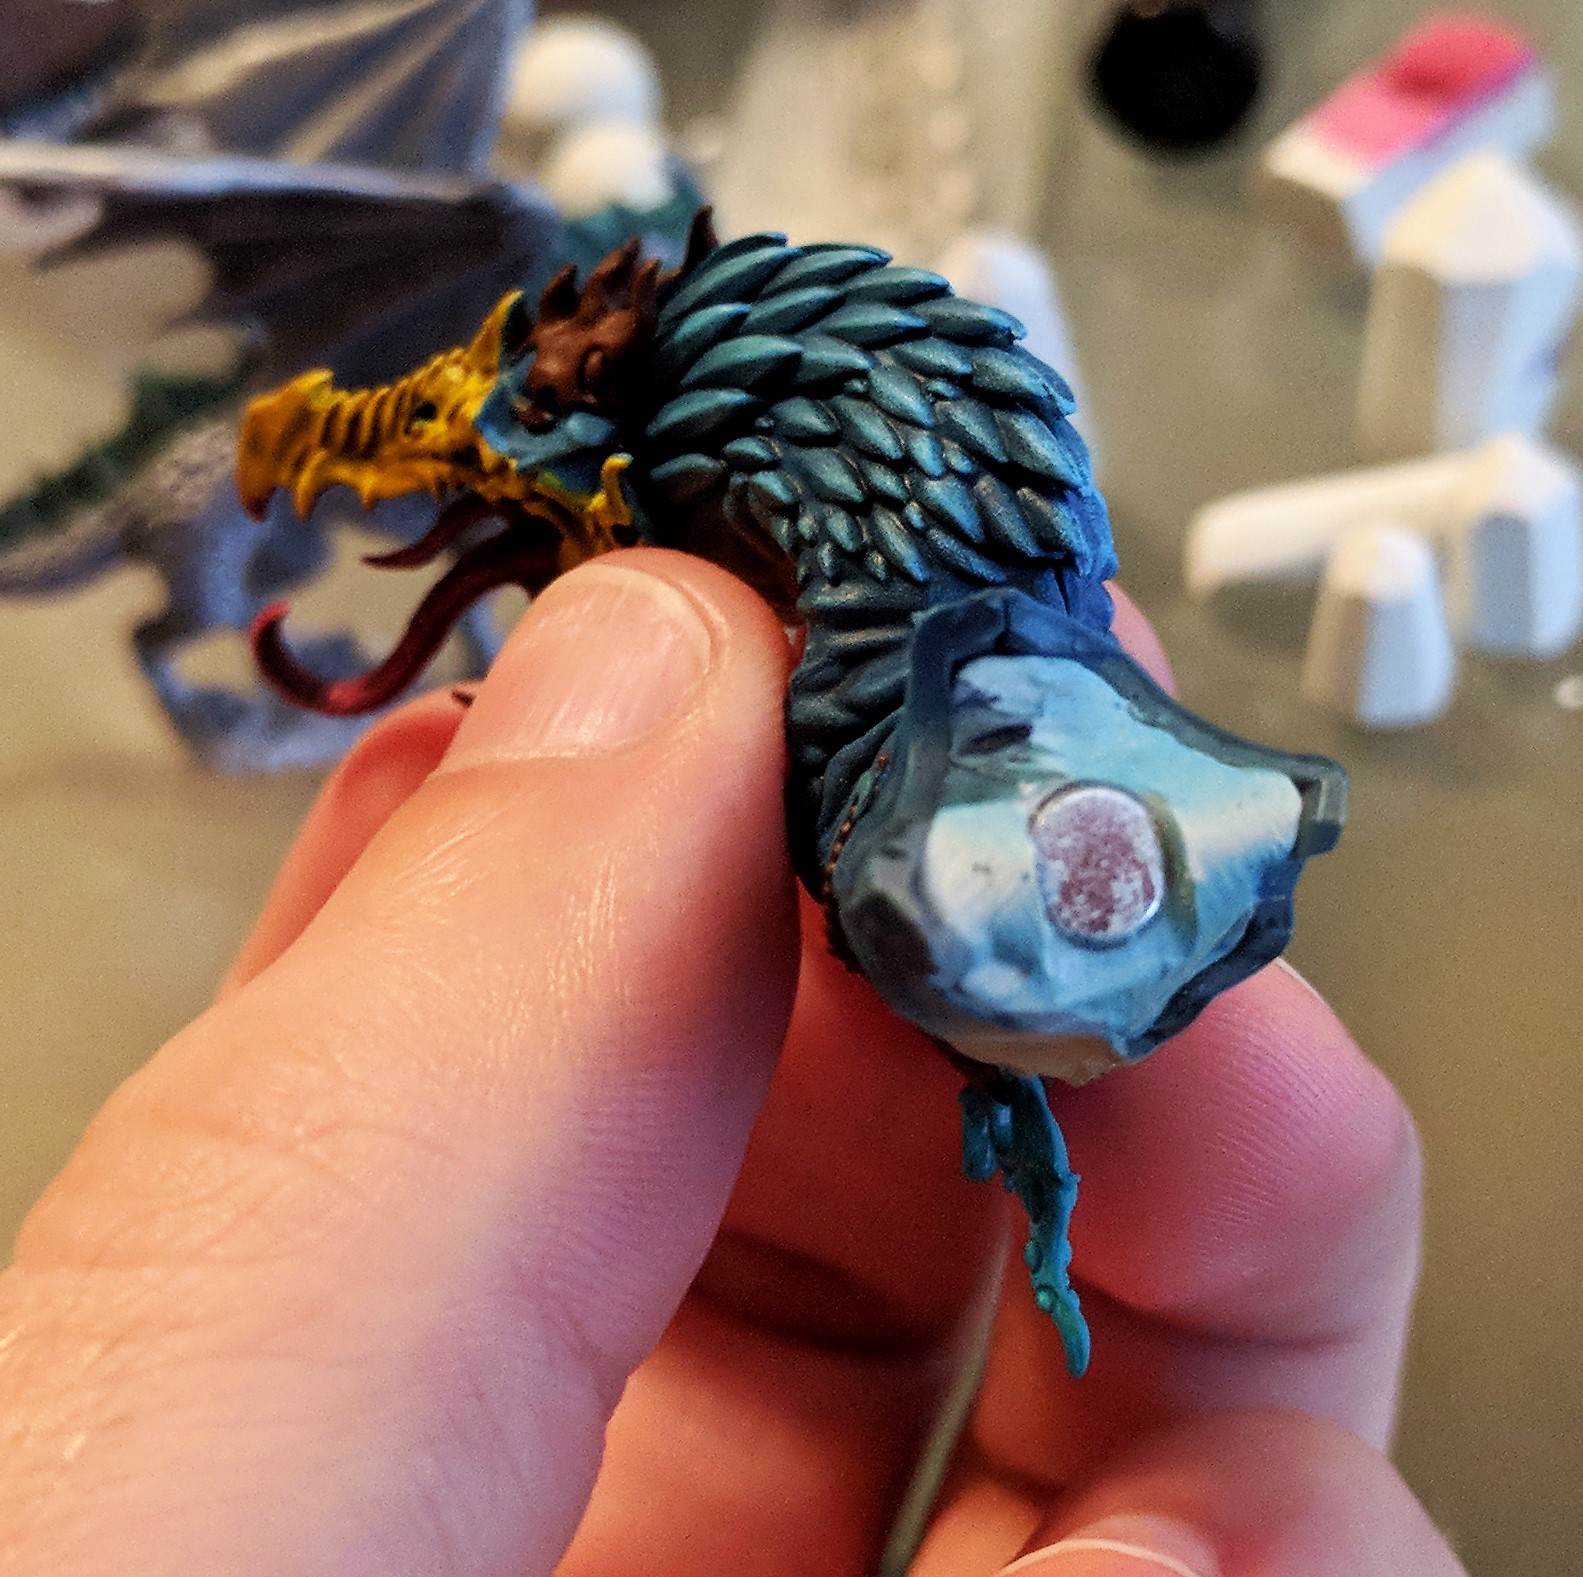
Getting the position right is tricky and you only really get one good chance at it so make sure to measure 15 times and drill once. 
Hand magnets! I used 2mm long by 2mm diameter magnets in both the hand and the wrist in order to be able to hold the sword or hand with enough force. 
Forgot to take pictures of this step so you get to see into the future much like Karos. Once the heads were glued together I backfilled with more epoxy sculpt and then filed a flat to grill in a place for the magnet to hold the heads. I wanted a strong hold so it was 5mm or bust. 
Same process here, but much easier since the 2 heads aren’t coming together where I’m trying to fit a magnet.
To get your fit seamless you’ve got to fight those magnets to make sure the clearance is just right. Gotta get lots of hold, but if you’re touching then you can see a gap at the neck.
Optional heads complete. Optional hand and optional staff complete. Wings come off for easy transport. Yep Happy with this big bird. 
Extra epoxy sculpt along the way was used to make these basic crystal shapes which will be filed down to have shape edges before painting. I also made some little balls which I’m thinking about using for Quick Silver Soul Stones.

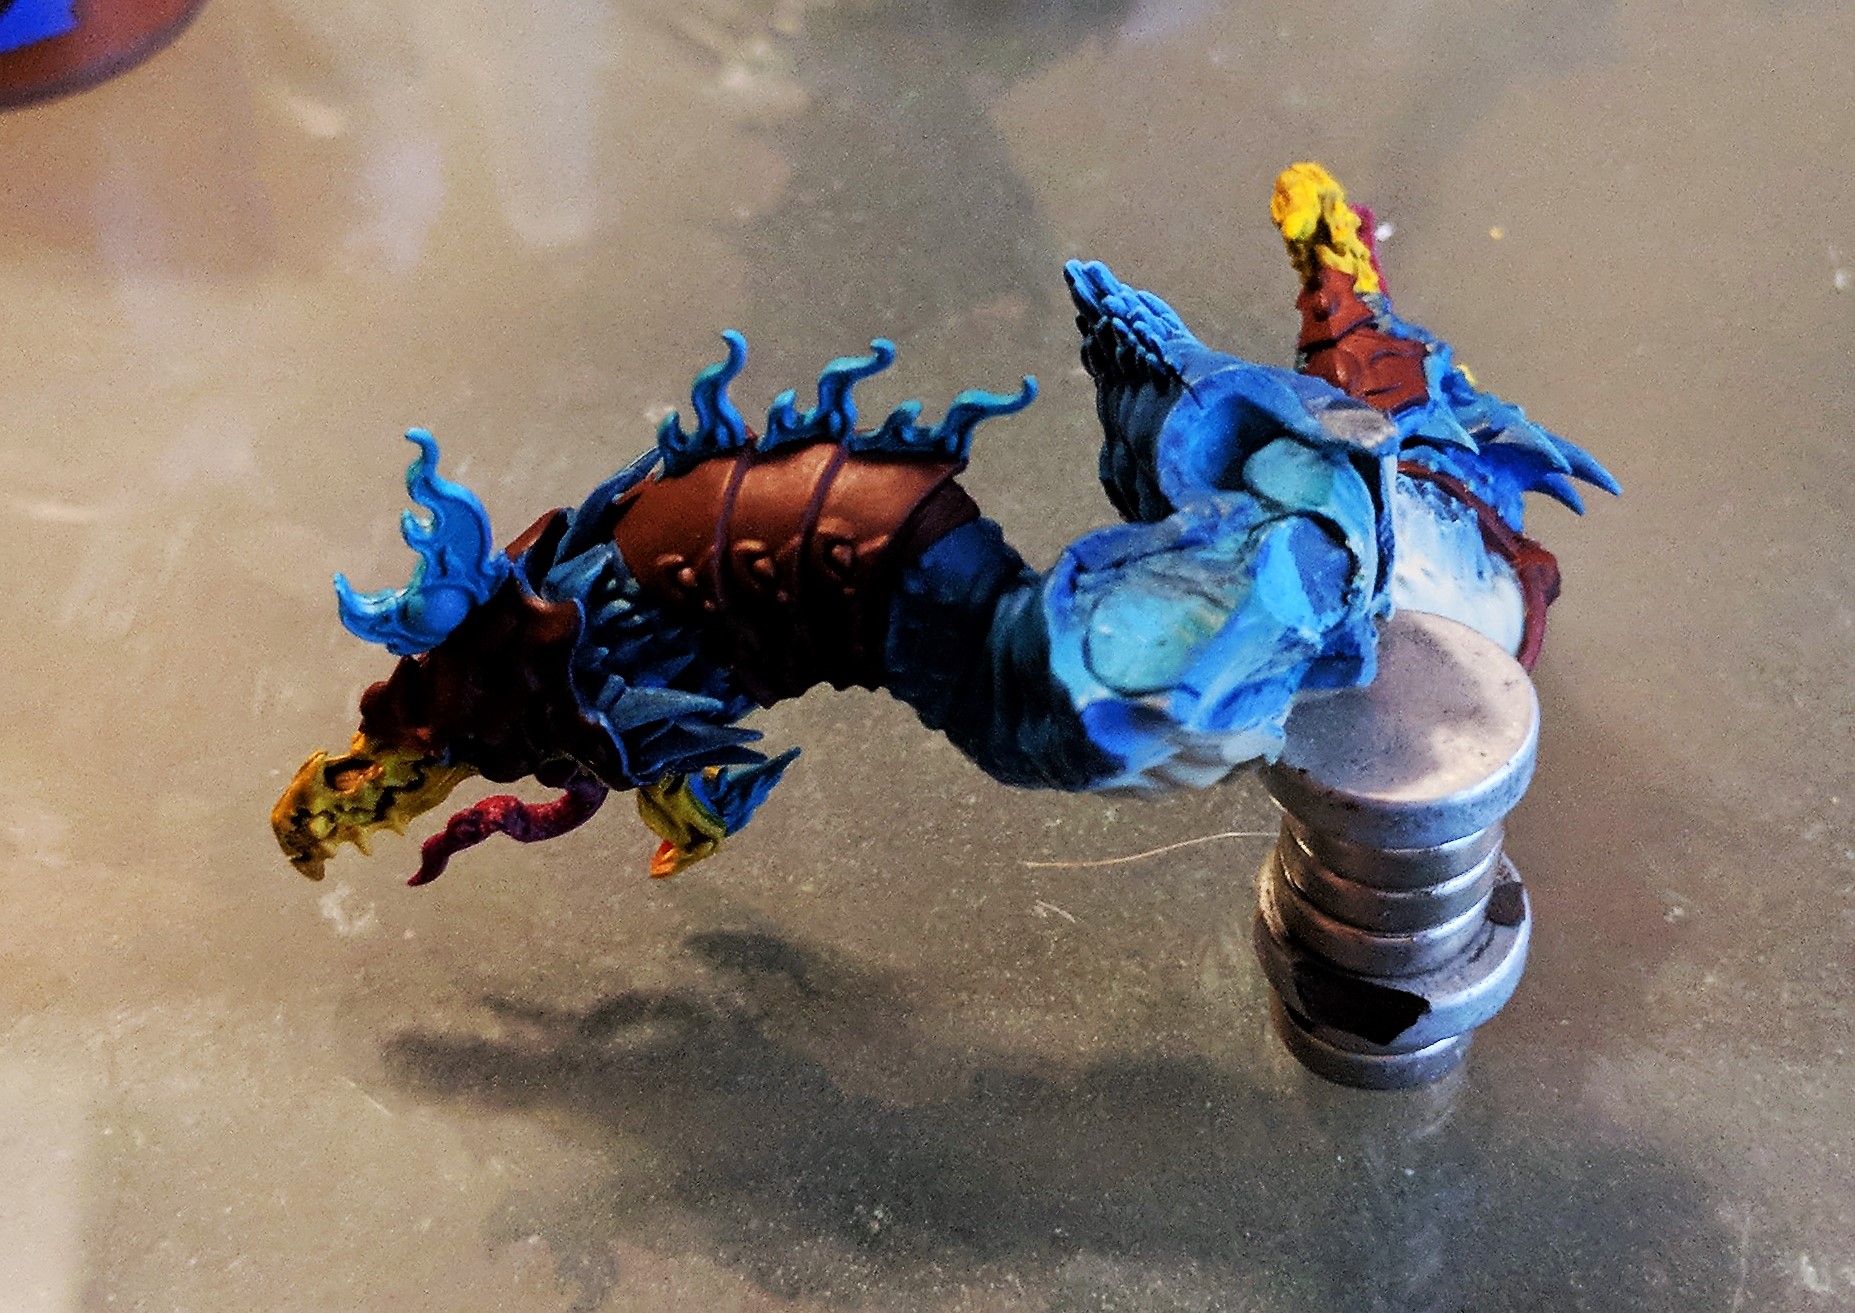
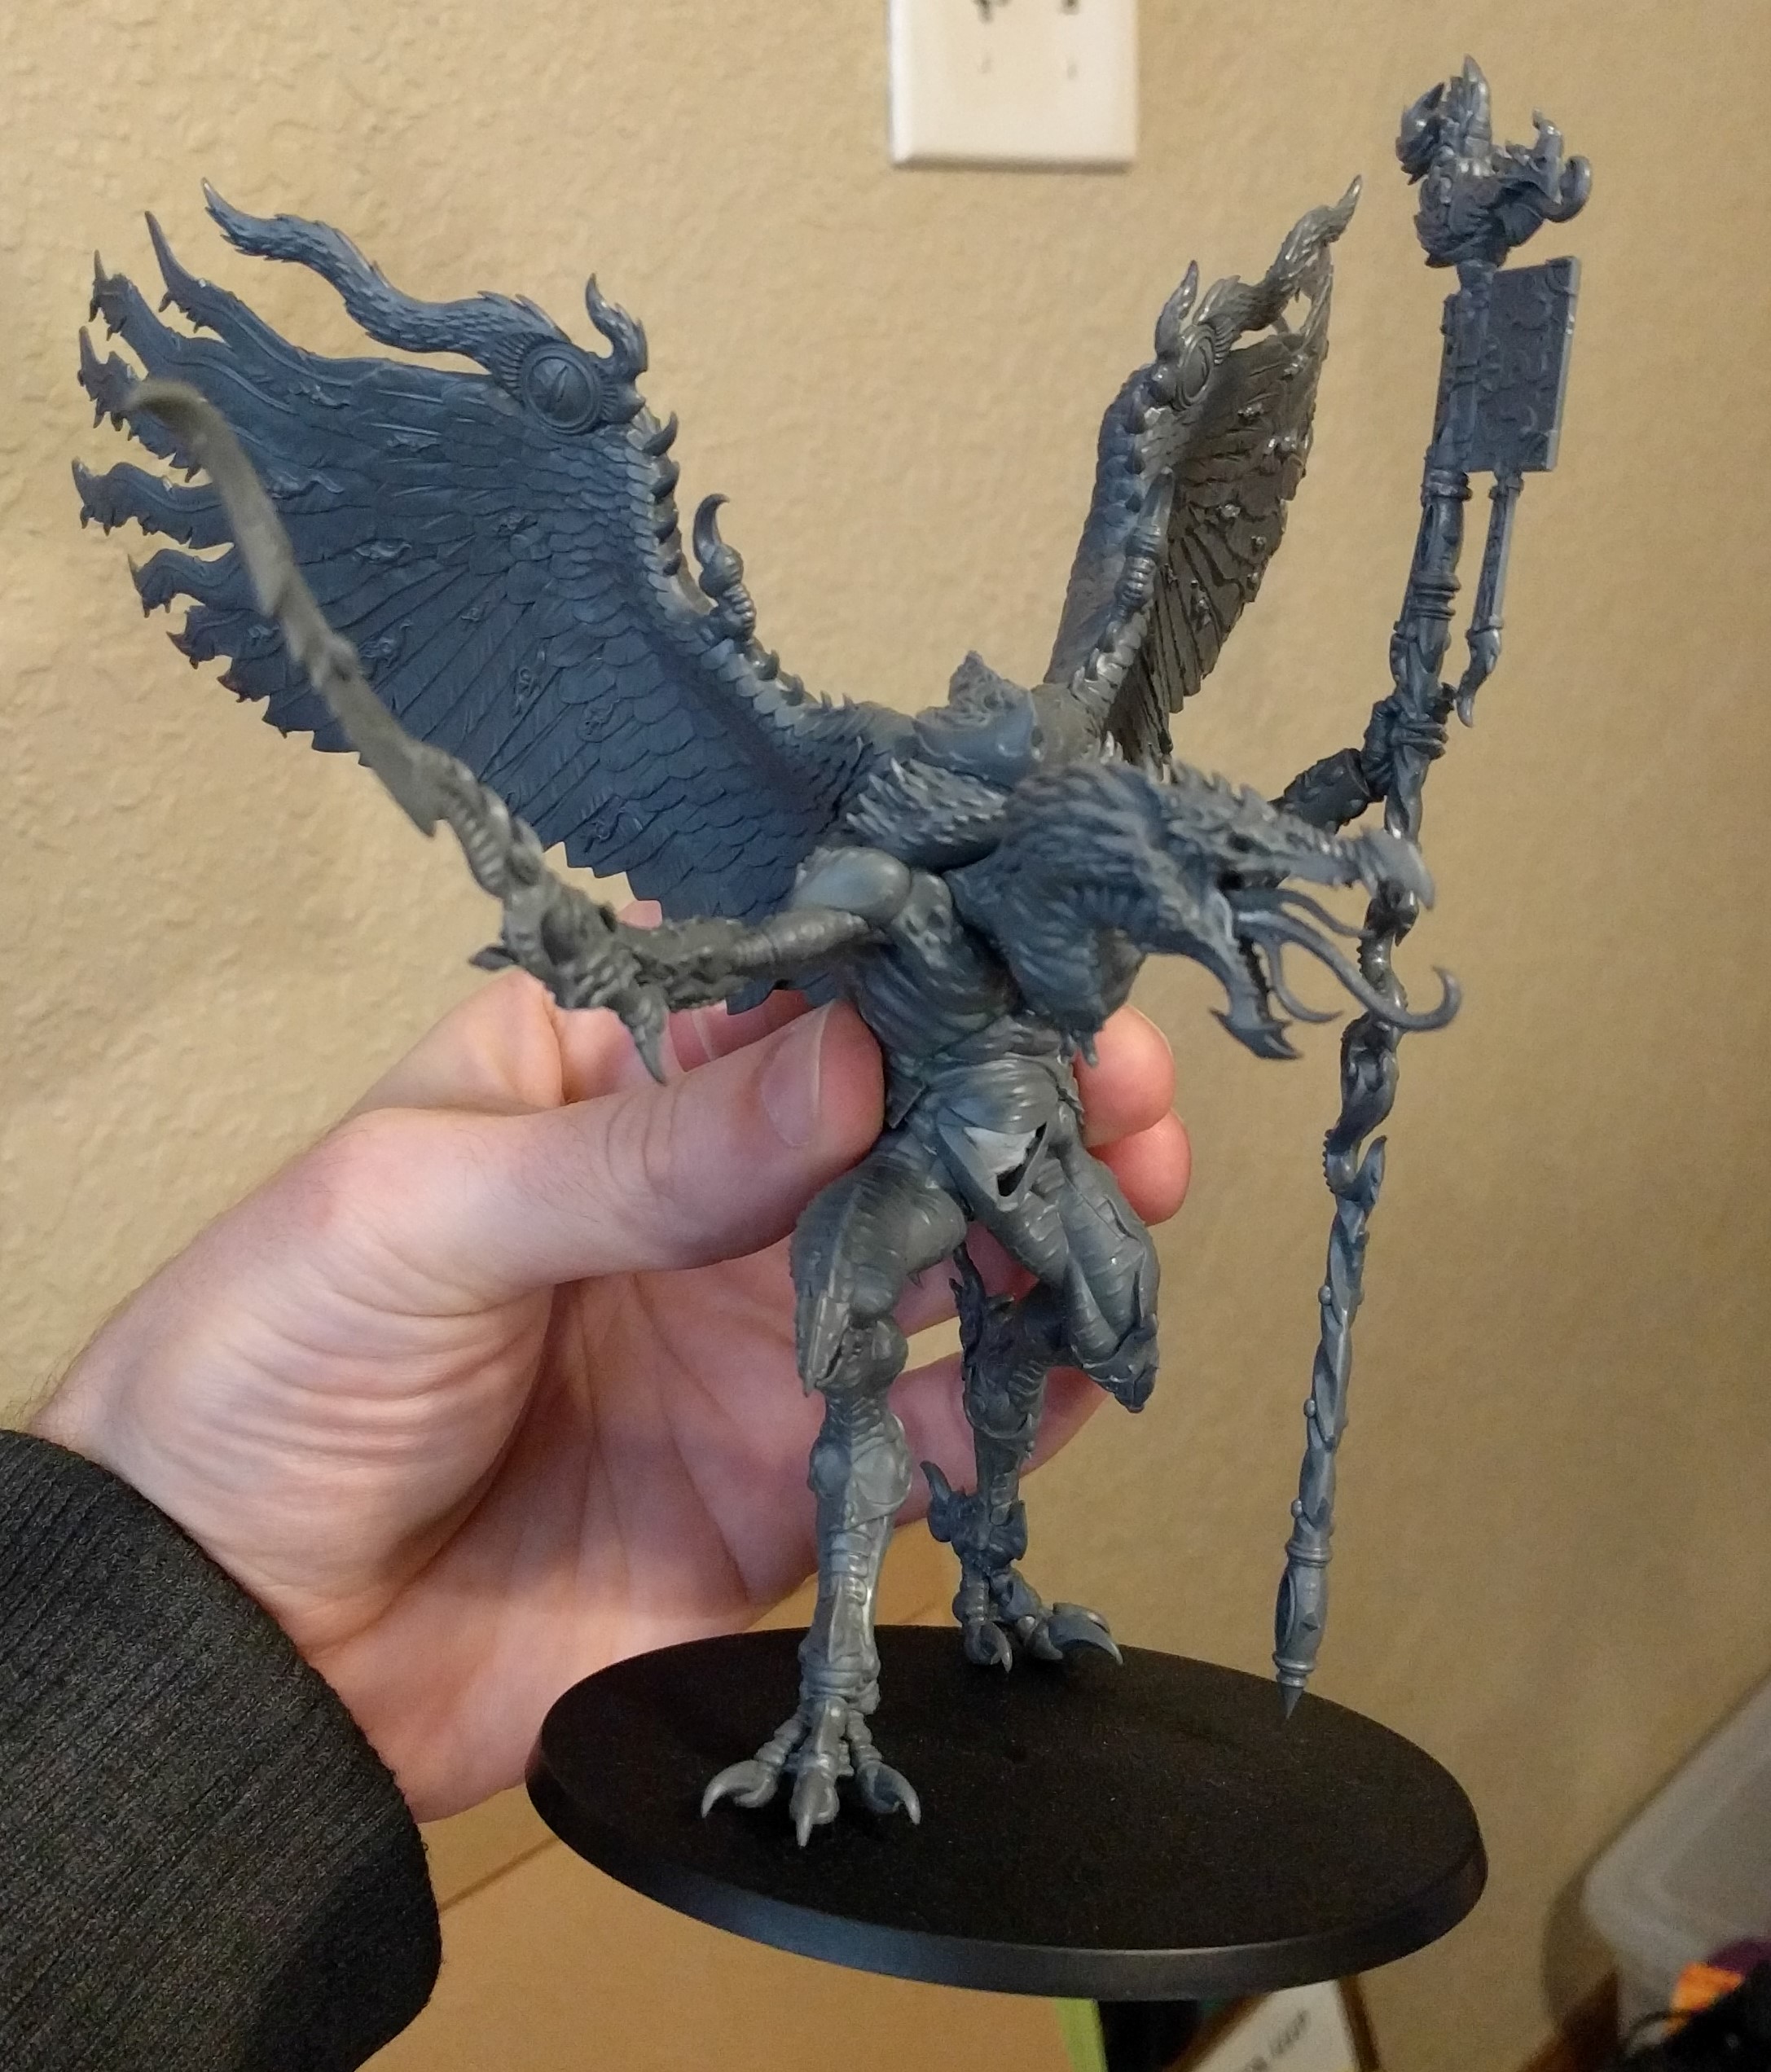
There you have it. Good luck with putting together these awesome new big models. They are a huge undertaking but the feeling of accomplishment when they are done will be great… I hope. Mine’s not done yet.